Project update 8 of 9
Controlling ThunderScope with Python, Perfecting the front-end, and More
by Aleksa BHi all!
This update is gonna be a doozy, so before we get to all my hardware news, I want to hand it over to FPGA Zealot, who has been working on controlling ThunderScope with Python and will be doing a livestream showing off his work!
ThunderScope Python Livestream
Join us this Saturday at 10 AM MT for a hands-on live stream where FPGA Zealot will show off what the ThunderScope can do! The demo will walk through how Python-driven PCIe memory-mapped transactions make it easy to bit-bang I2C, SPI, and GPIO interfaces for configuring the oscilloscope and capturing some ADC data in real-time. Whether you’re into embedded systems or just love tinkering with hardware, this demo will give you a taste of what’s possible with this open-source platform.
That’s what makes the ThunderScope so special. It’s 100% open: no licenses, no locked-down features, just complete control over the hardware. You can run custom FPGA images, tweak settings via JTAG or PCIe, and use Python libraries to dial in the PLL and ADC just how you like. With all datasheets available and everything out in the open, this is a project made for those who love to hack, build, and explore. So come hang out, ask questions, and see ThunderScope in action—we can’t wait to show you what it’s all about!
The Noise is Coming From Inside the Relay!
I’ve spent ages trying to tame the front-end noise, going through layout changes and carefully filtering the analog power rails. Nothing seemed to cause much improvement until we discovered that the noise on the front-end matched up with the ripple on the 3V3 rail. But there wasn’t anything on the front-end that used that rail except for… the relays. Could they be the culprit after all these years?
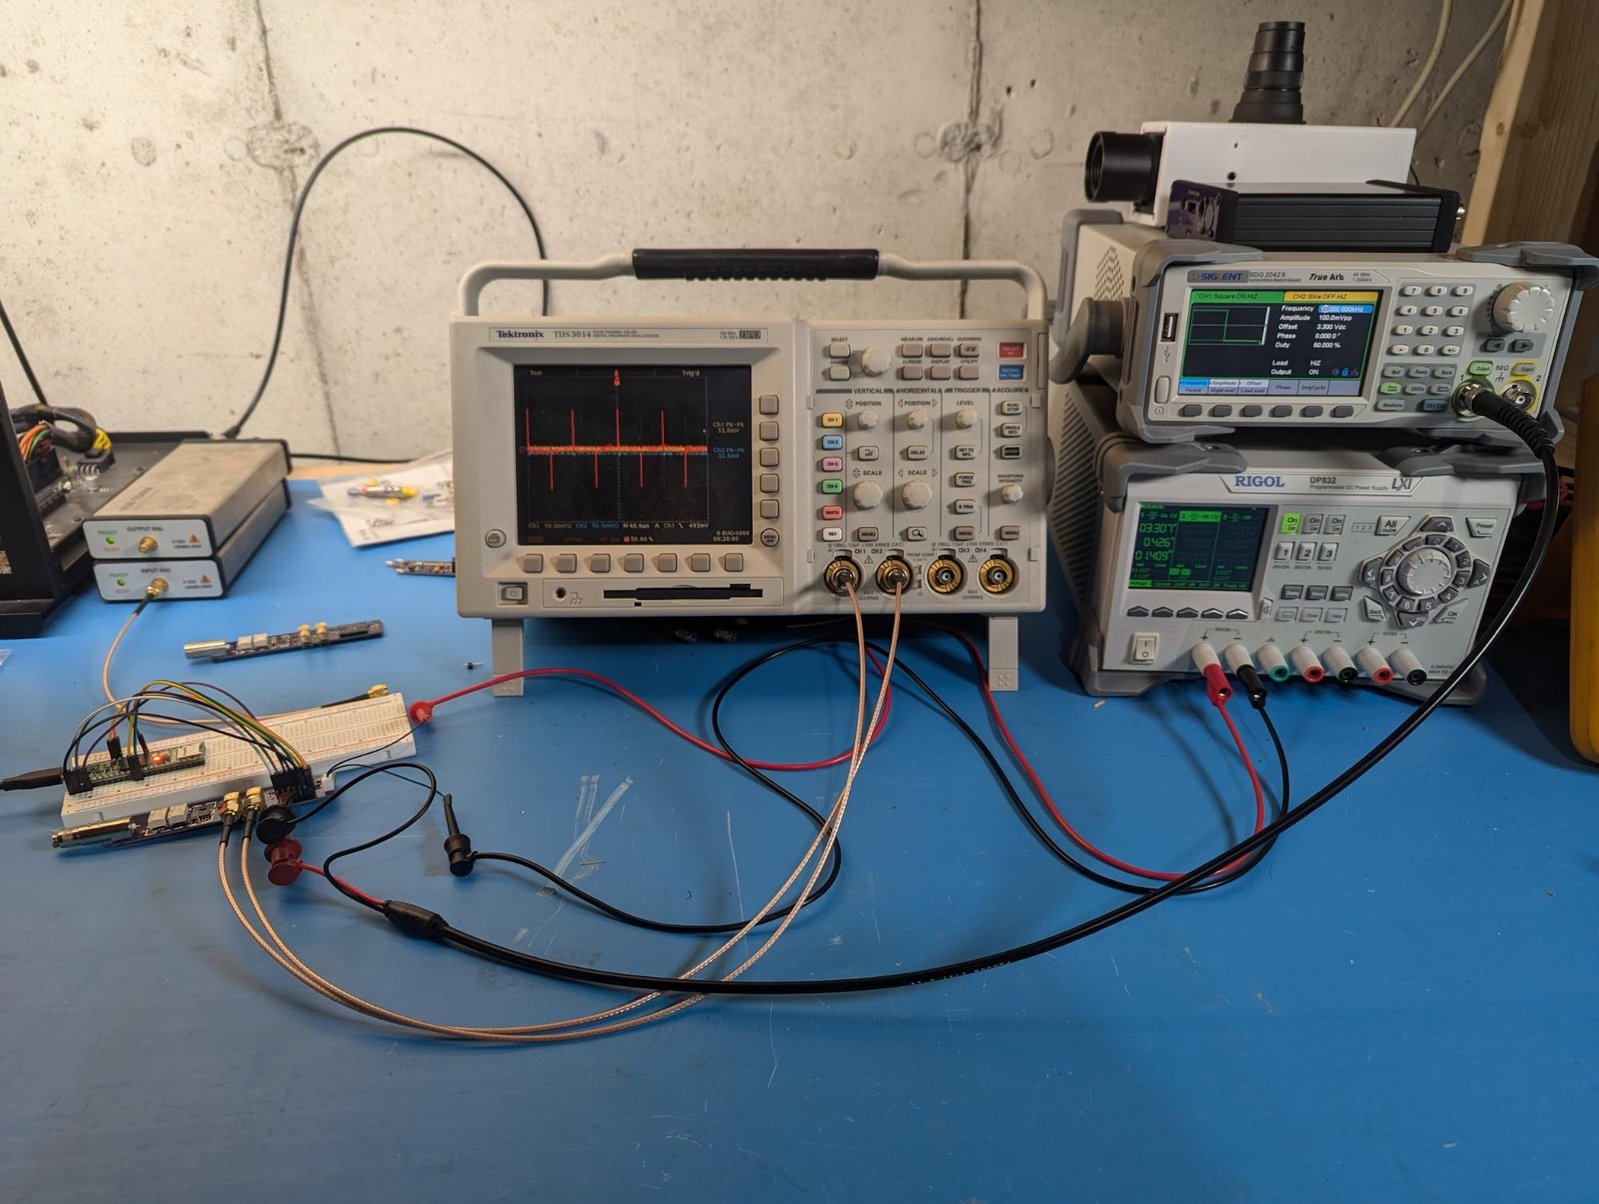
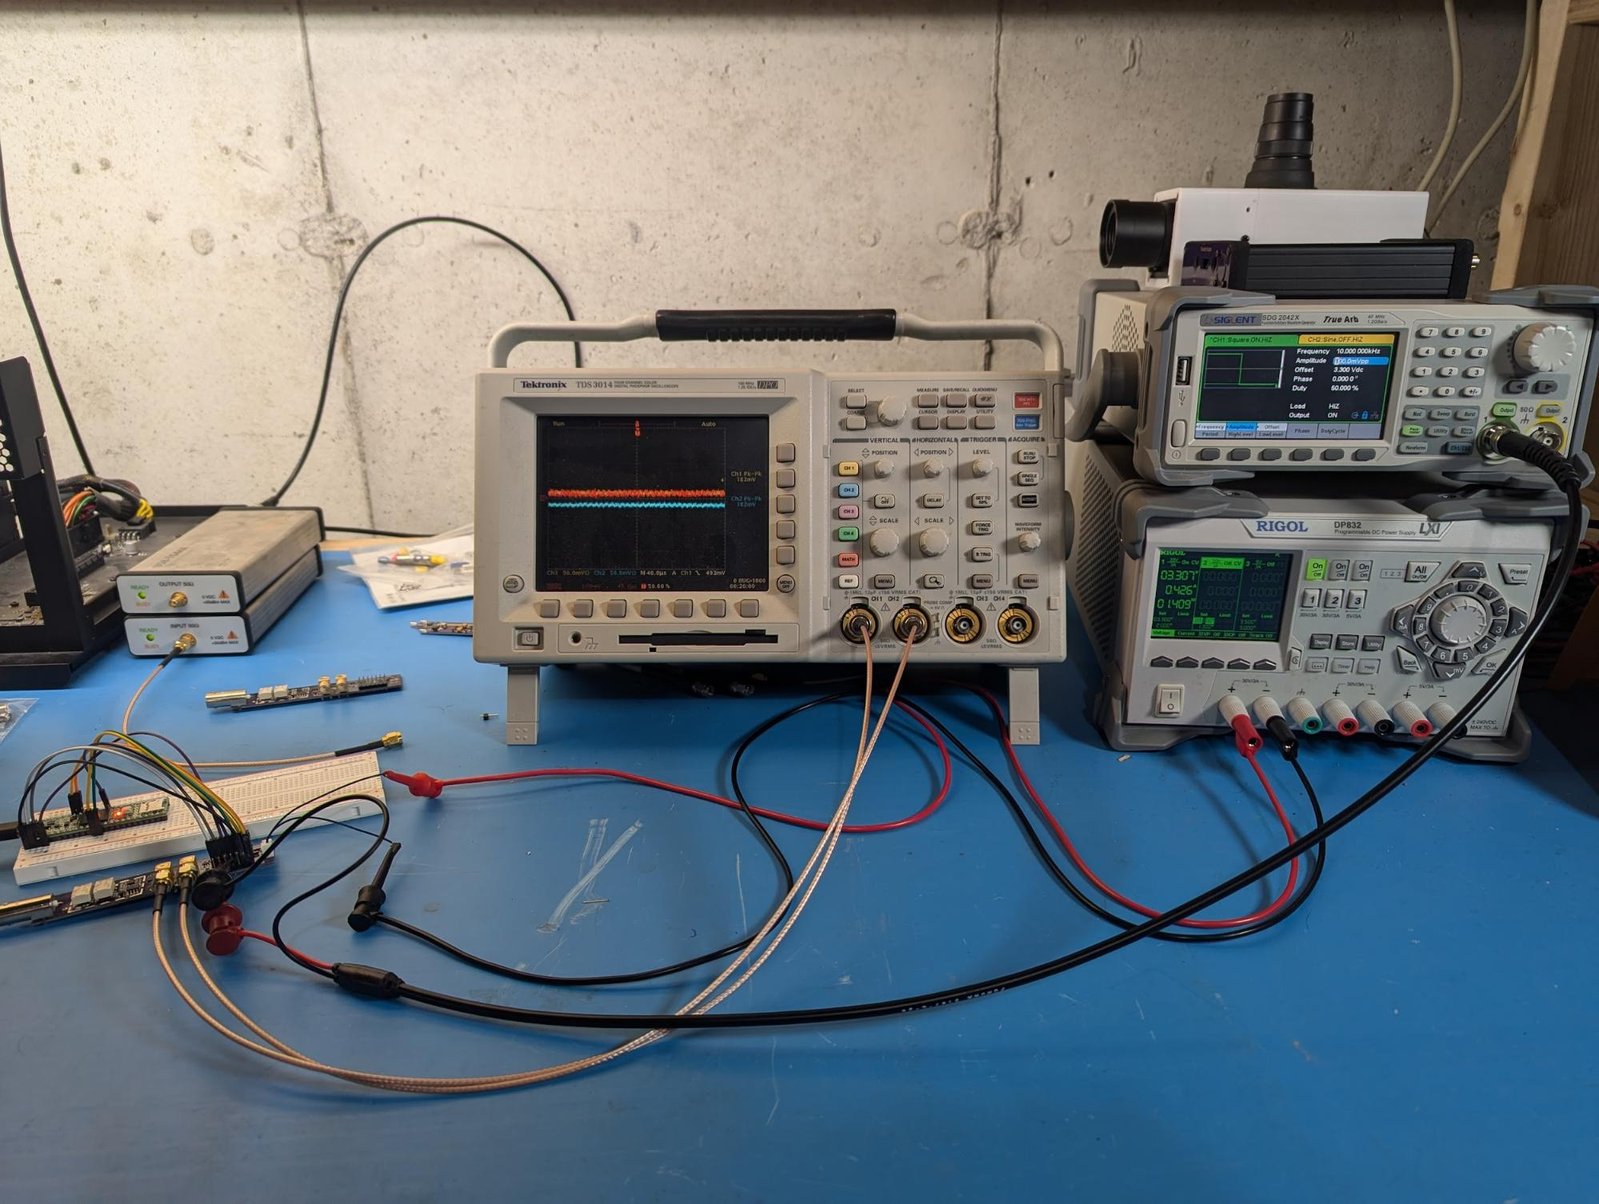
Huh, those edges couple over perfectly when the 3V3 rail is fed with a 100mV square wave riding on 3.3V. What happens when I populate the pi filter going to the relay?
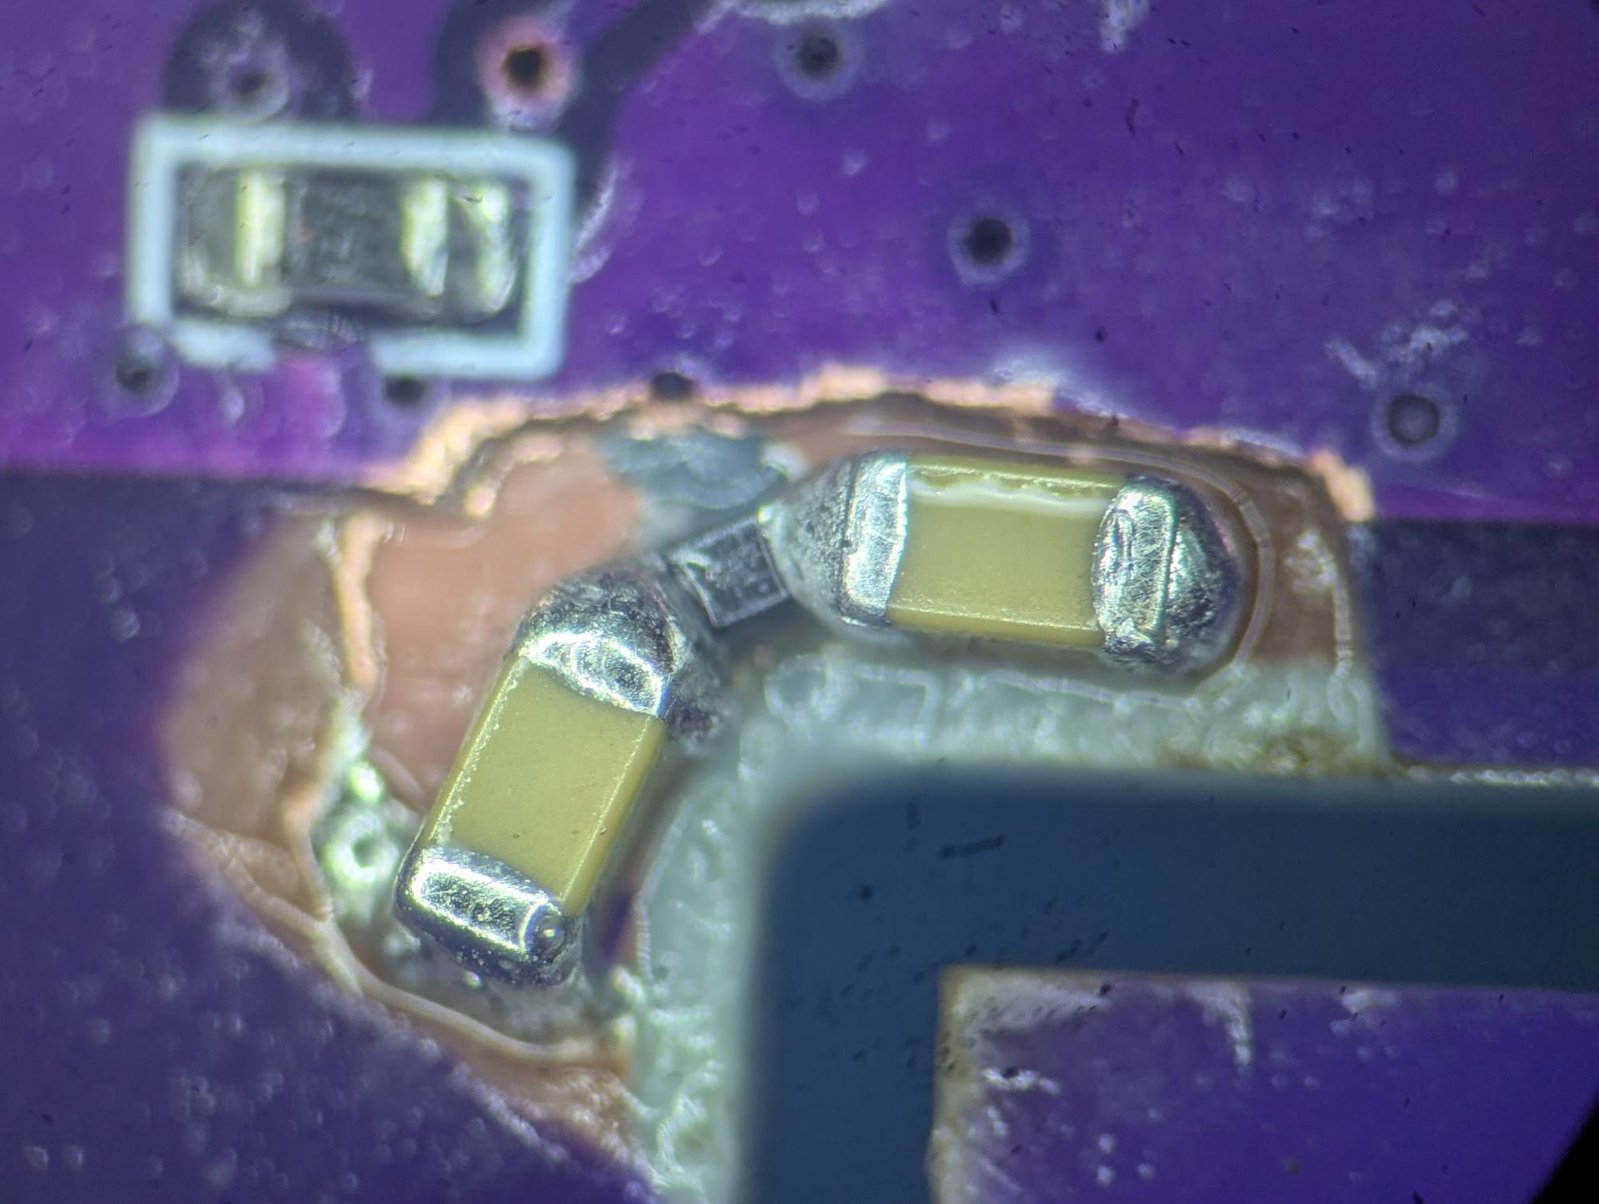
The coupled spikes are gone, now to try it on a Beta 2 unit! This requires some PCB surgery, so I grabbed my scalpel and got to work.
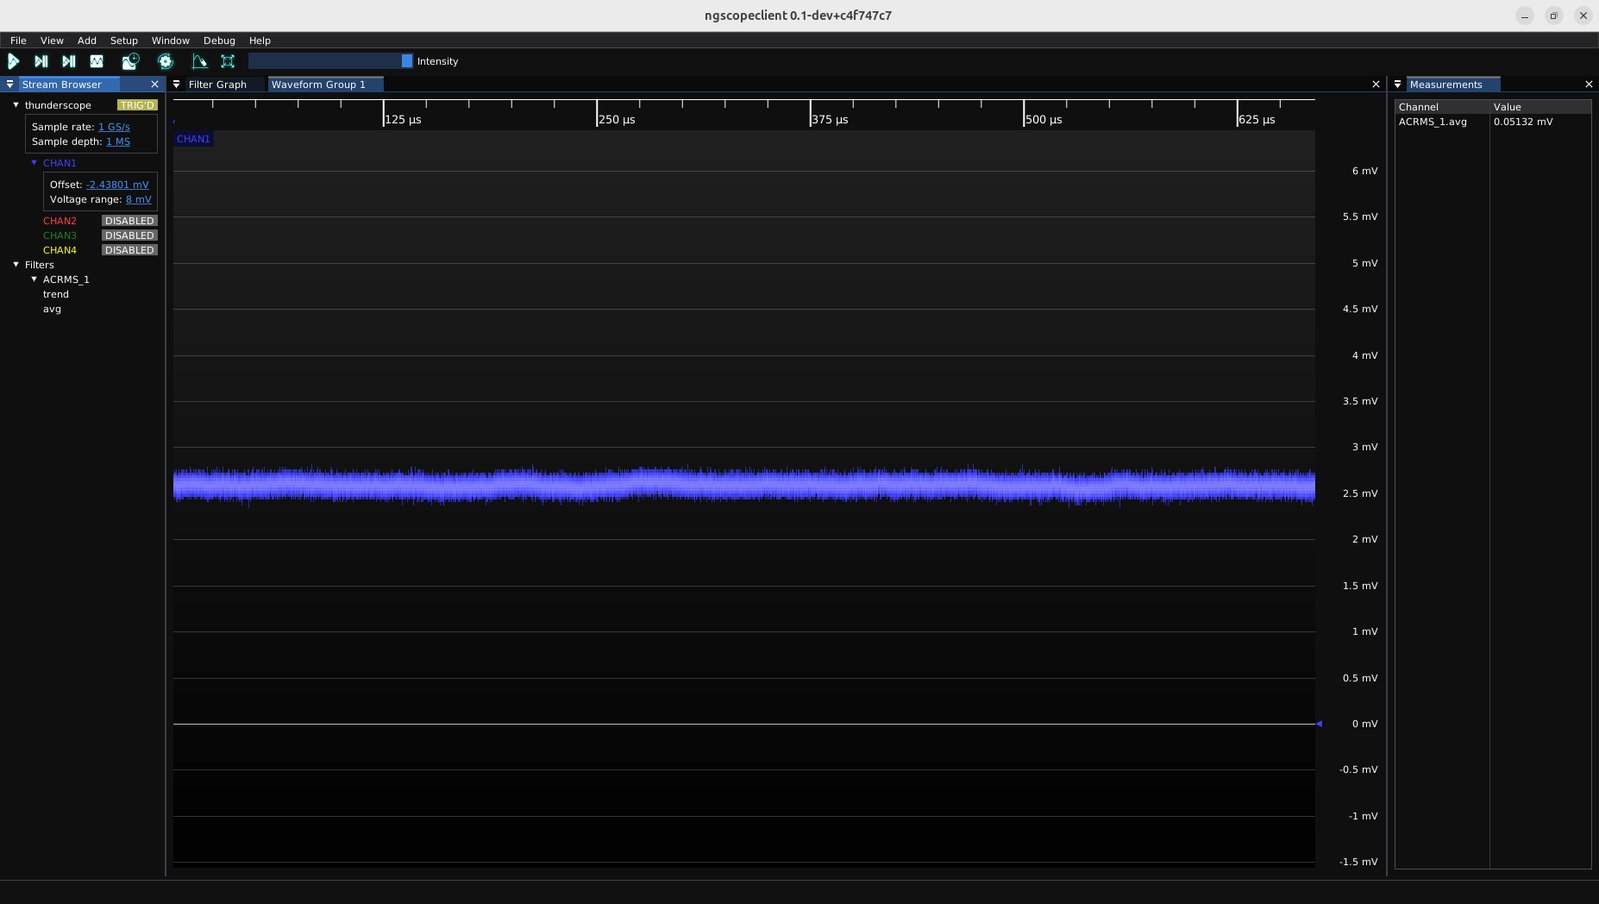
Now ThunderScope already had great noise performance of 80 uVrms at 500MHz bandwidth, even with noise coupling over from the 3V3 rail through the relays! With this latest fix I’m absolutely blown away:
Our shorted input noise at our most sensitive range is 51 uVrms at 500 MHz bandwidth! To put that into perspective, that is much better than the latest Siglent HD series (70 uVrms at 500 MHz bandwidth) and on par with the R&S MXO4 (50 uVrms at 500 MHz bandwidth). This means that ThunderScope has hands down the best noise performance in a scope under $10k!
If You Can’t Decrease the L, Decrease the C
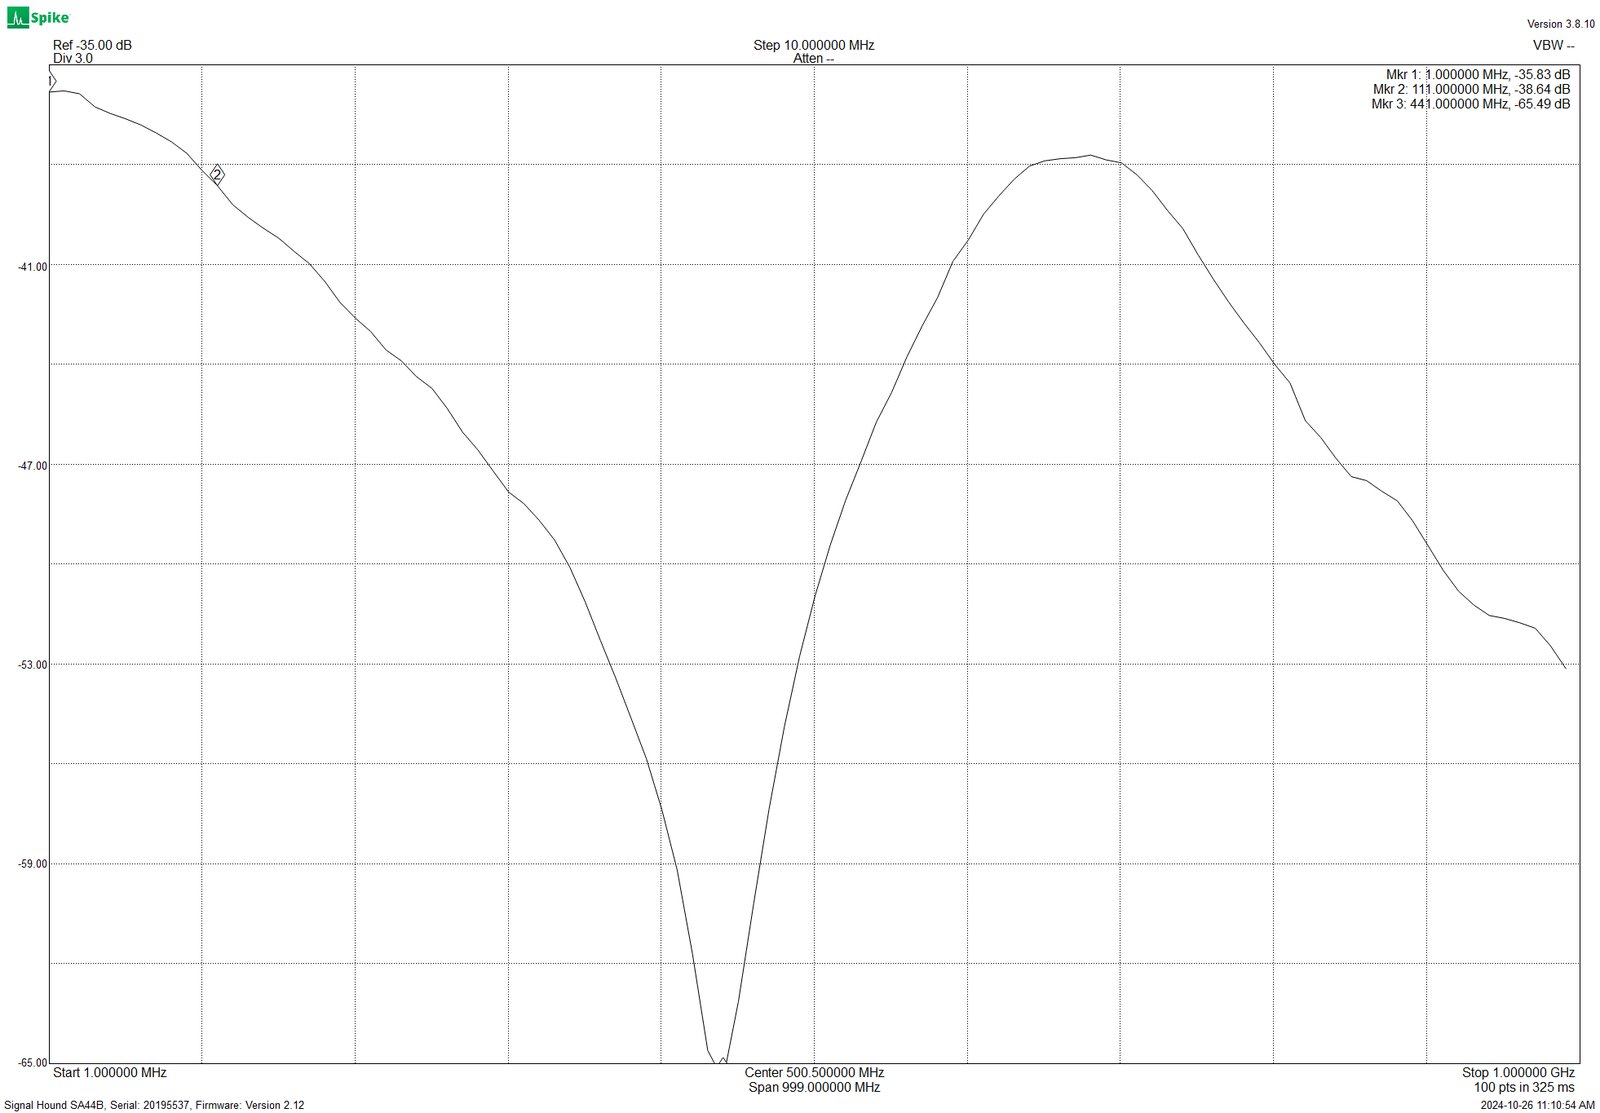
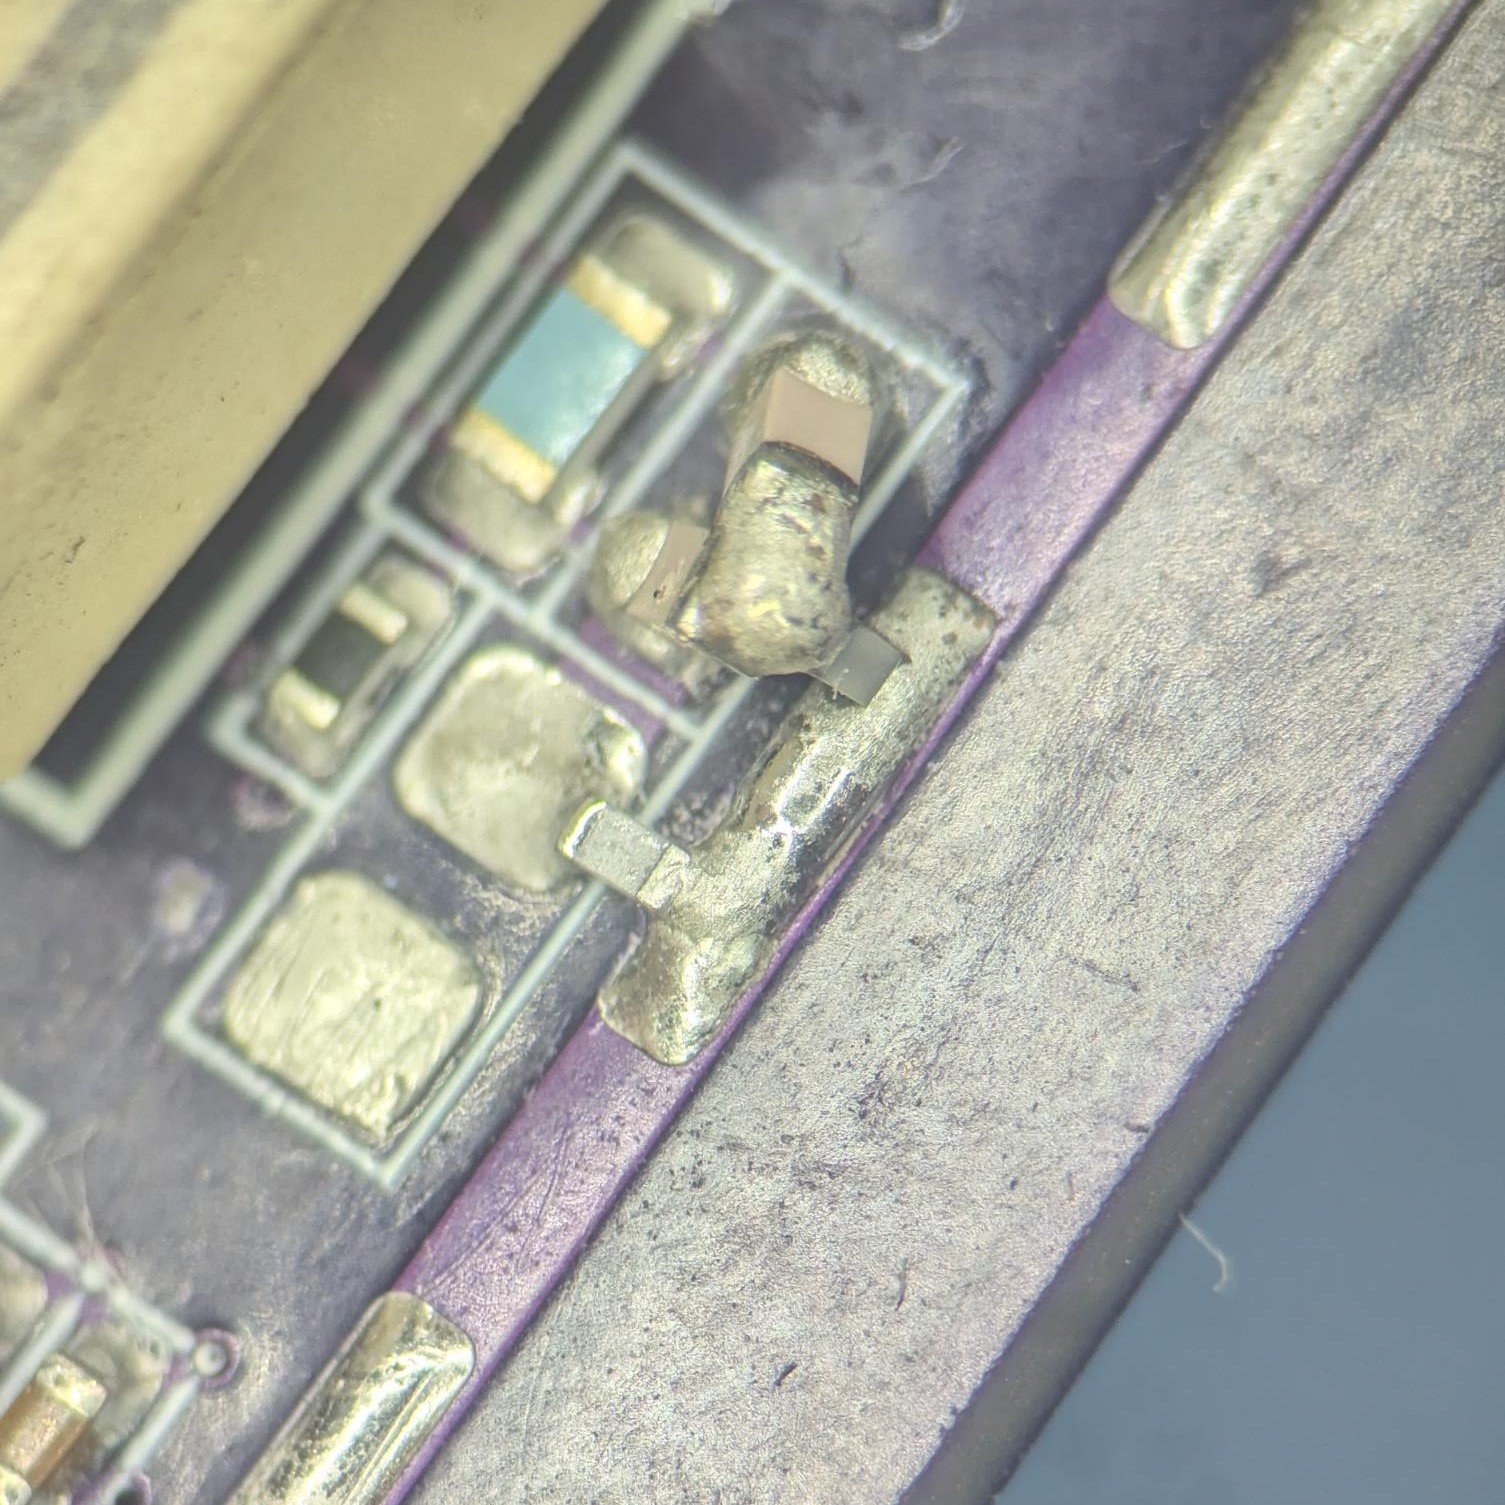
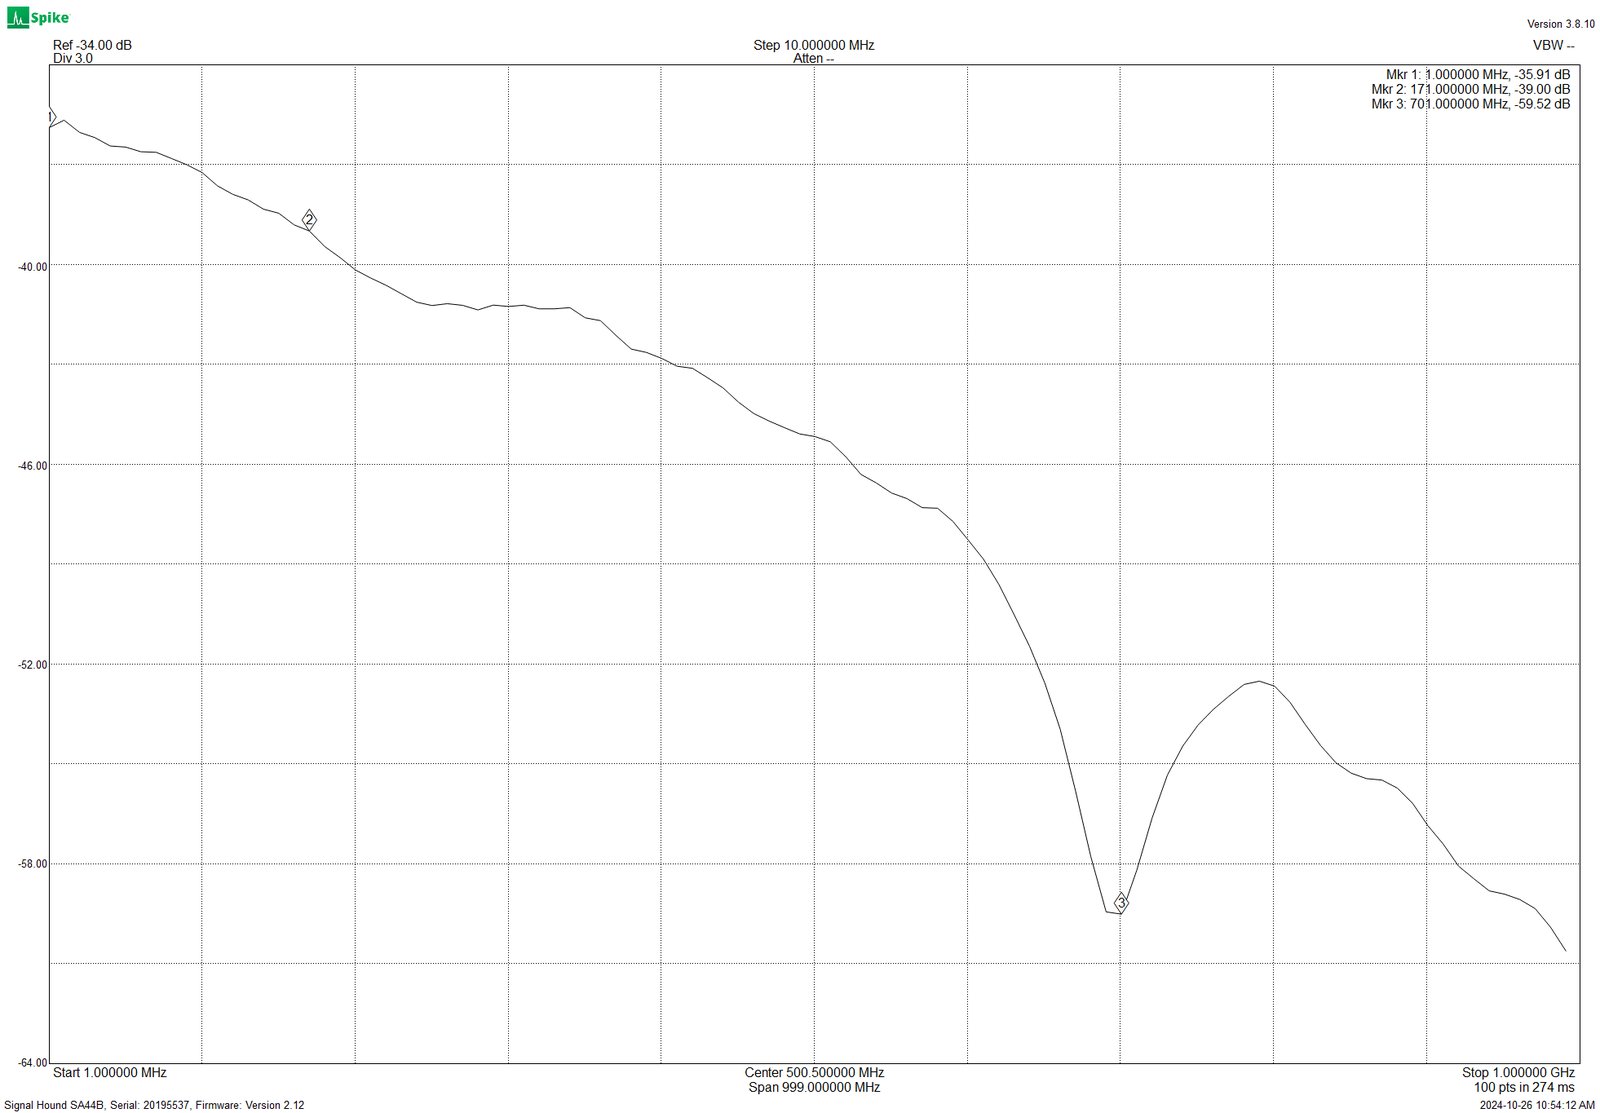
For some quick background on this issue, watch my Hackaday Supercon 2023 talk starting at 16:20 for a few minutes. Now that you’re caught up, I have bad news for you - the fancy capacitor didn’t work. I even tried via in pad to cut down on the return path inductance, but no luck:
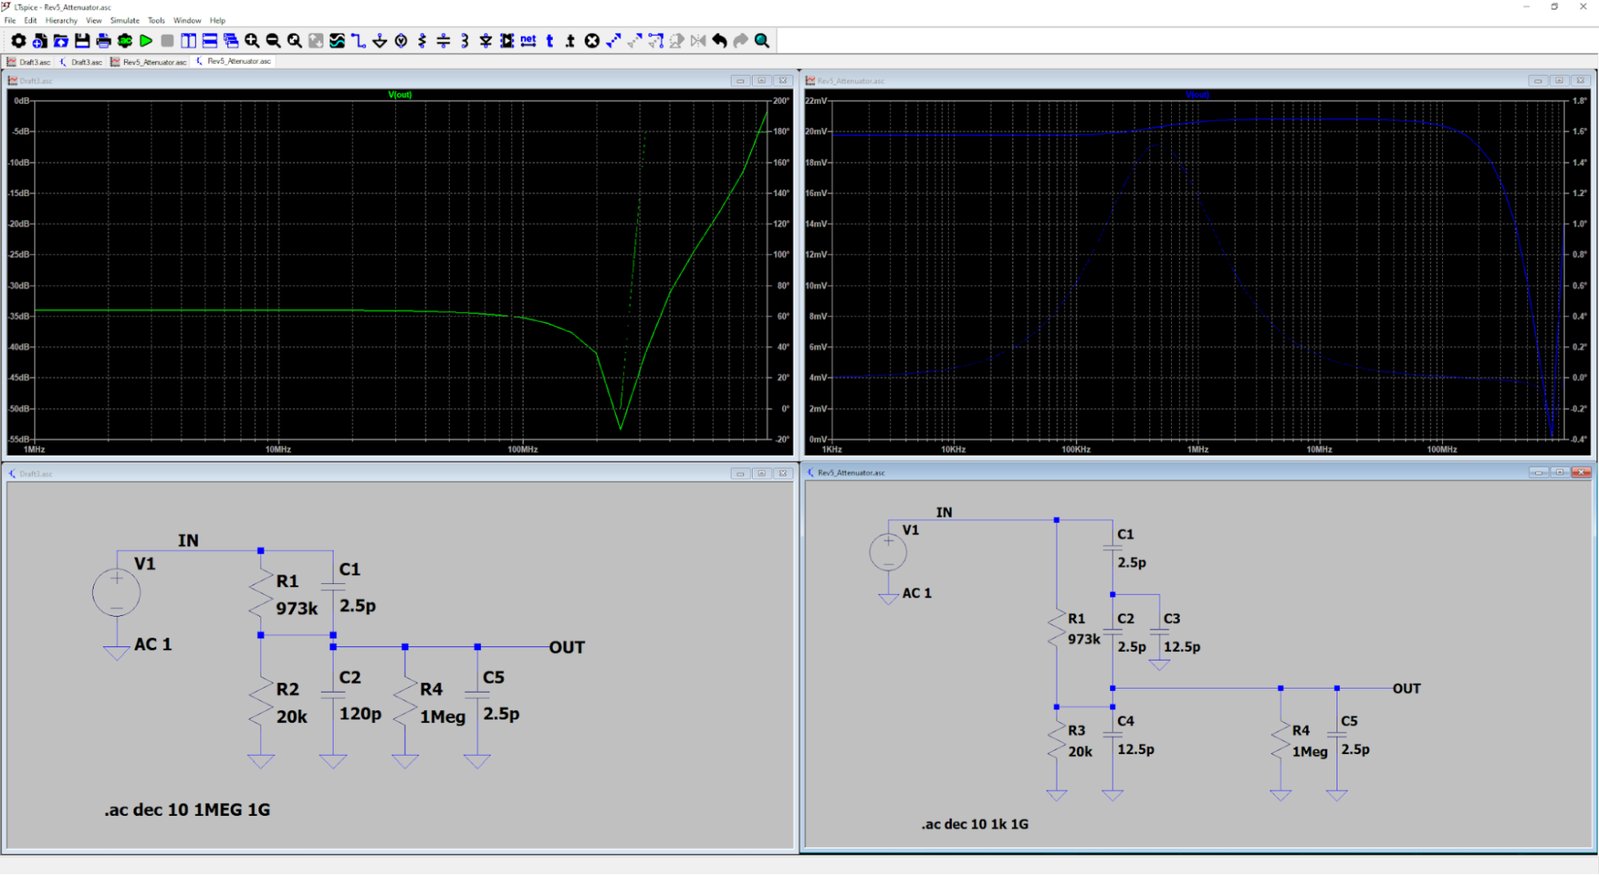
With my options for reducing the return path inductance gone, it was time to go back to the drawing board. I had the thought of chaining two 7x attenuators together, and then kind of smooshing the two together. This reduces the capacitance value needed for the attenuator, which should work just as well as reducing the inductance for avoiding this LC resonance.
The SPICE must flow. This new circuit pushed the dip out beyond the 500 MHz bandwidth of the front-end in simulation. So I hacked it onto a front-end test board to see if it could withstand the cruel nature of reality.
Finally, it was time for the moment of truth:
Just like the simulations. The dip in response was well above our 500 MHz bandwidth, so that’s officially the last front-end problem solved!
Trust, But Verify: Binning the ADCs
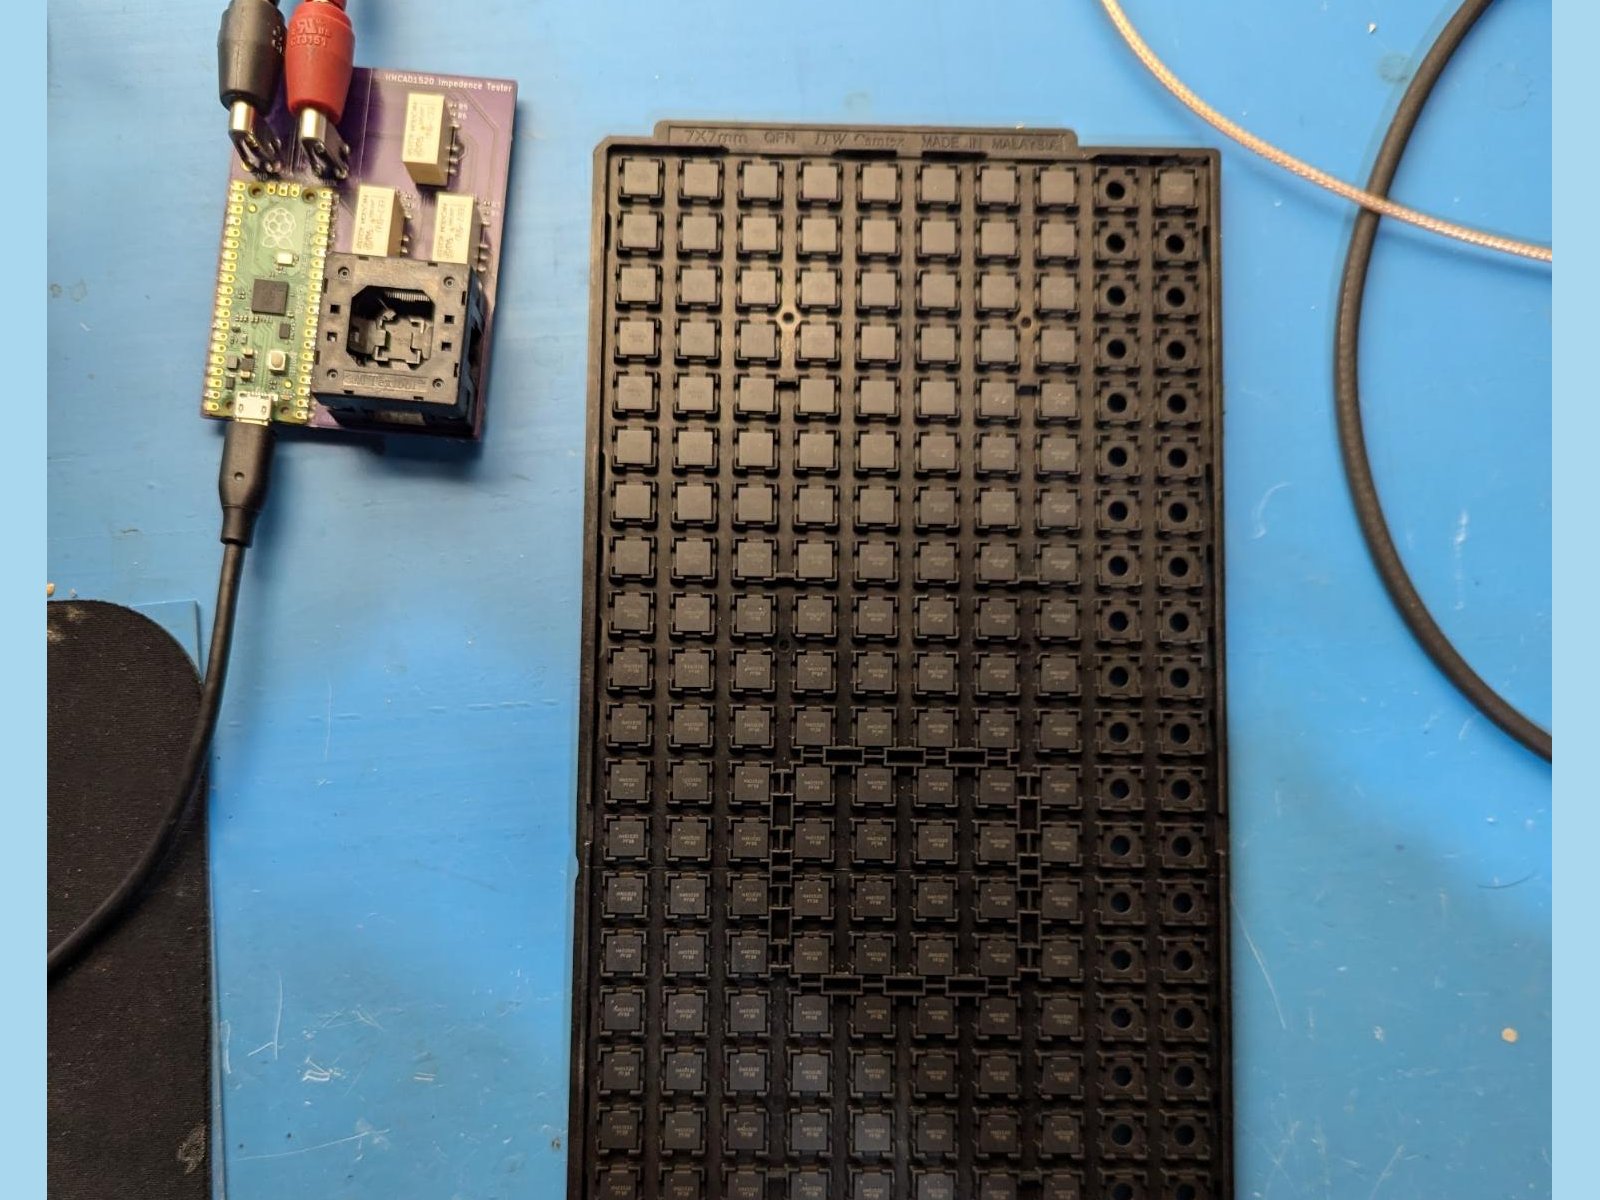
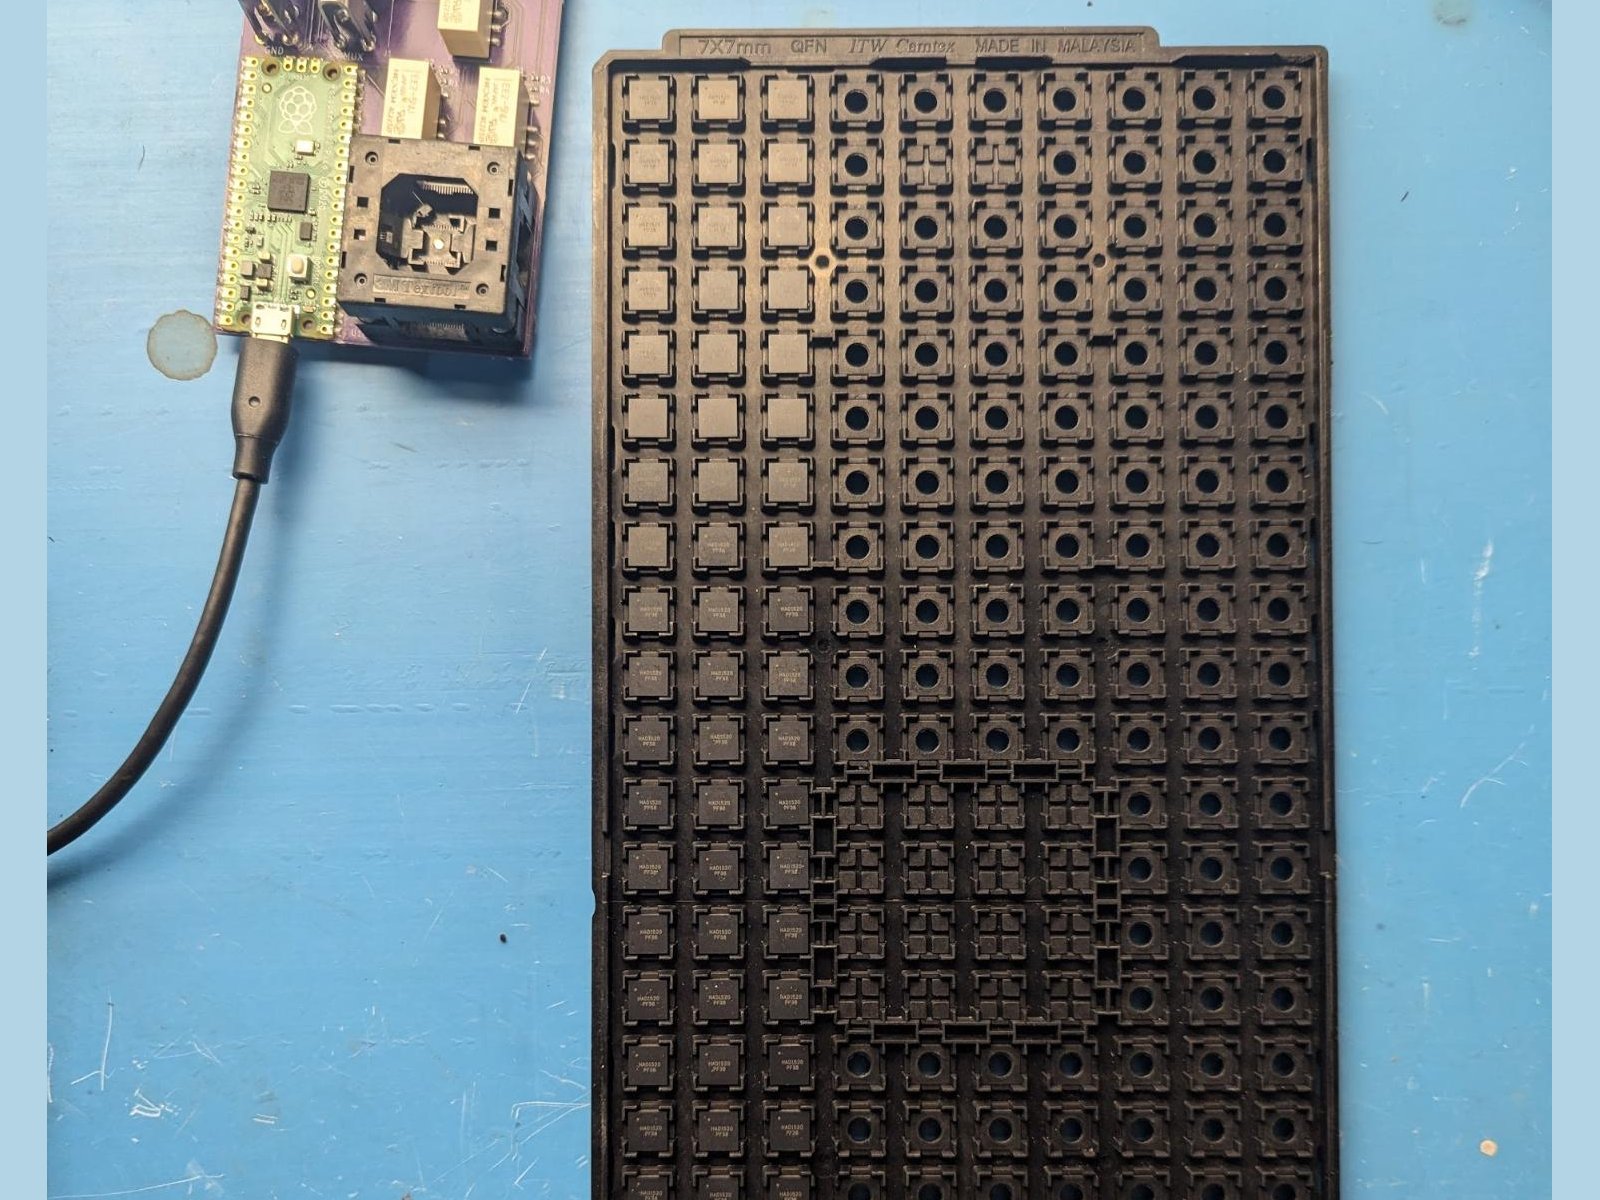
It was finally time to sort out how many ADCs had failed after all these years. I coded up a simple test script in python to drive the tester board and started working my way through the tray.
Look to your left, now look to your right. Both of those ADCs will not make it to production.
Now that the parts with shorts on the rails have been tossed in the bin, the remaining 72 parts will go through a functional test fixture before being used in our next run of boards. These parts were also used on every board I made from Rev 3 onwards, which have been in service for over a year, so it seems like they work to spec as long as they haven’t had the rails shorted by ESD or thermal stress.
Giving Up the Goo
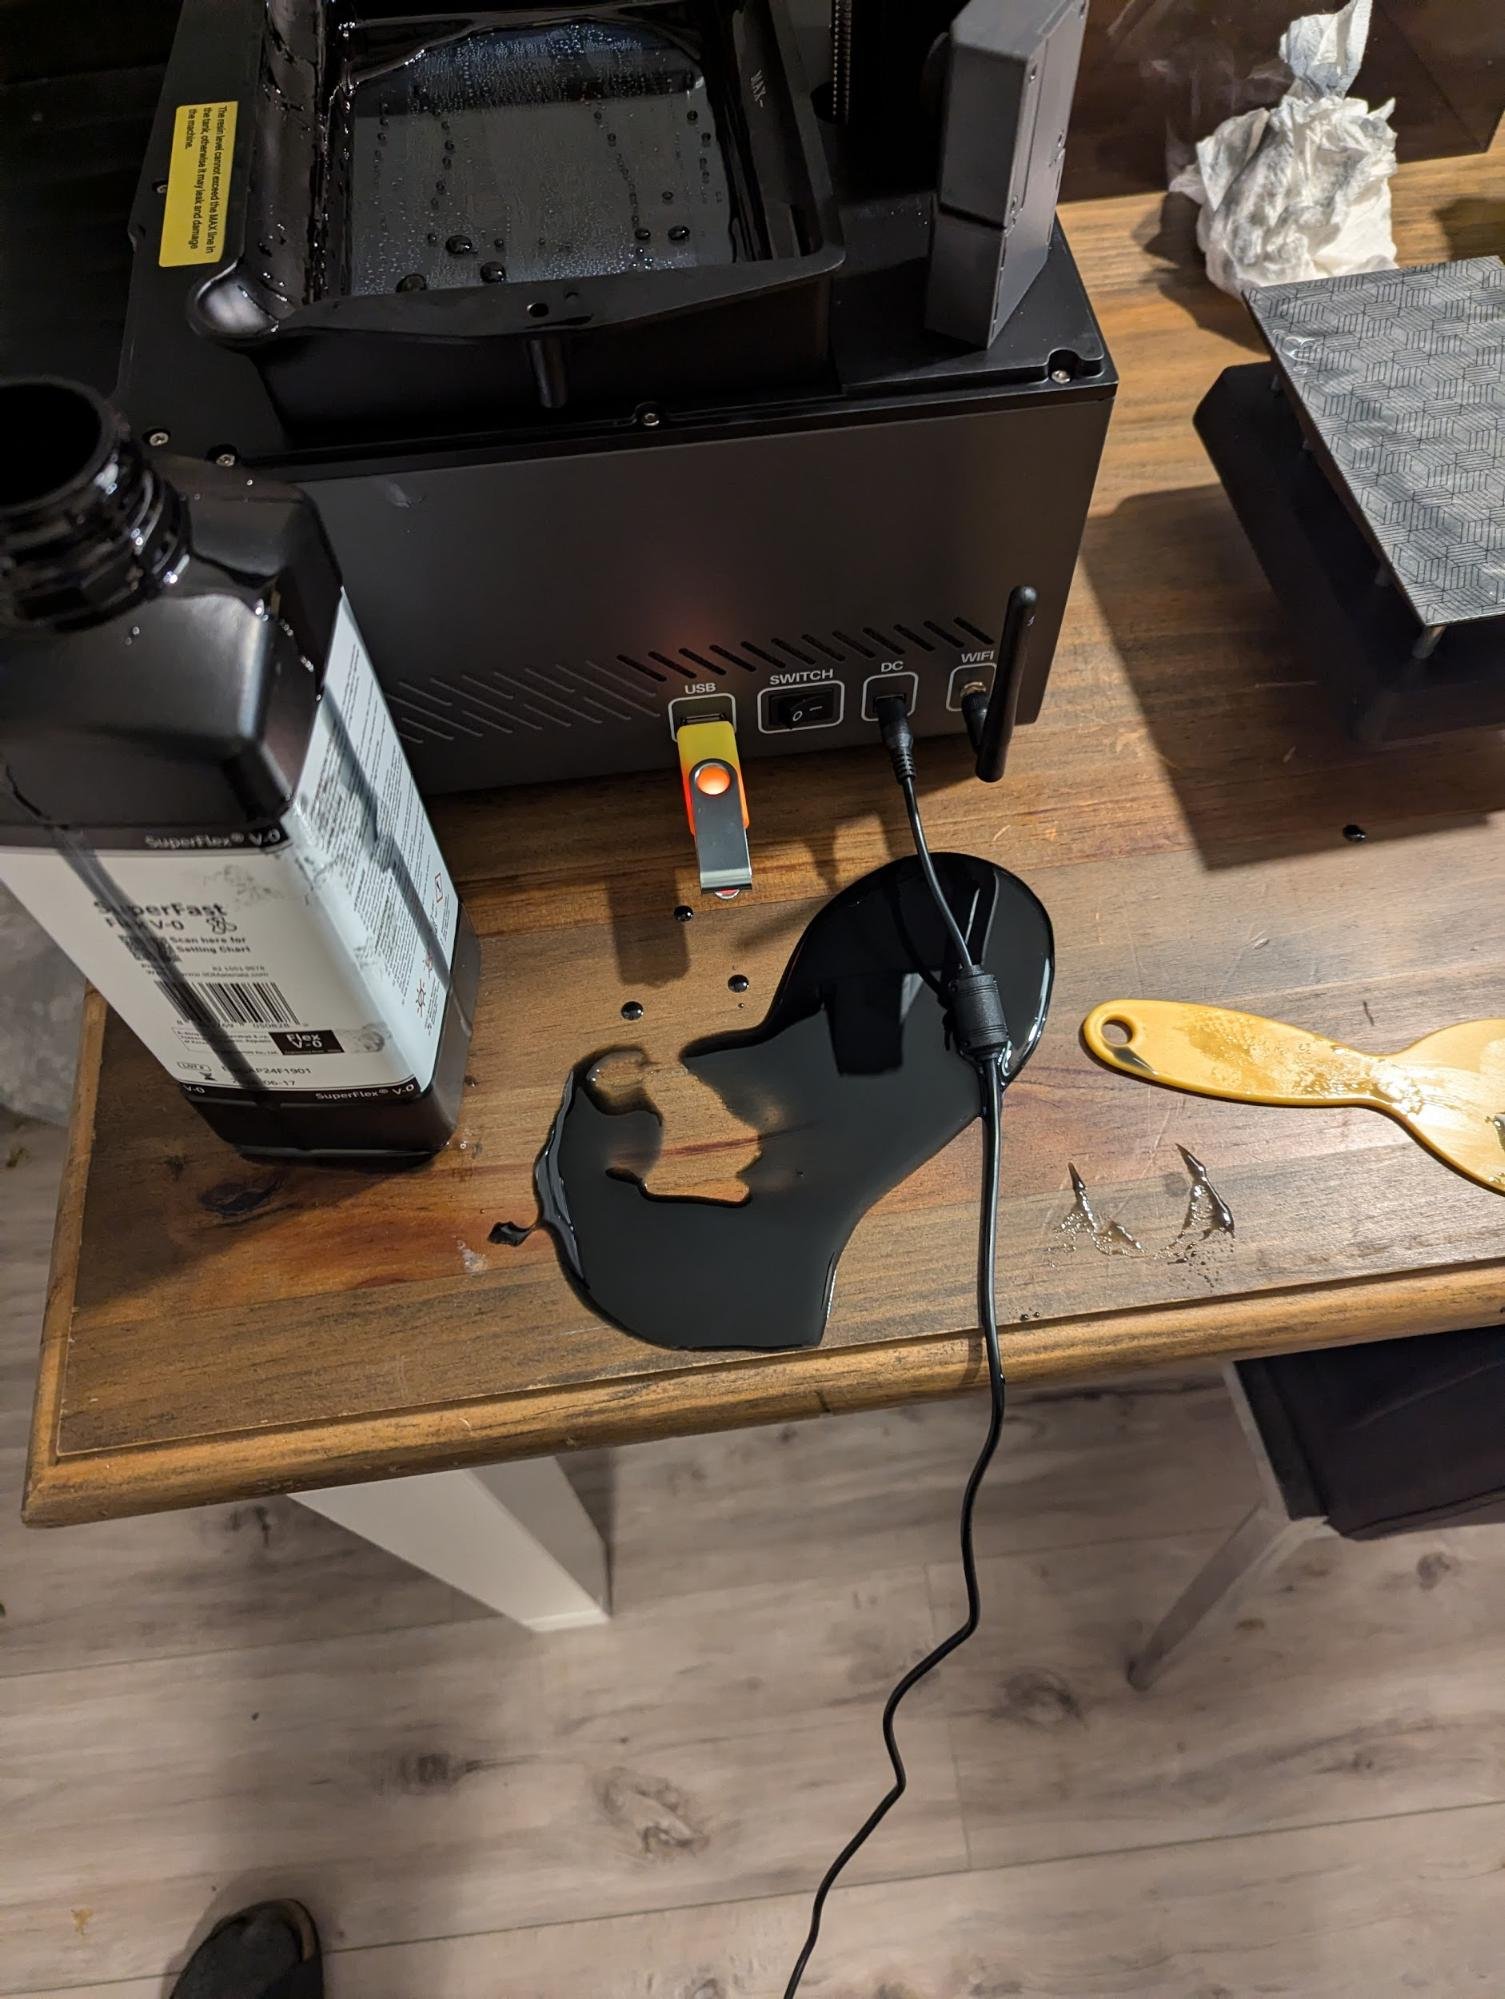
I couldn’t comprehend how much hassle SLA printing the bezels would be until I tried it… and my kitchen table will never be the same again.
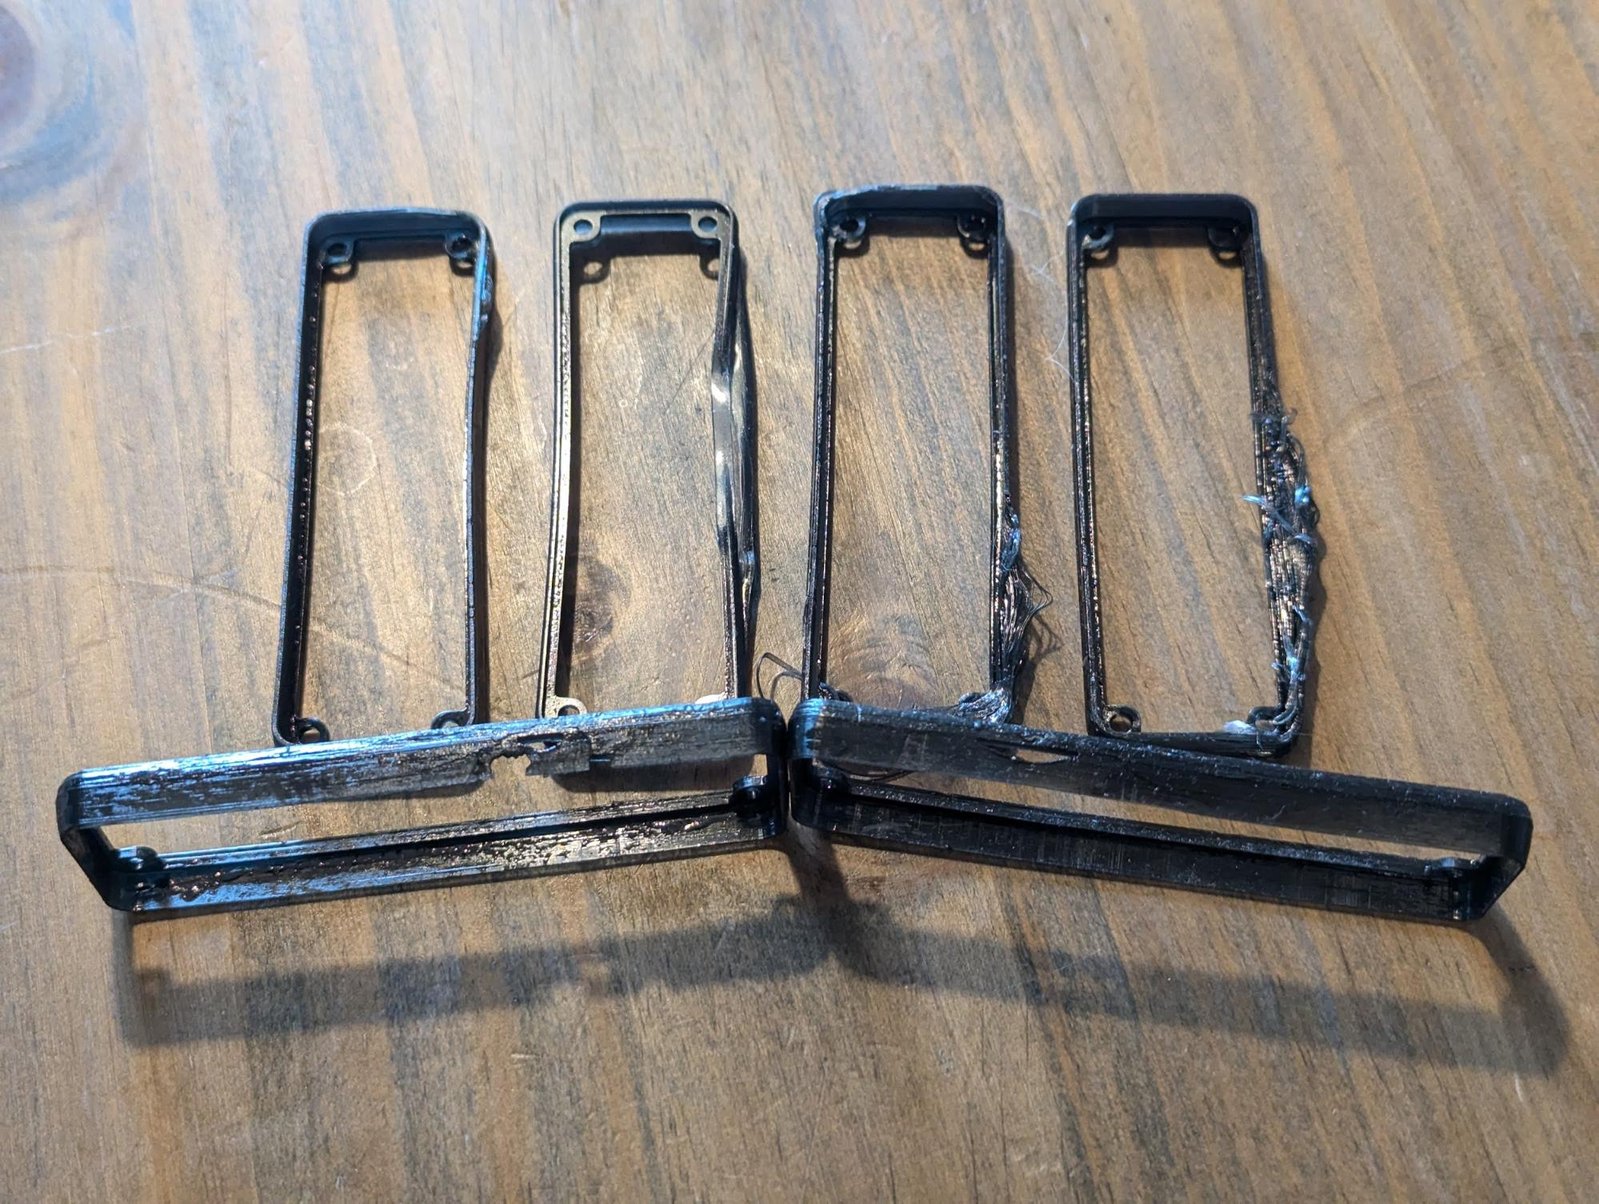
To add insult to my table’s injury, none of the parts came out quite right:
Silicon-e Not Silicon
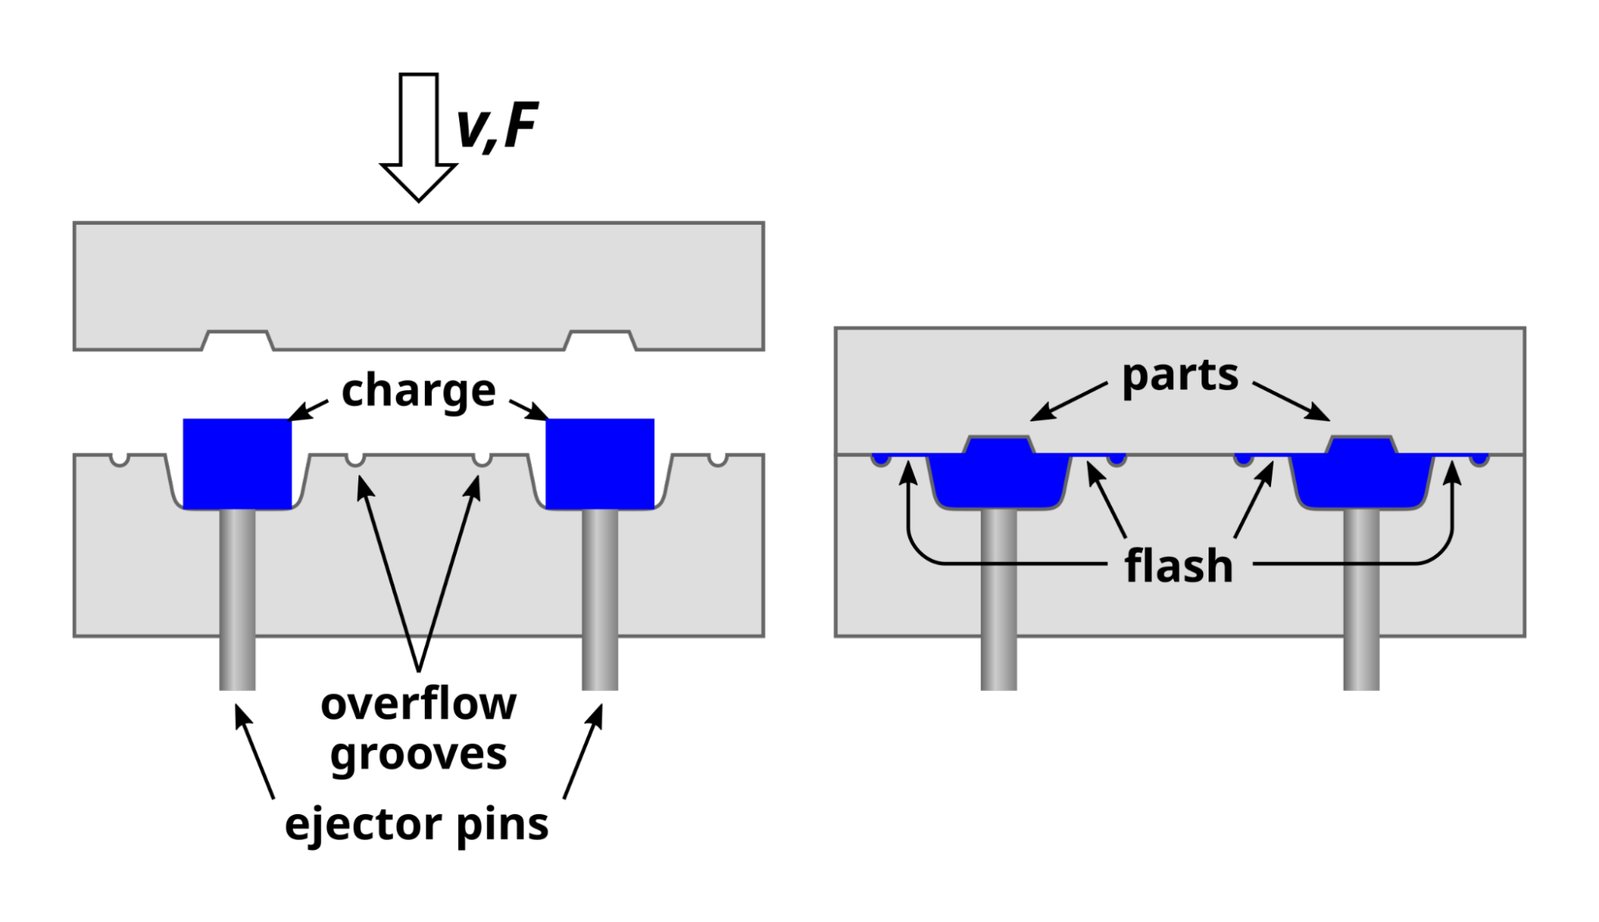
I finally snapped and decided to do this properly - I would dive into the world of injection moulding and get all these parts made without lifting a finger. And it turns out injection moulding silicone uses a special process called LSR (Liquid Silicone Rubber), which needs more steps than regular injection moulding. And more steps means more cost, which is not great. Thankfully there is a cheaper option that works great for simple parts called compression moulding. Basically, they put a chunk of silicone into a big panini press with your mould and just smoosh it into the correct form.
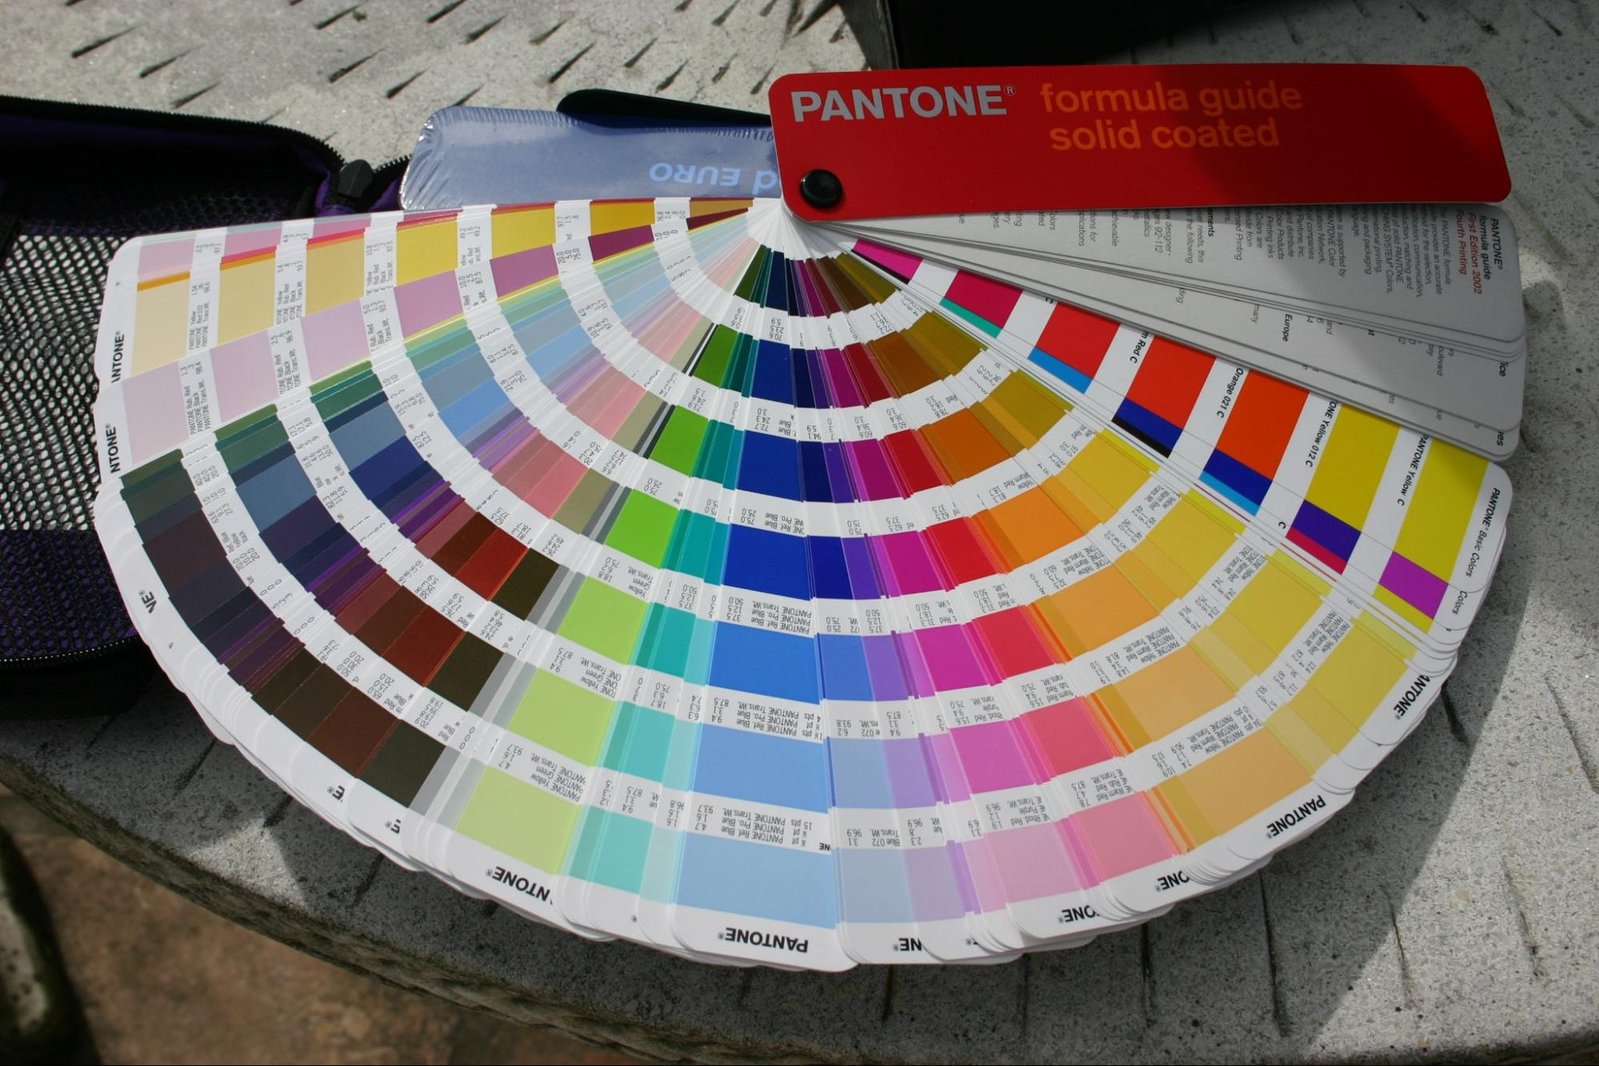
Once you pay the NRE charge (Non-Refundable Engineering), they’ll make the mould and you can get the first samples of your part (hopefully everything worked out, NRE means no take-backsies). You also have two things you can specify for your parts: the durometer (how soft the part is), and the colour. Both are very subjective things you can’t really judge on a monitor. We have a solution for colour subjectivity in the form of the Pantone Colour Matching System™.
Basically, I bought some coloured plastic chips, and the manufacturer will have the exact same chips, so when I say "Cool Grey 11 C," they know exactly what that looks like to them, regardless of how I perceive it. As for the durometer, I’m just going to ask for samples in 60A and 70A, which are just below and above tire rubber hardness respectively.
Whew, that’s all I’ve got in the tank - I need to start packing for my flight which leaves in ten hours from time of writing. On a related note, I’ll be at Hackaday Supercon this weekend - so if anyone who’s read this far is over there, please come and say hi!
-Aleksa
