Hi everyone,
Since our last update, we’ve continued to grow, and are 75% toward our minimum goal (~$25k/35). We are grateful and excited to deliver you all Somu! But we are not there yet — please share with any of your friends that might be interested, and on social media!
In the meantime, I wanted to share some more behind the scenes of working on Somu and my workflow.
First it starts with Solo, the larger authenticator form-factor that we crowdfunded last year. Of the feedback we got, some of the popular comments were about making a smaller form-factor and capacitive touch. So I got to work!
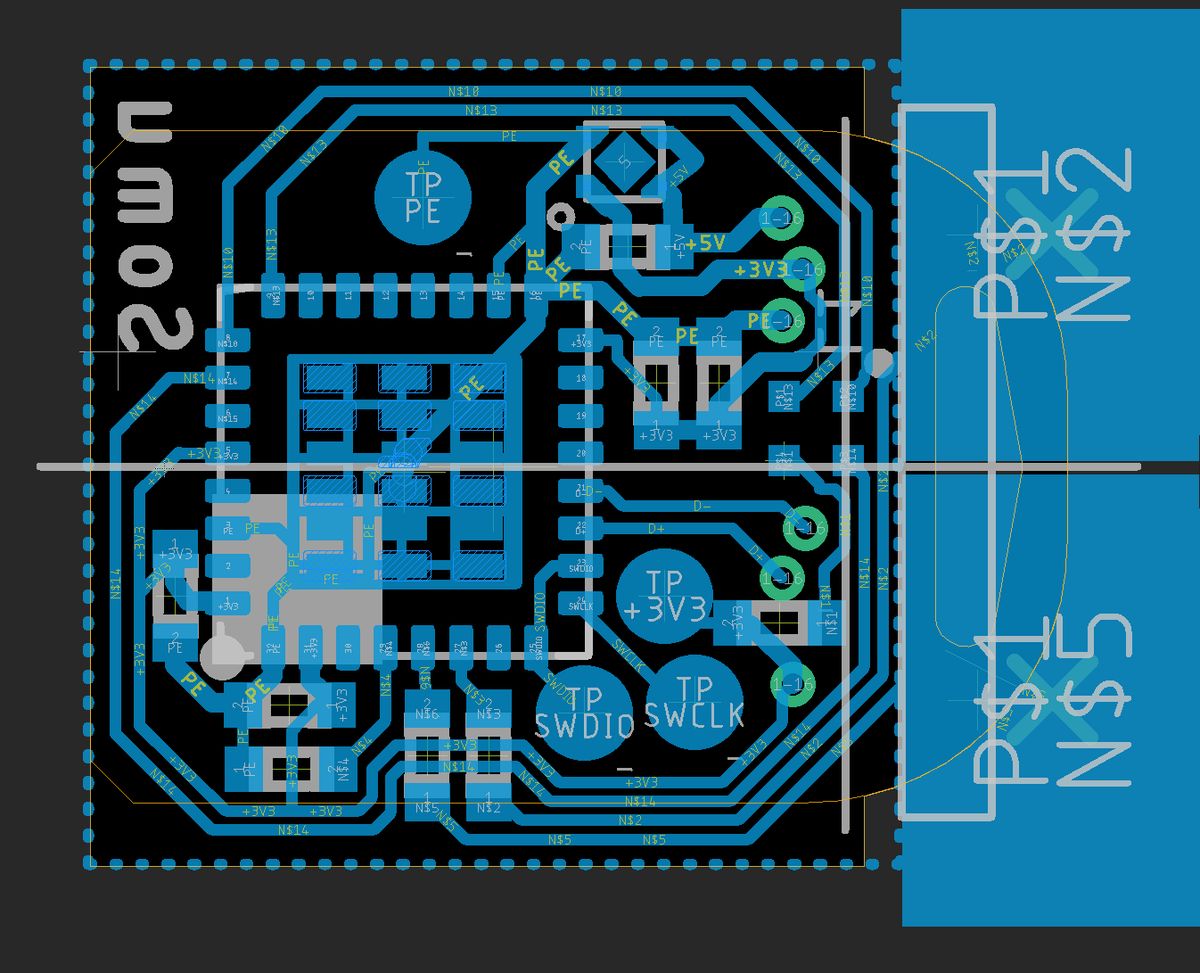
We use the same components and firmware as with Solo to avoid any new risk. The biggest challenge was routing the design so that everything could fit in a USB port.
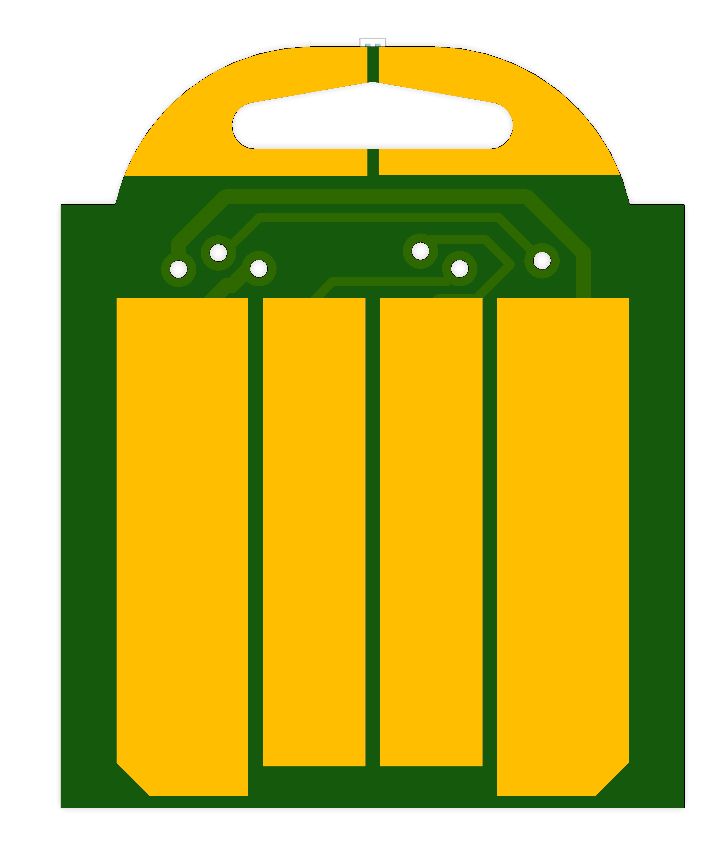
When you look at the PCB from the topside, you can see there is only one small area to put vias.
So not only has the area shrunk a ton, but it’s a 1.2 layer board. :-)
But after much time spent optimizing the layout and footprints, everything fits okay on Somu.
Even the same LED pinout was kept. :-D
Switching to capacitive touch really helped pull this off. Our previous snap dome button takes up quite a bit of space, so switching that out to an edge-plated surface freed up a bunch of space.
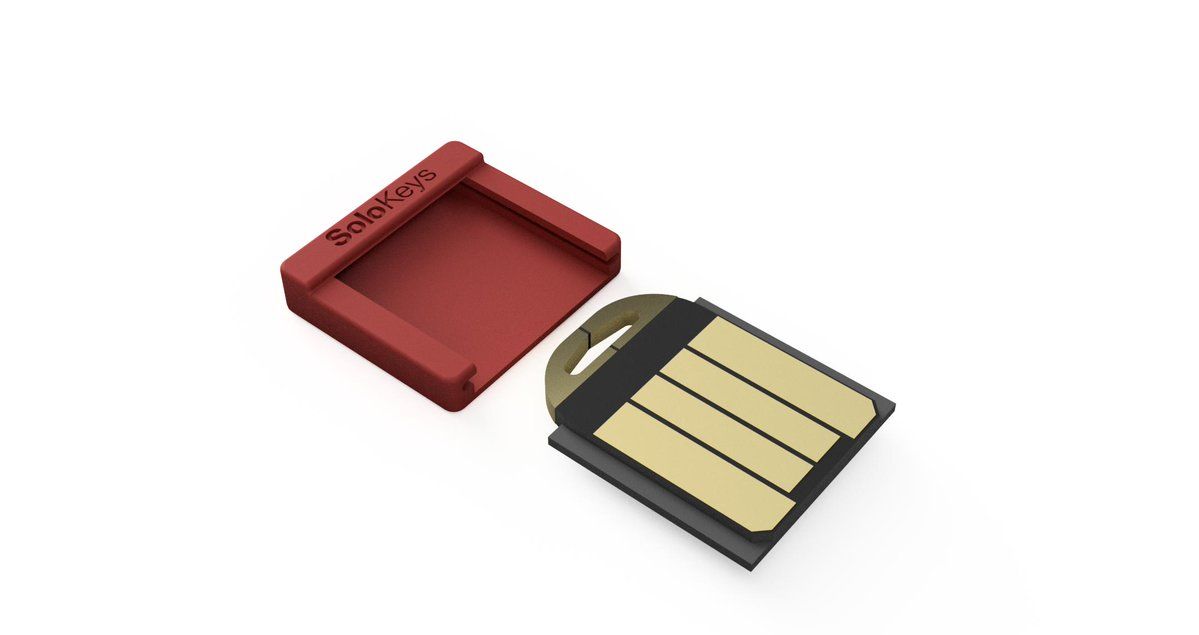
Another interesting detail of the Somu circuits is that they leverage "Z-axis milling" to help them fit into the rubber case.
When the 1 mm circuit board is manufactured, about 0.5 mm is milled off of the sides. These tabs are used to fit Somu snugly into the rubber case.
Stay tuned for our next update which will be on writing a blinky app for Somu, or writing a FIDO2 extension. And don’t forget, help us out and share Somu on social media!


