Project update 7 of 7
Good News Everyone! Things Are Happening...
by Kevin Santo CappuccioFirst of all, sorry I haven’t sent one of these updates in a while. Too many cool things have been happening that writing about them got pushed to the bottom of the list. So now I get to tell you about all the extra bonus stuff you didn’t even know you were getting when you backed Jumperless V5.
No More Naked Click Wheels!
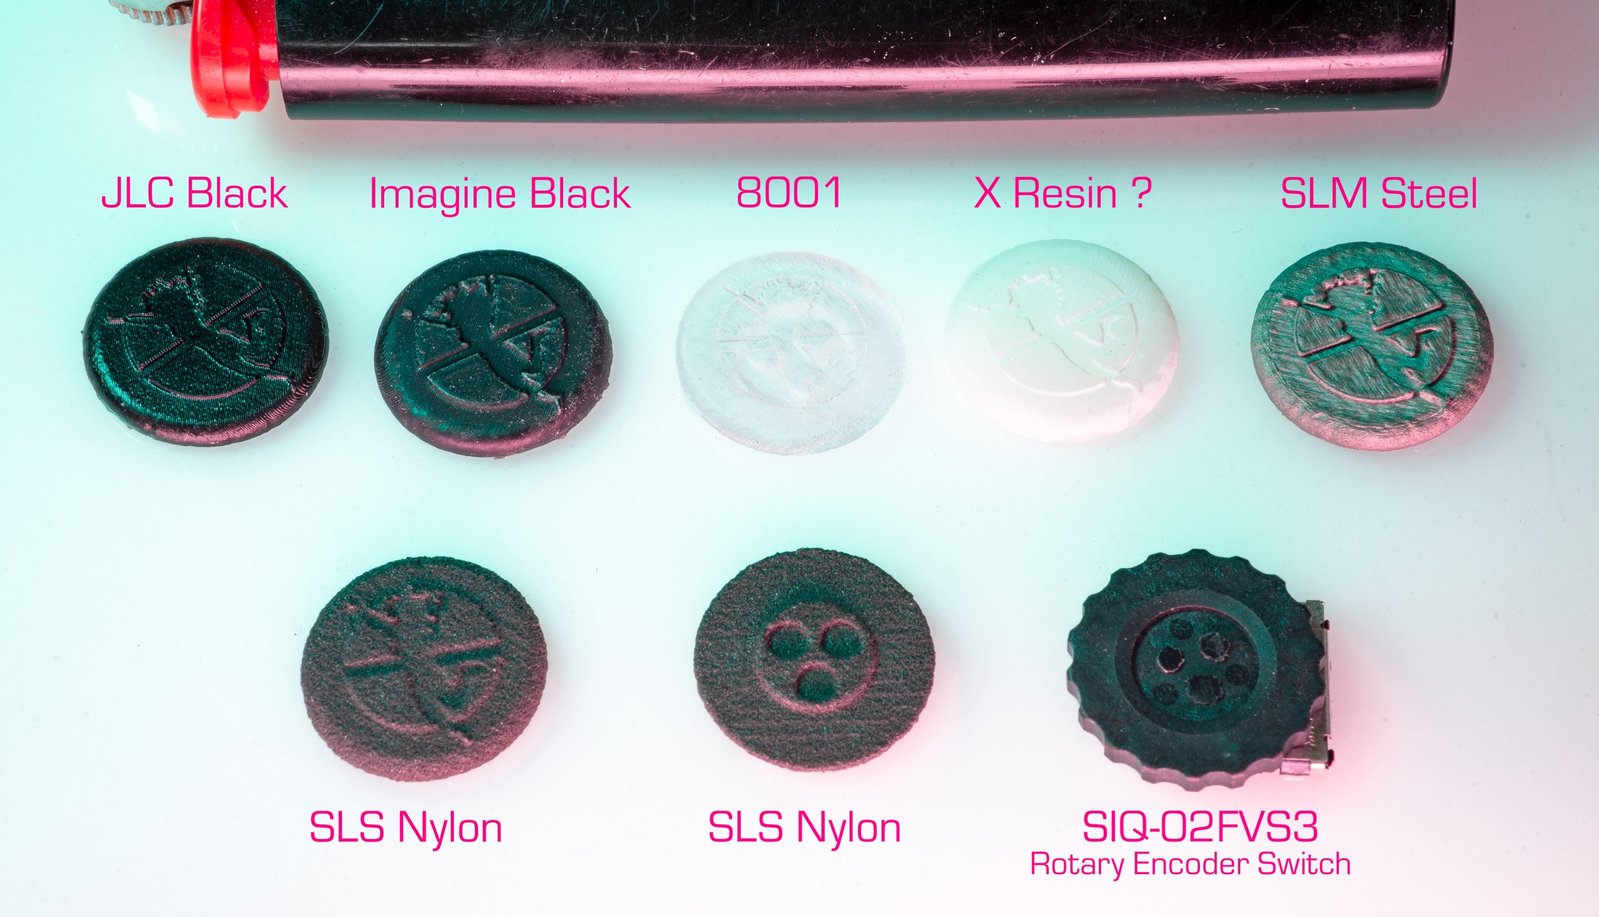
I was putting in an order for some new breadboard shells at JLC3DP, when I figured I should maybe see if putting a cap over the SIQ-02FVS3 rotary encoder/switch would look interesting. I really didn’t intend to make it an included thing, just a "here are the files if you want to print one yourself" type deal. So I got them printed in a bunch of different materials to see which ones look the best.
Meh… No real stand outs (the SLM steel ended up being really cool after polishing though, you’ll see it out of focus in a later image.)
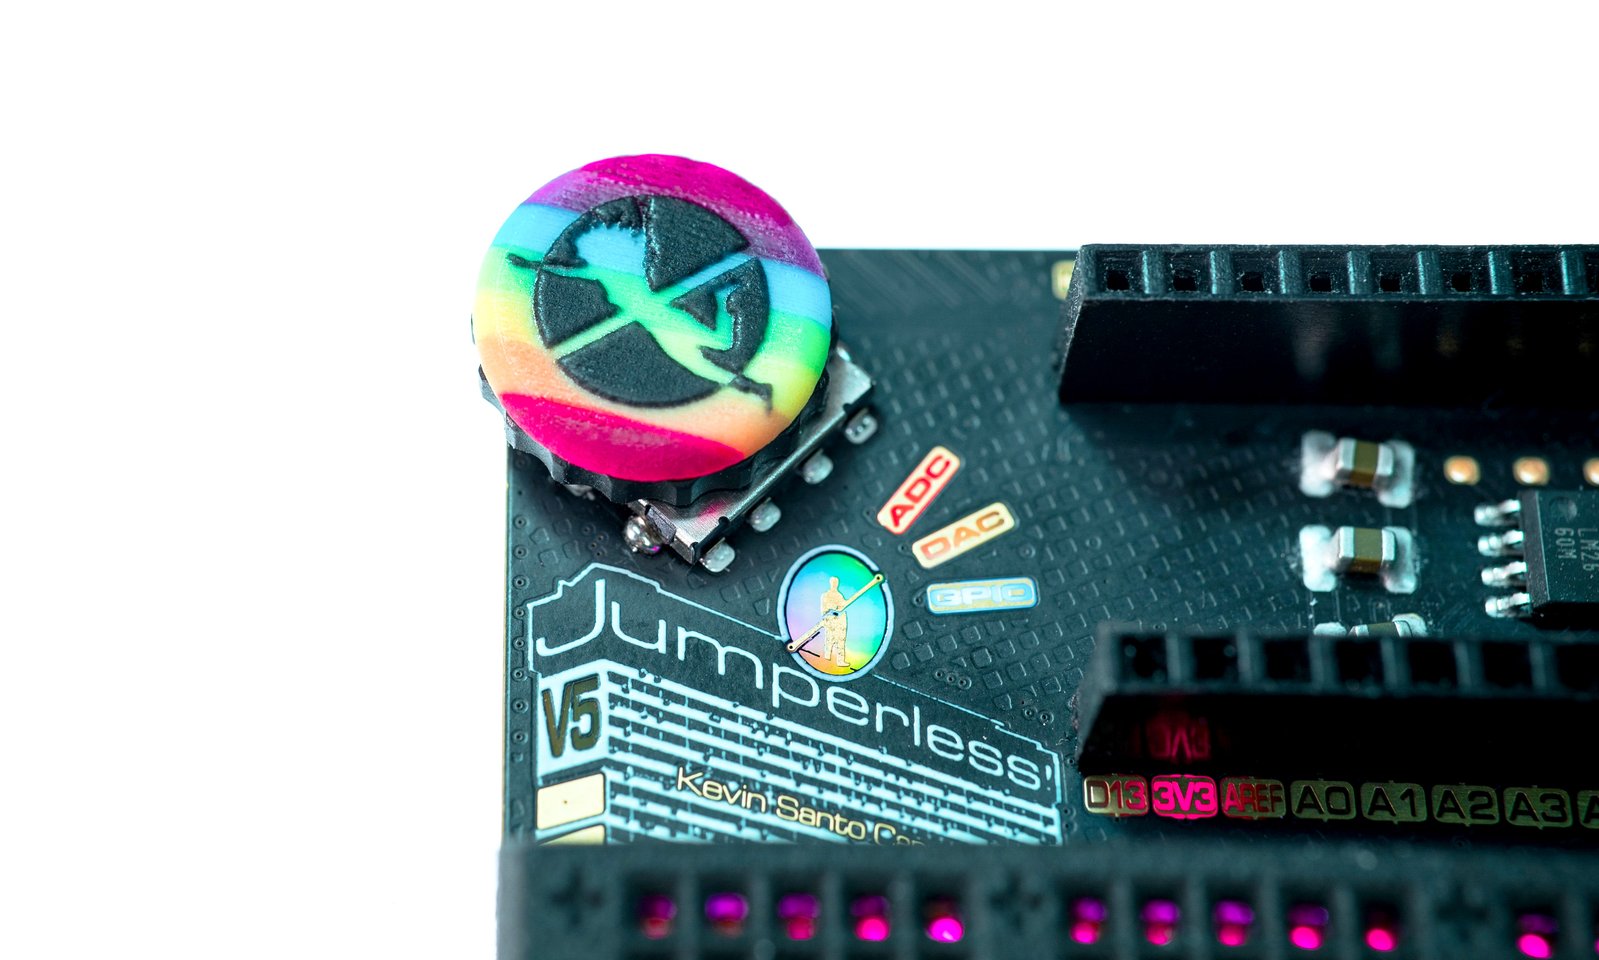
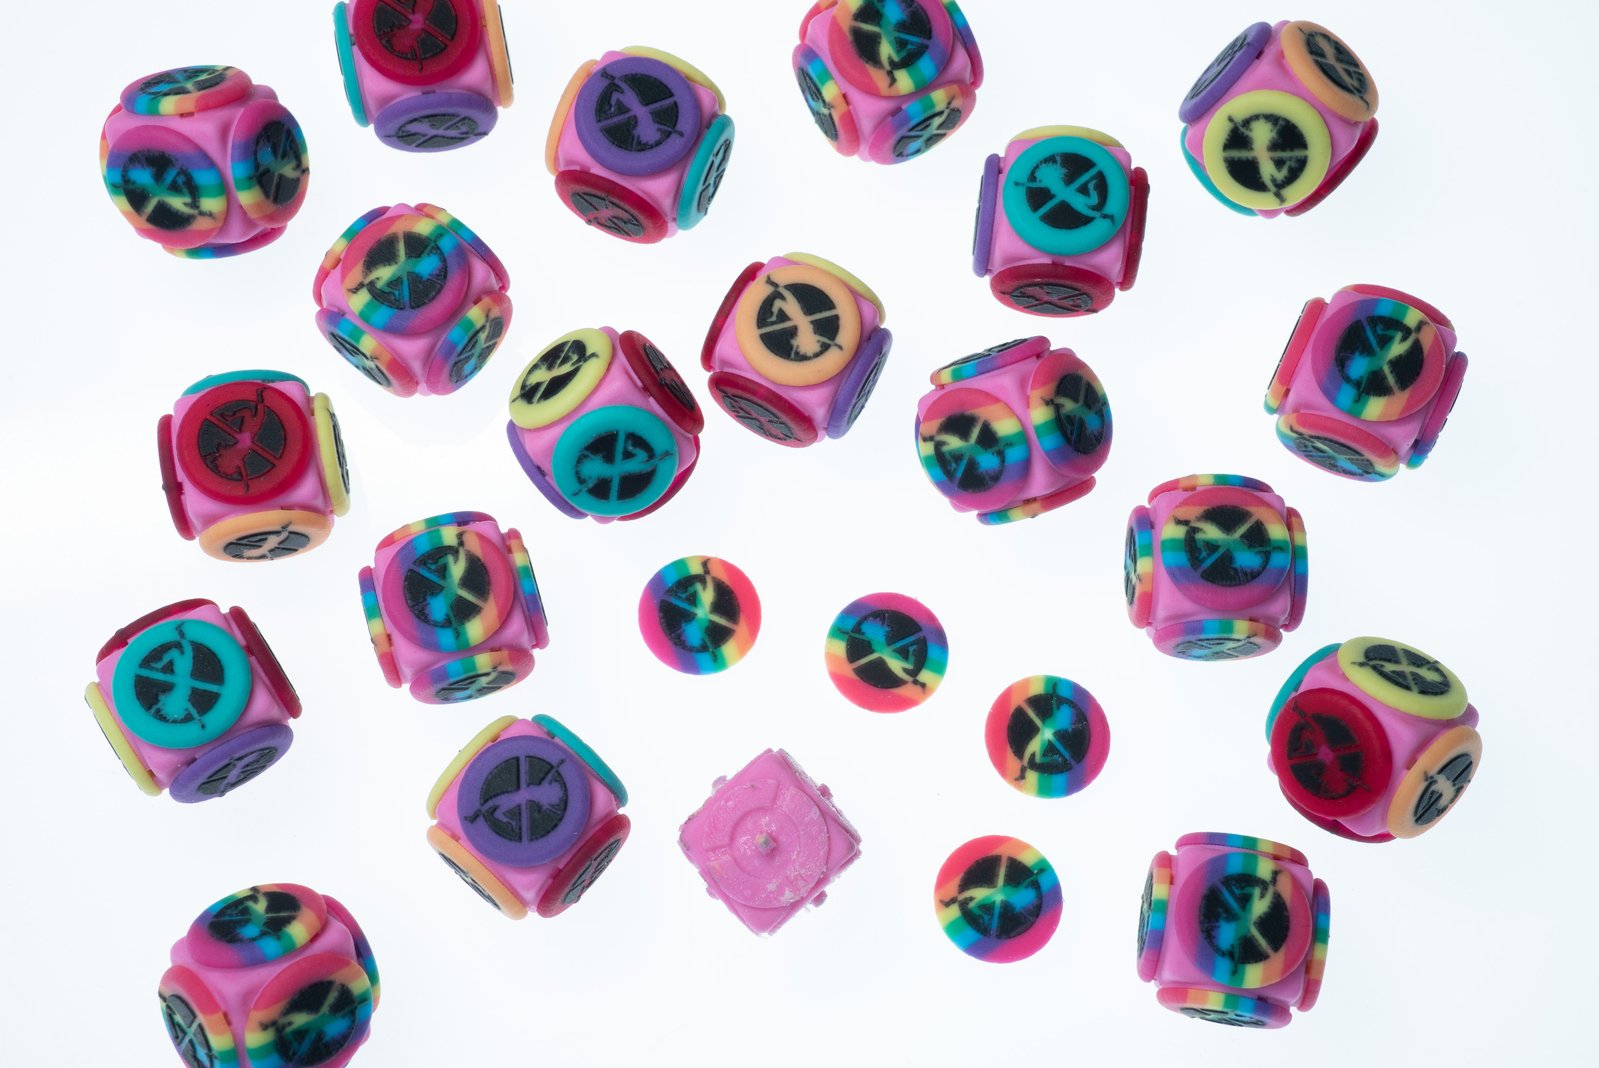
At some point I figured I’d give JLC’s full-color resin WJP printing a try, with fairly low expectations. Surely something in full color must sacrifice some resolution, right?
It honestly looked *too* good, because once I saw one on a Jumperless V5, a board without one looks like unfinished garbage.
There was no going back, I wouldn’t be able to live with myself shipping Jumperlesses with naked click wheels (gasp)!
The Battle
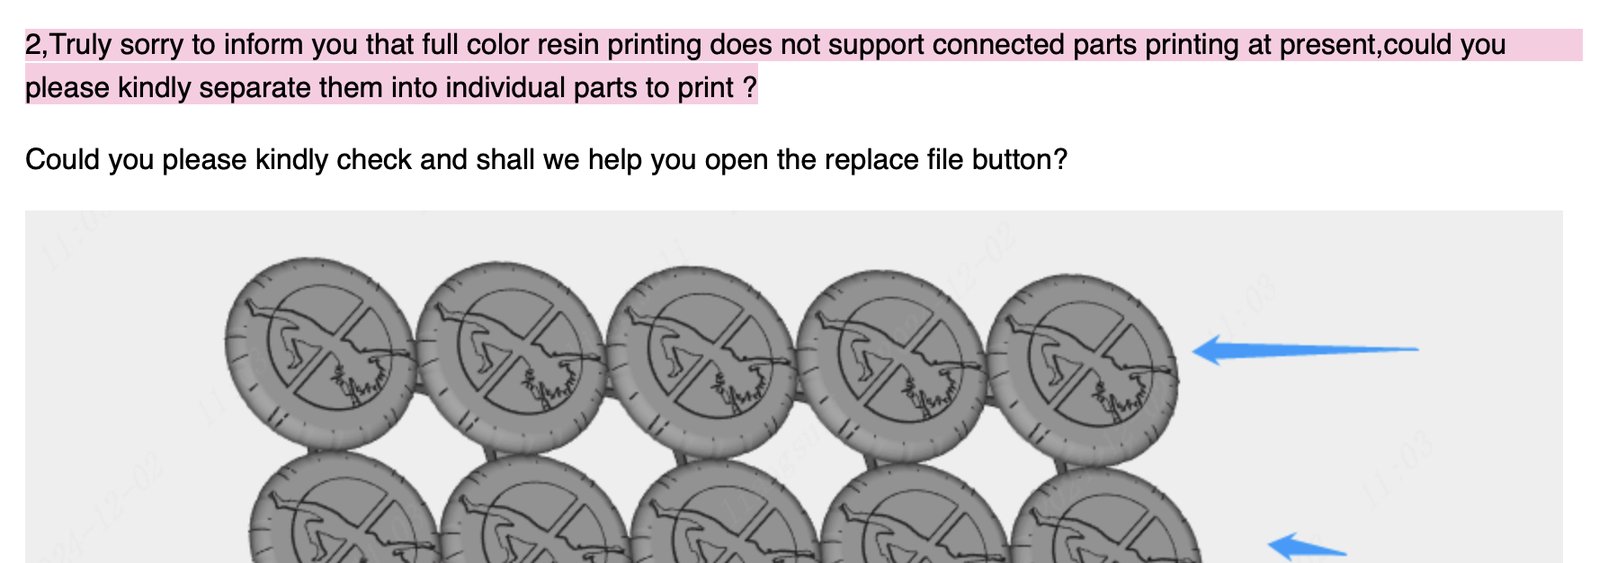
The issue is that these caps are really tiny, and there’s a cost floor of (hilariously) $6.66 per WJP print until you get into the regime of paying for the volume of material. Okay fine, I’ll just stick a bunch together on a frame and separate them myself.
I’m sure they have a good reason for this, but (seemingly) arbitrary rules getting in the way of me making stuff flips some switch in my brain where I become hyper-fixated on coming up with a workaround. Which led to me submitting a series of silly shapes in the hopes that one of them wouldn’t be recognized as multiple parts.
This one actually did sneak by their patrols. But they were a bit of pain to separate and the ones printed vertically had some weird artifacts around the black parts. Still, it felt like a win.
This Update Is Sponsored By JLC3DP
While talking about all this online (I promise I wasn’t complaining), JLC3DP reached out and graciously offered to make an exception to the "no connected parts" rule for me and a sponsorship. In return, I’m supposed to mention them in a post, which is what you’re reading now. But I would have probably said all this anyway, as they do excellent work. They’re the only ones who seem to be able to pull off the ultra thin 0.48mm separations on these SLS nylon breadboard shells. And also, they are the only people I know of offering WJP full-color resin. Which is kind of crazy how few prints I’ve seen using it, you should seriously try it out. <\ad>
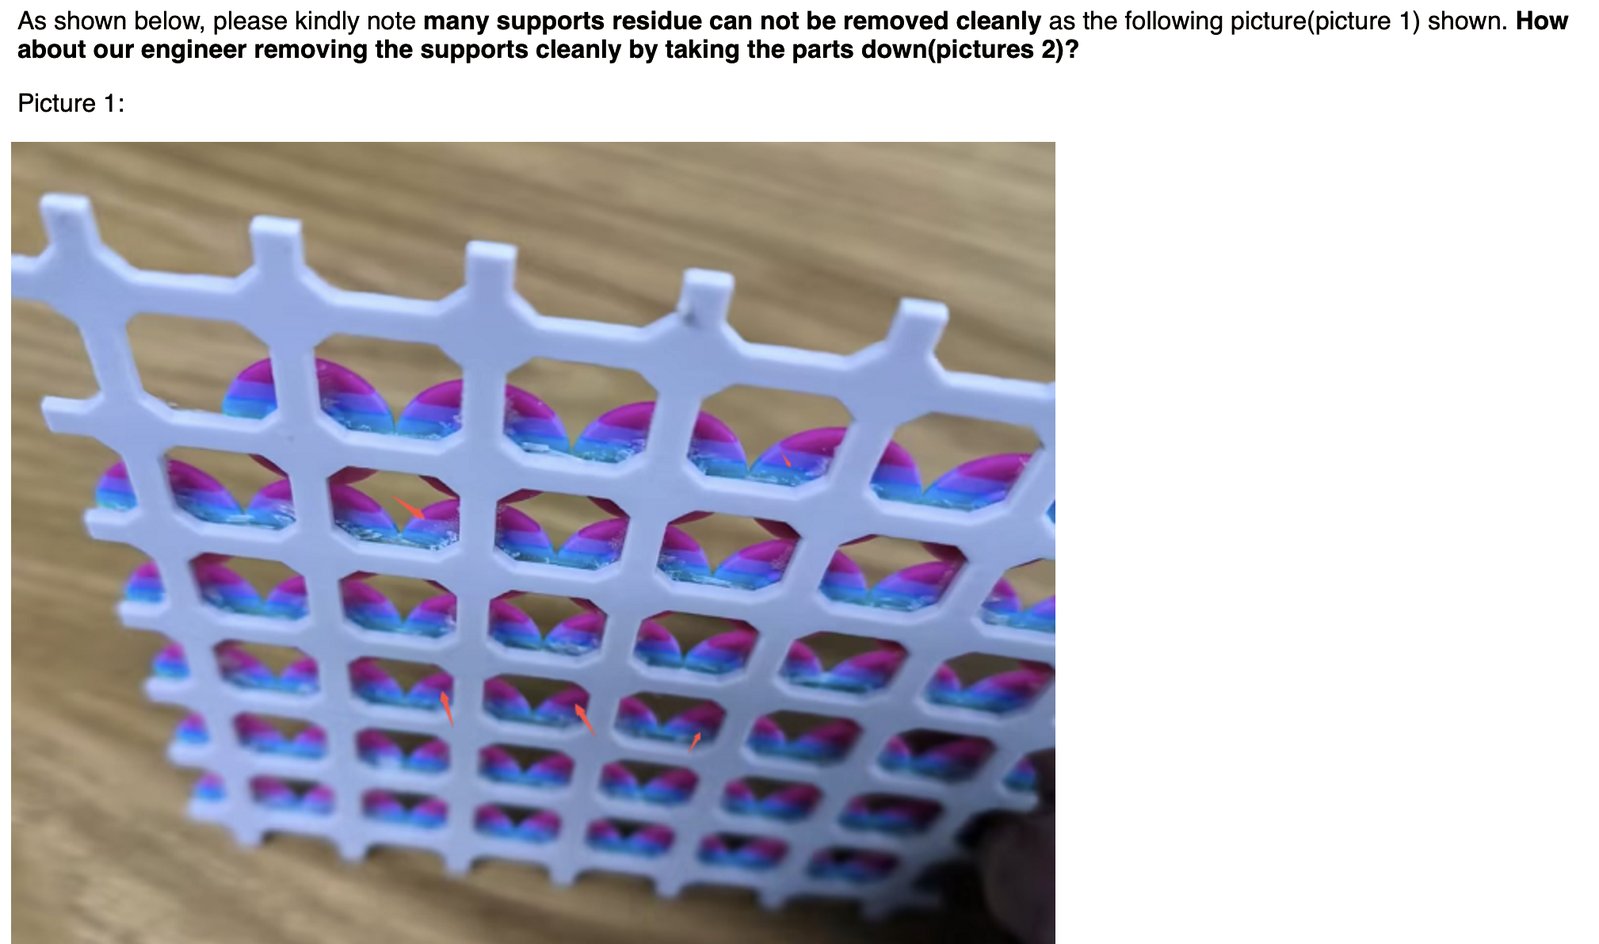
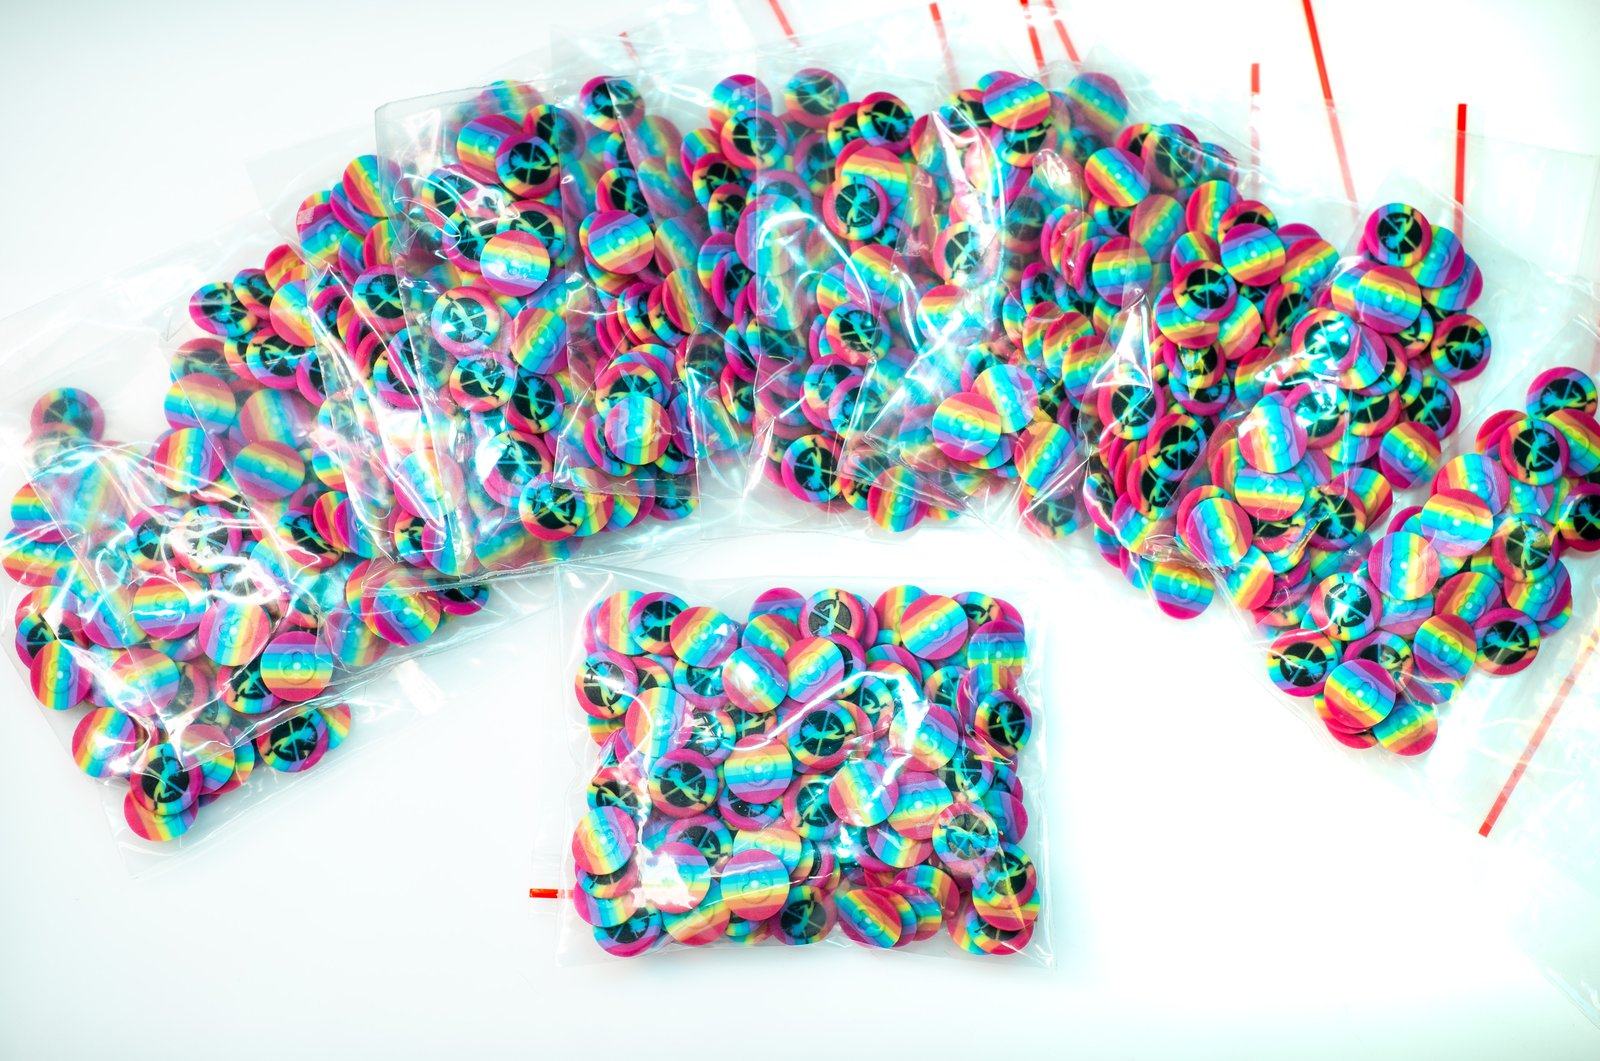
Anyway, I uploaded them in 7x7 sheets, fully resigned to future me’s couple day ordeal removing the frames and cleaning them up. Then I get an email.
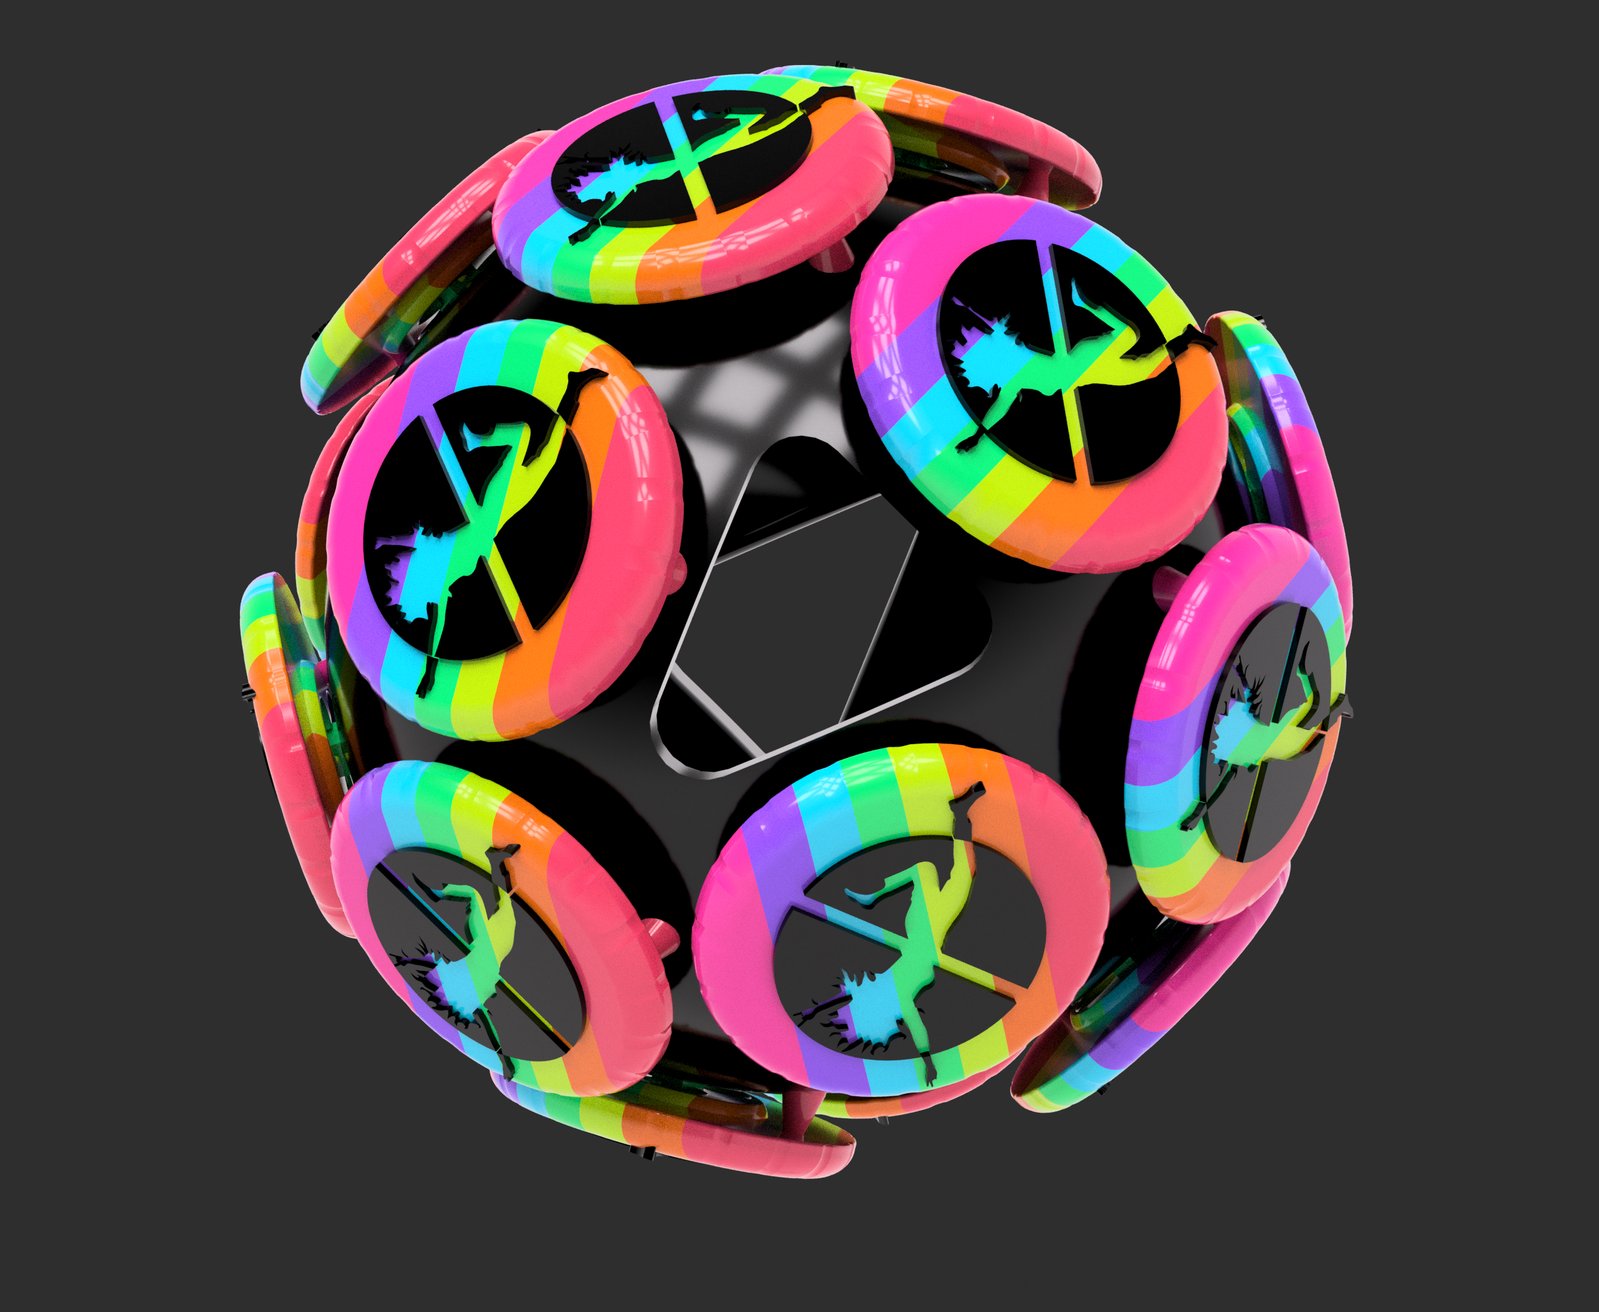
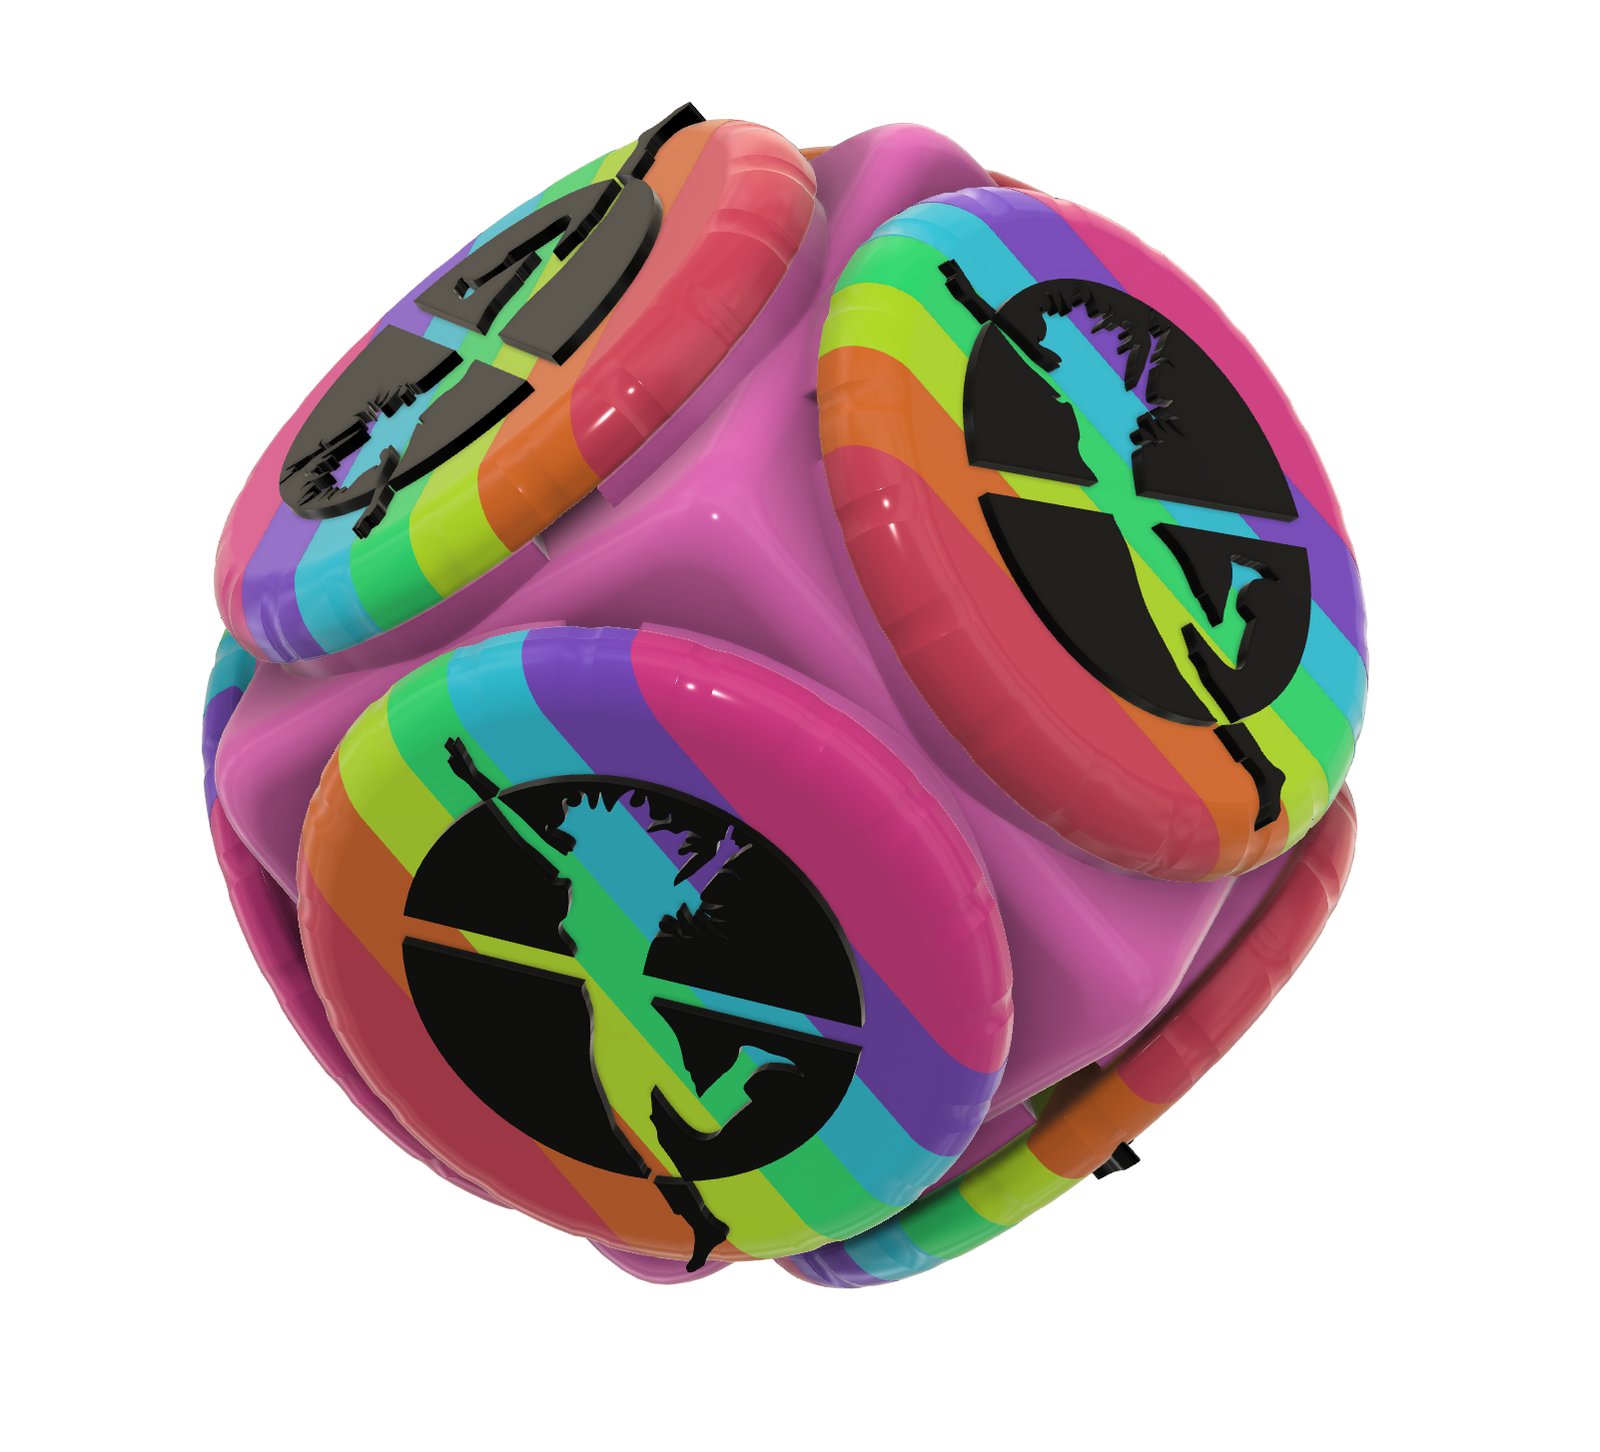
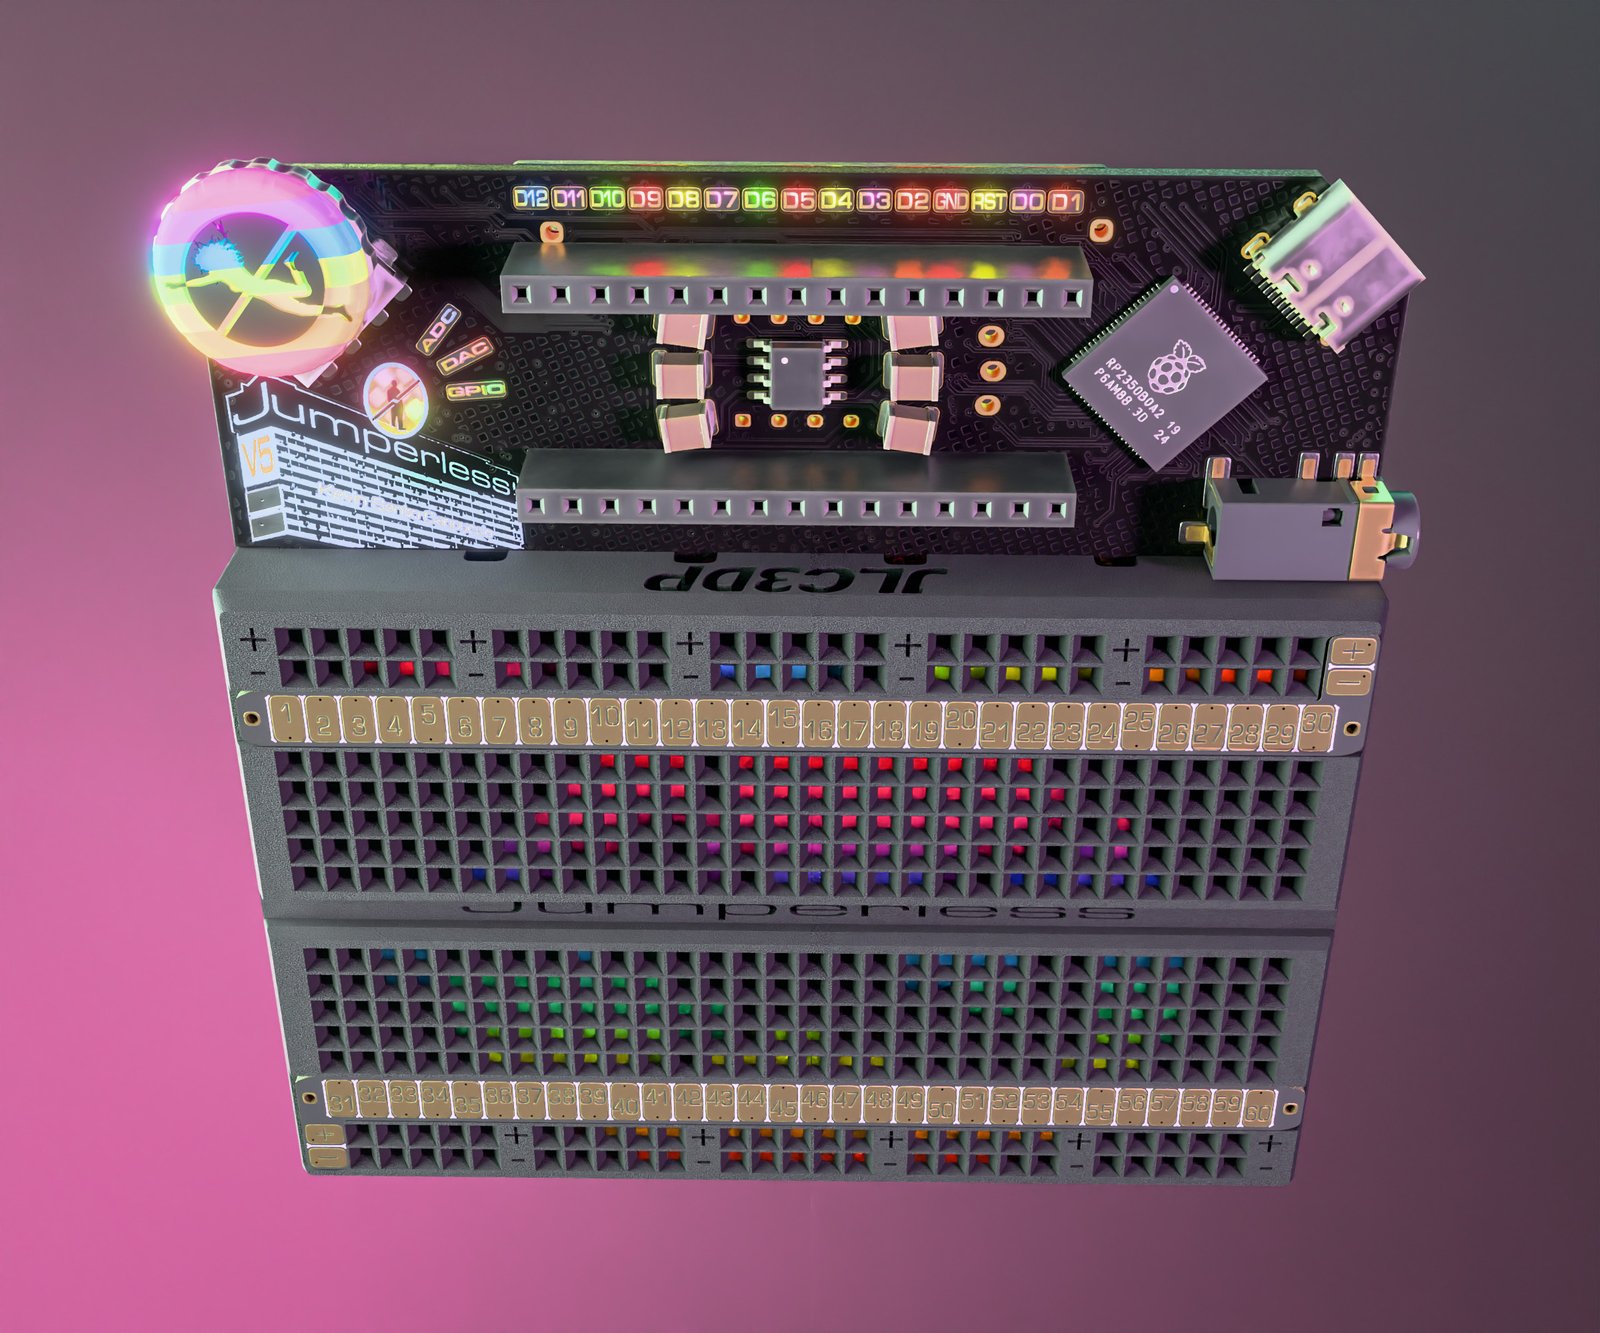
Fun little bonus pic, I made this render so see if JLC3DP would want me to put their logo on my breadboard shells in exchange for absolutely cranking every possible quality setting on their SLS nylon printers, (They already come out nearly perfect, I just wanted to see if it was possible to push it further.) JLC3DP came back and told me they already do that for these prints in particular because of the super-thin features, but they’d be happy to push the quality settings even further without needing to put ads on my stuff. Which is a relief, because it felt kind of gauche. But I liked how the render turned out so I’m showing you here.
The Bus Pirate/QWIIC/Analog/Whatever Adapter Board
Turns out, the Jumperless community has a ton of overlap with the Bus Pirate community. Which makes sense, we both bring a similar vibe with the stuff we make which seems to attract a similar group of cool nerds.
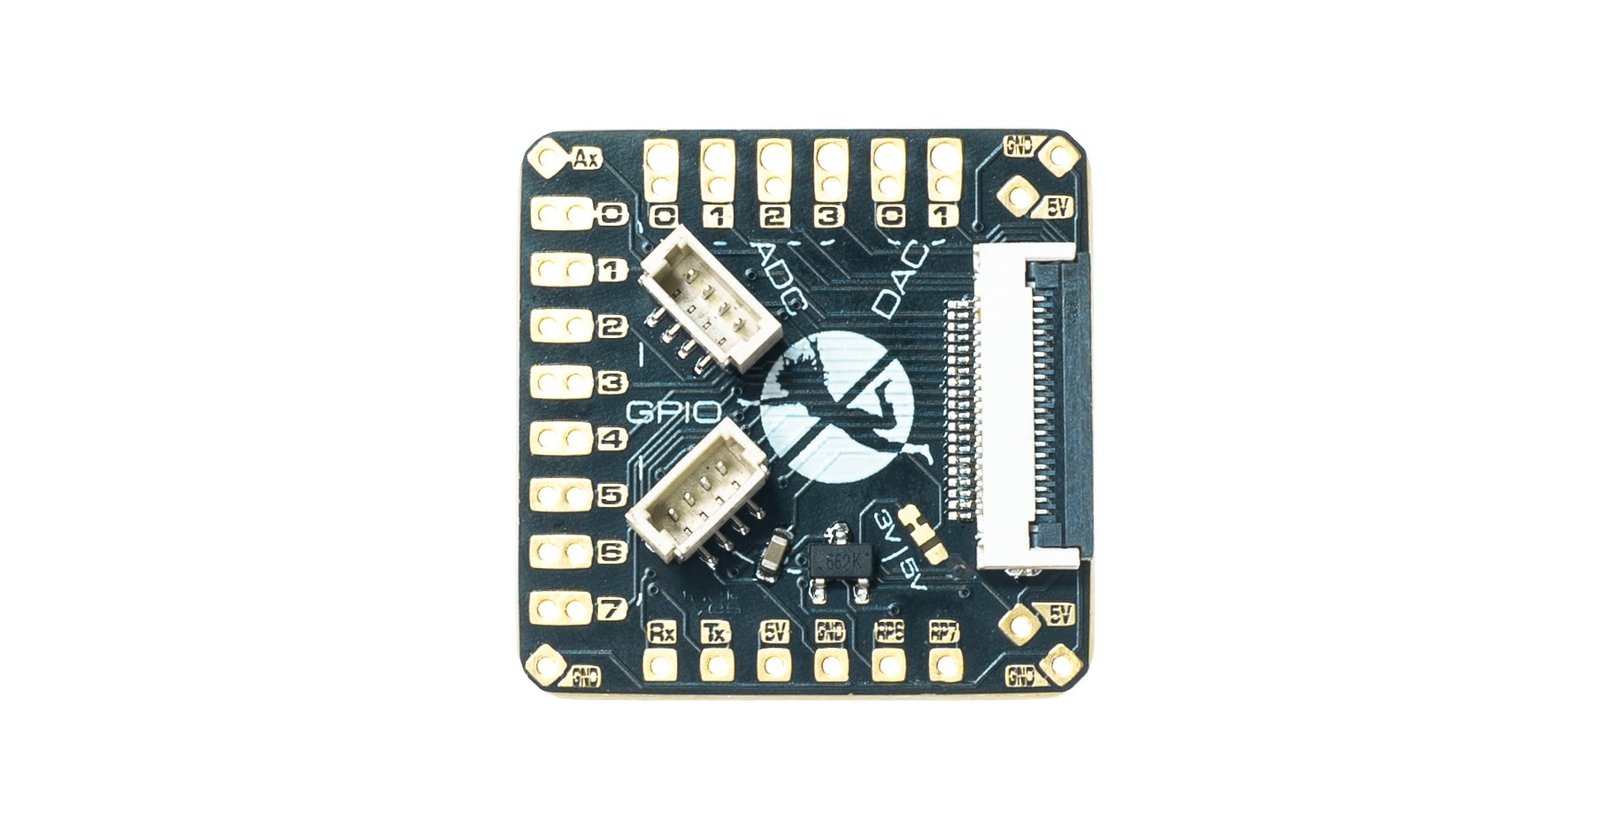
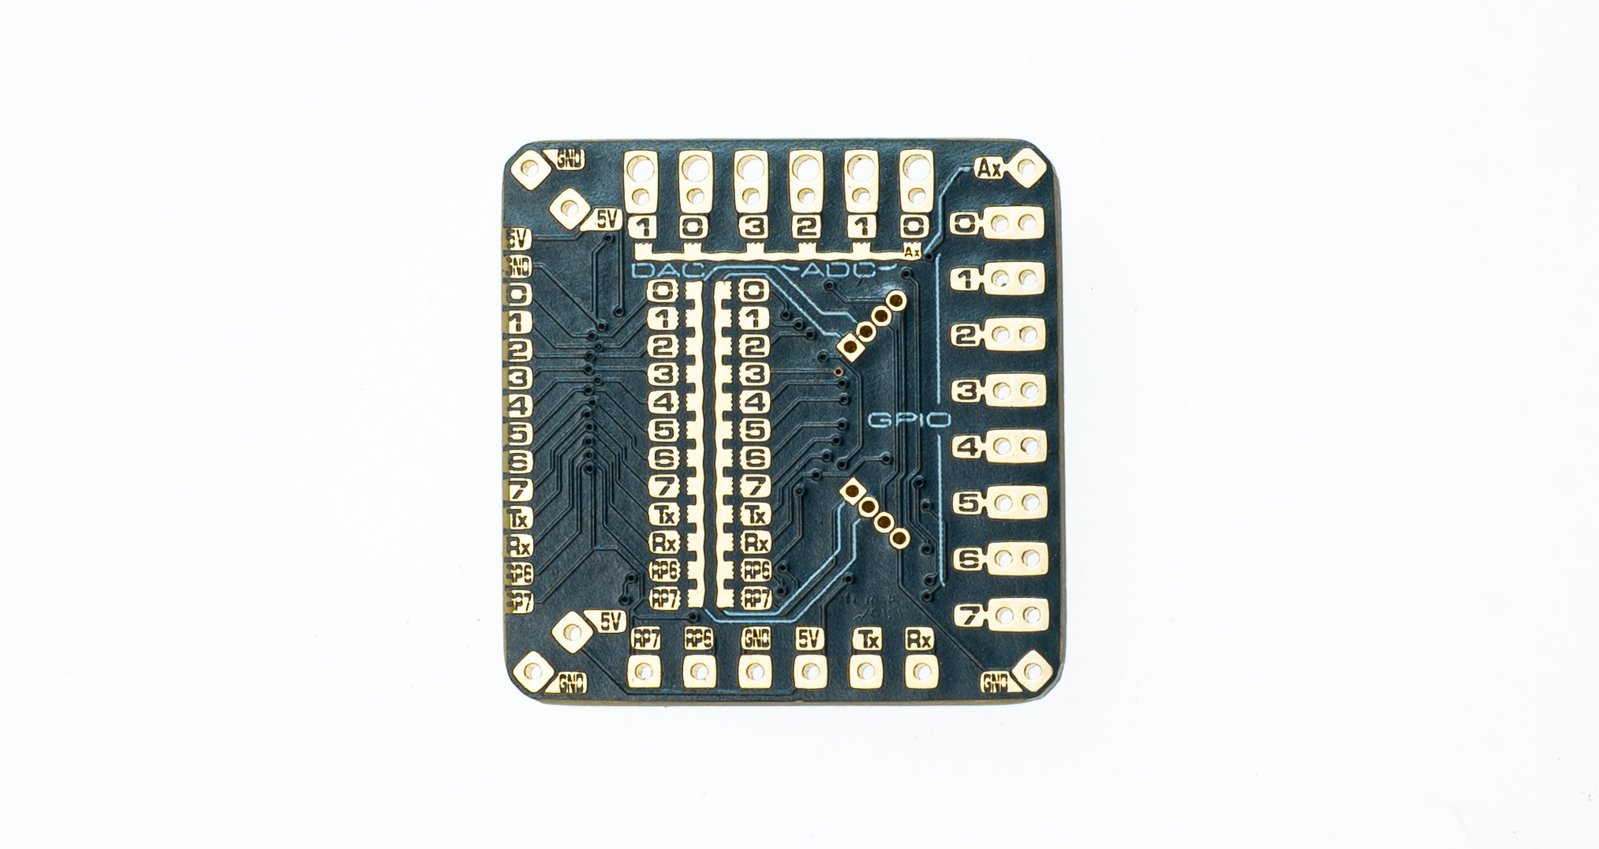
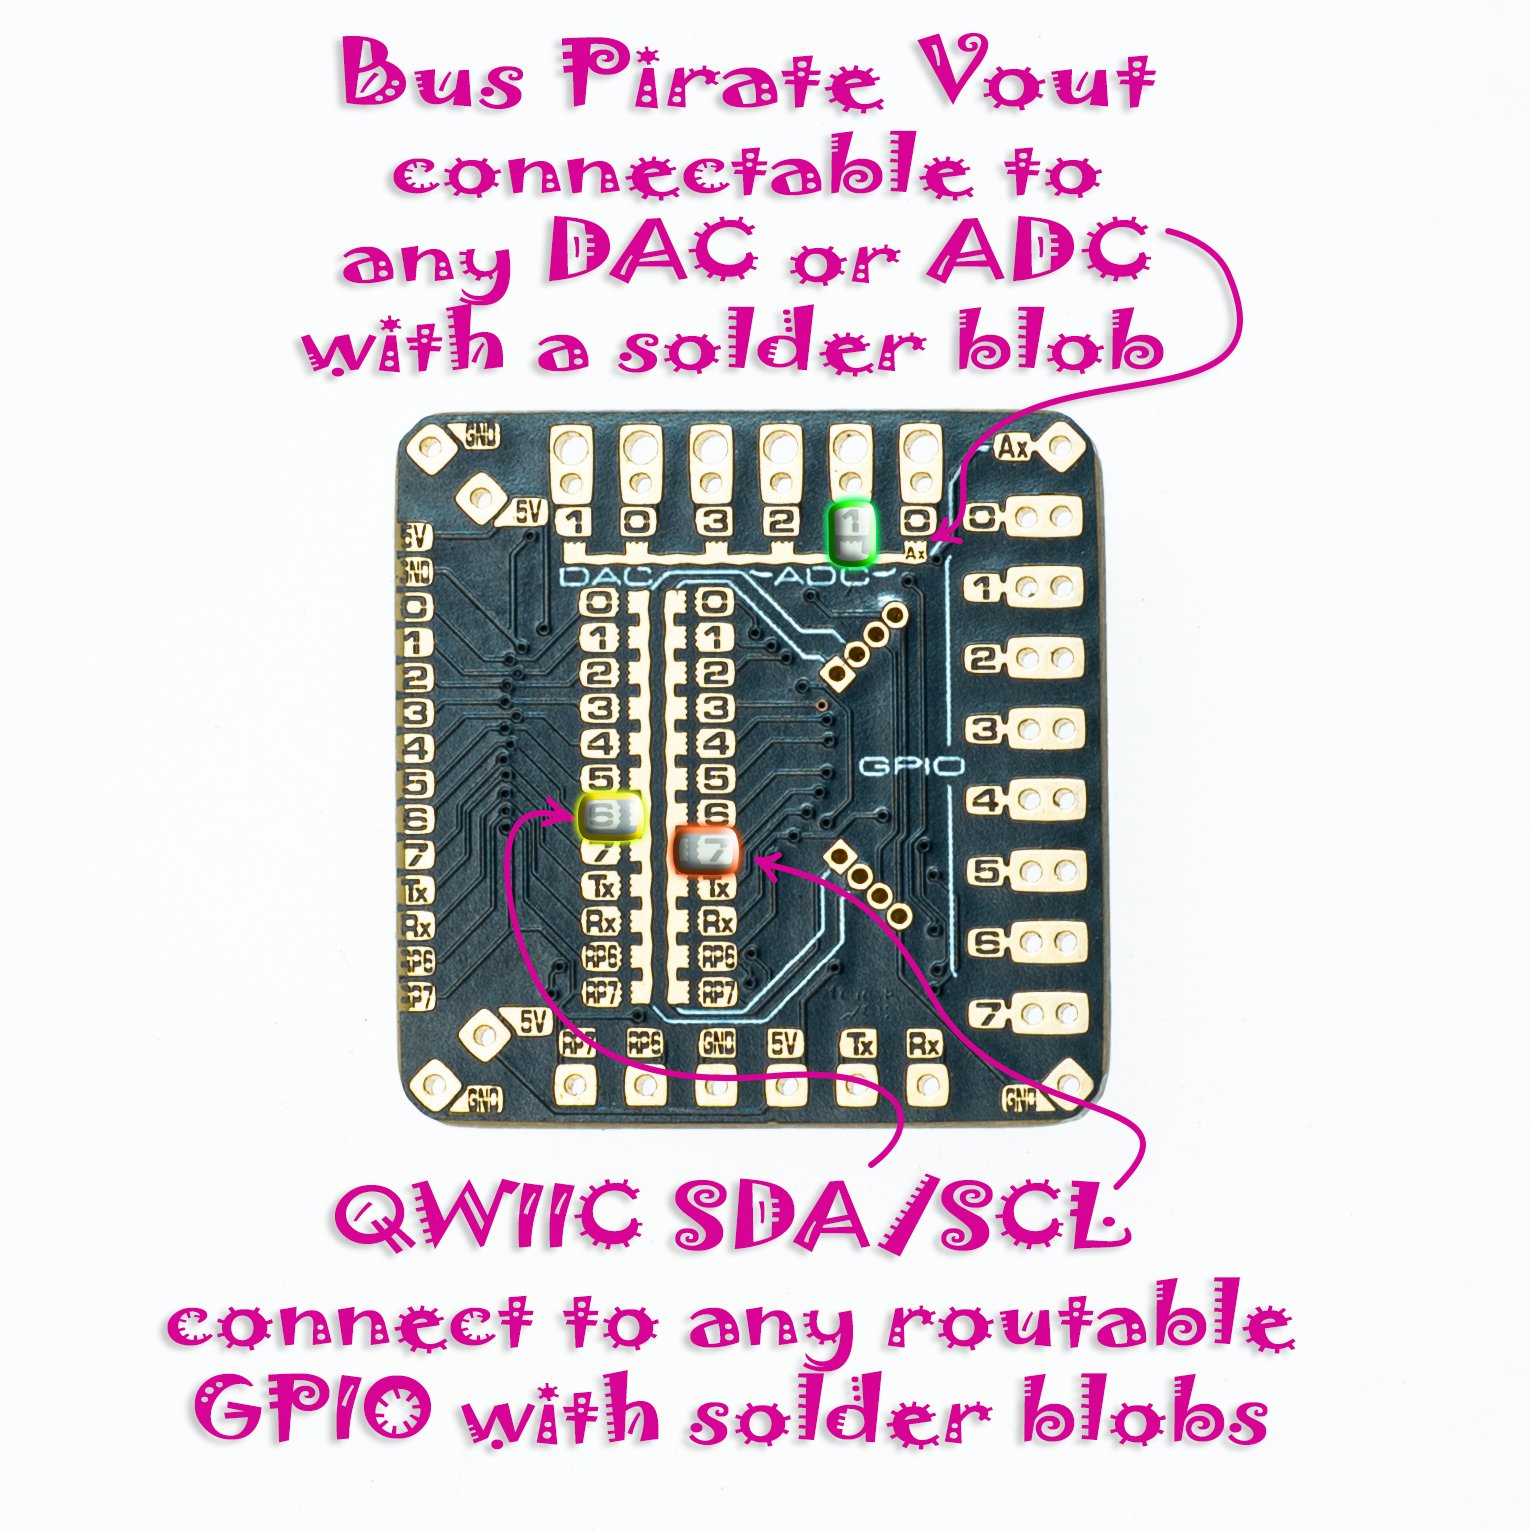
So when it came up on the Bus Pirate Forum that there should be a nice way to plug one into a Jumperless, I made this:
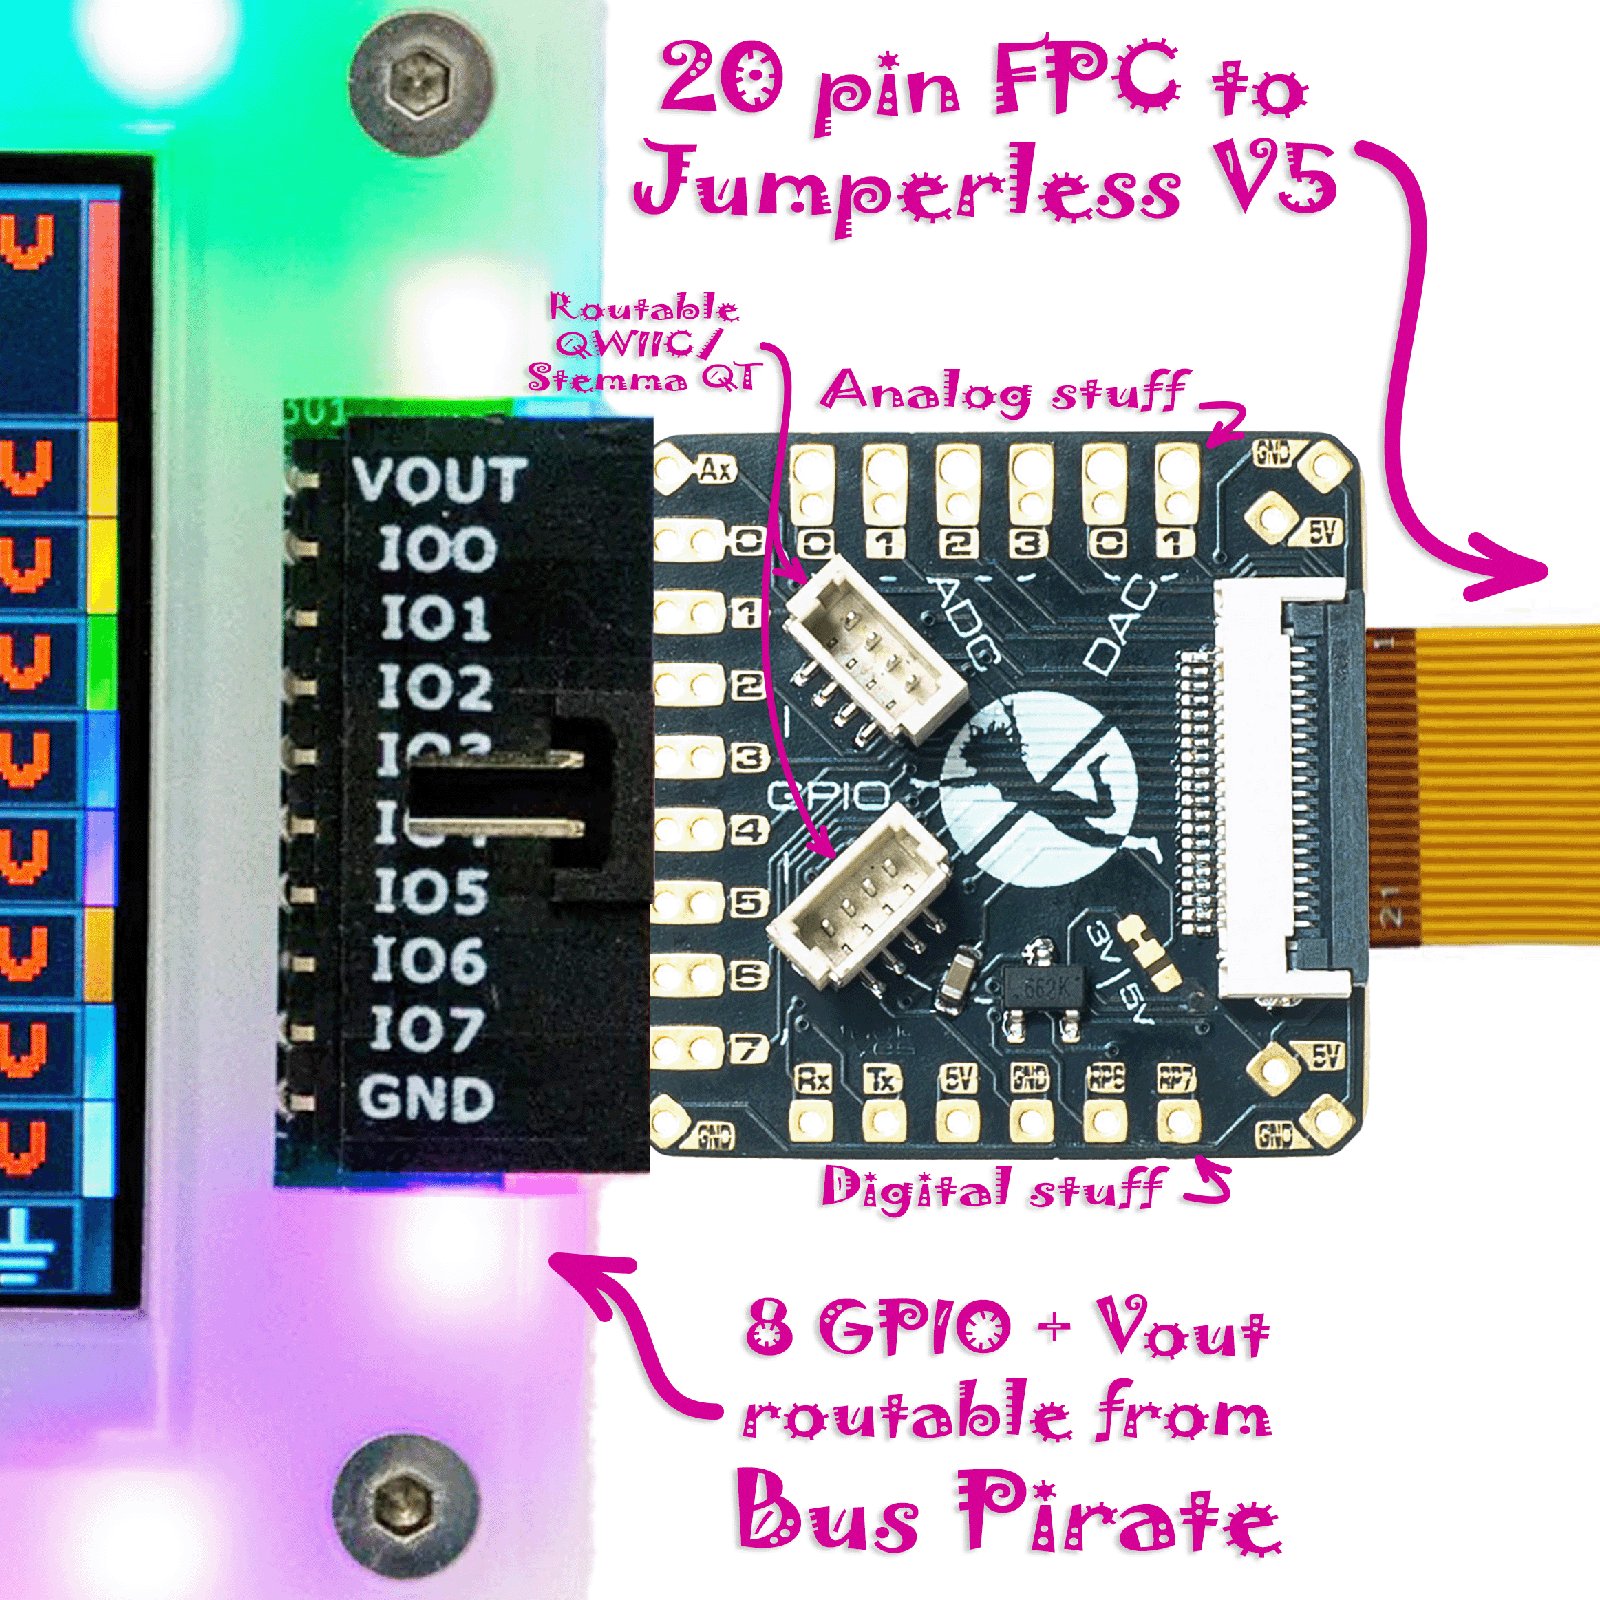
And here are some totally normal adult human diagrams explaining how it connects:
It also has two STEMMA QT/QWIIC ports with selectable 3.3 V or 5 V power. You can hook the I2C lines to any of the routeable GPIO with that weird, wiggly footprint, or even connect each one to a different pair of GPIO pins by cutting it somewhere in the middle.
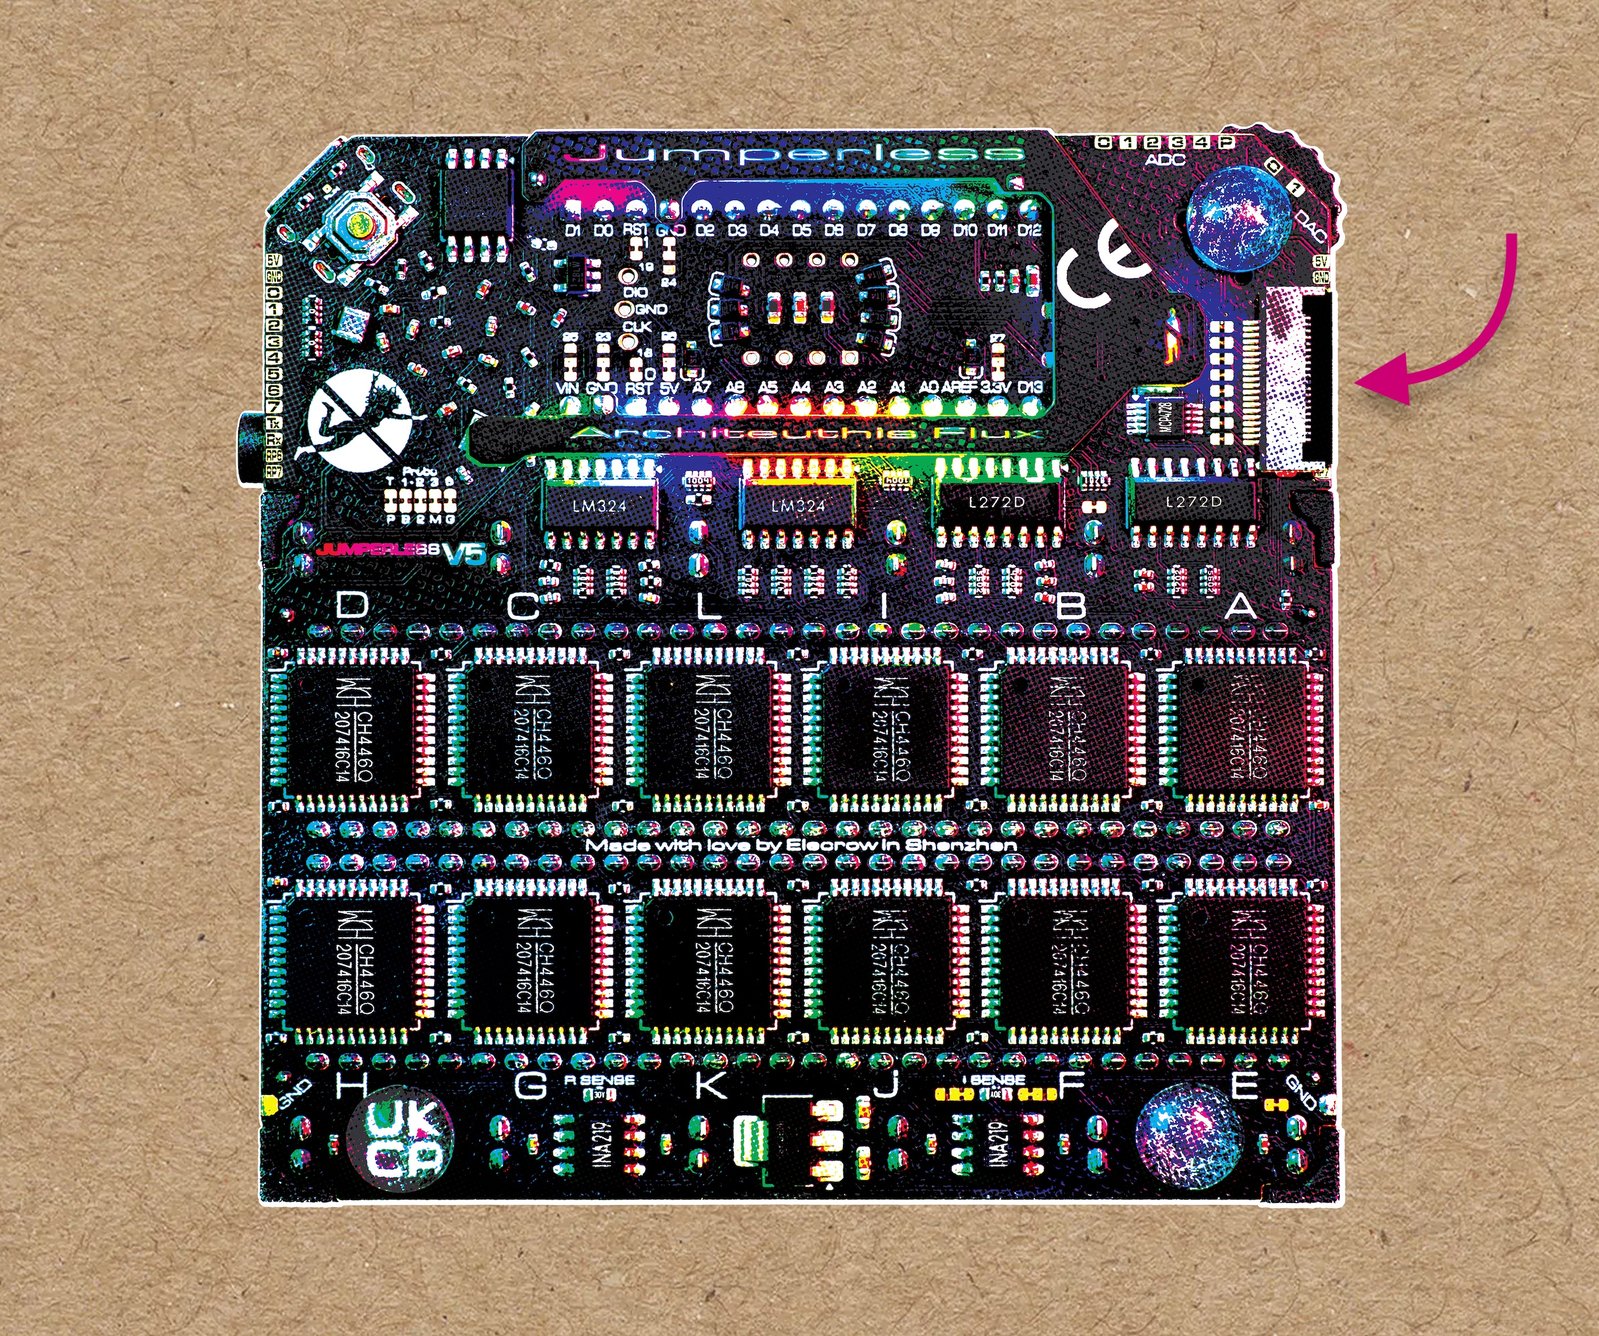
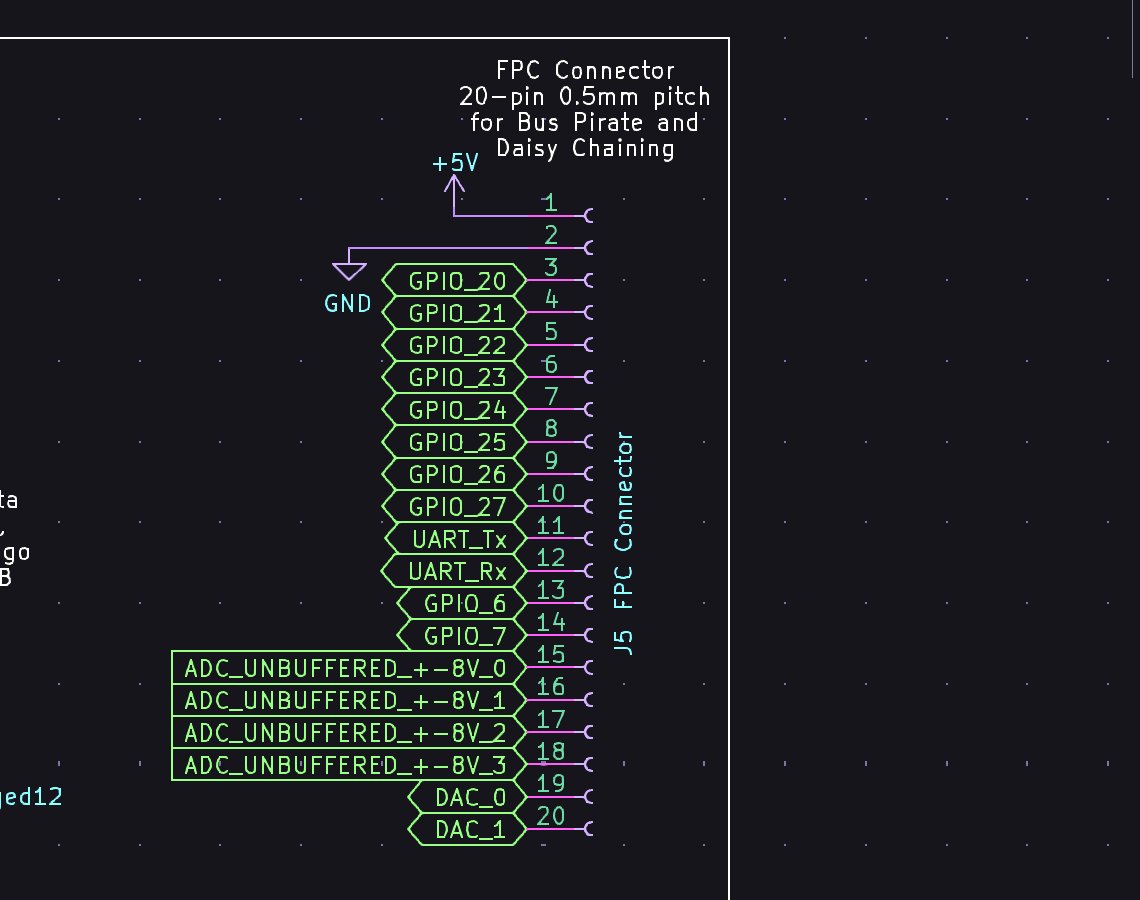
You may be wondering where that FPC cable connects to the Jumperless. Here’s another new thing: a 20 pin 0.5 mm pitch FPC connector that breaks out all ten routable GPIO pins, the first four ADCs, and the two DACs, plus power and ground. GPIO (or RP) 6 and 7 are only connected to the RP2350B for sending commands to/from the Jumperless.
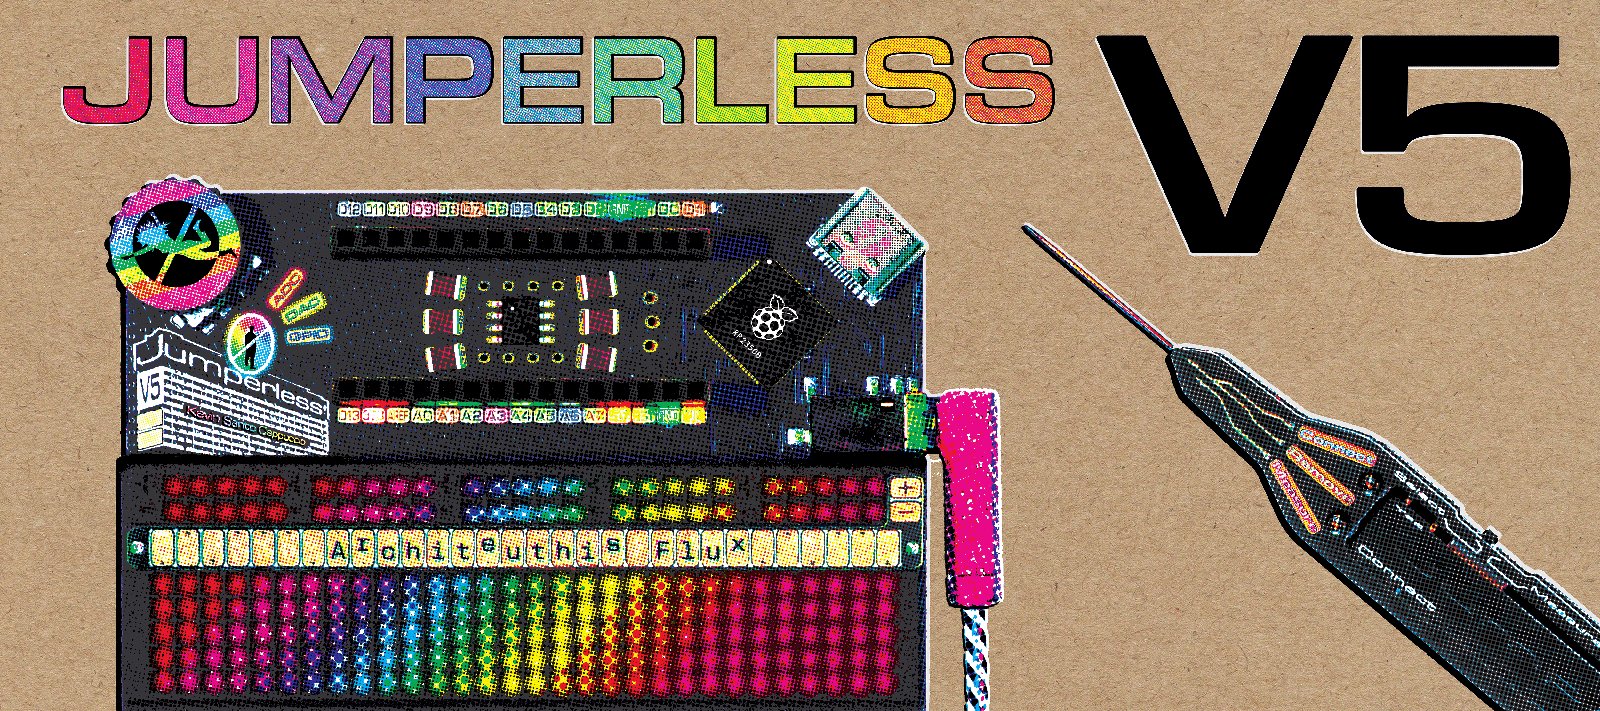
Elecrow is currently in the final hand-assembly phase of building this latest round of pre-production prototypes, so I don’t have a real picture of them. So take this stylized image from the packaging instead (which I’ve photoshopped to be laid out pretty close to the boards you’ll be receiving.)
I never really had a good plan for how daisy chaining was going to physically connect until now. I would just solder them together, but I know most people wouldn’t be as comfortable soldering directly to something like this without a pile of backup tester boards.
These will also be included in the box, along with anything else I mention here. I’m not really into "upselling accessories", I’d prefer everyone has everything they might need right off the bat.
Note
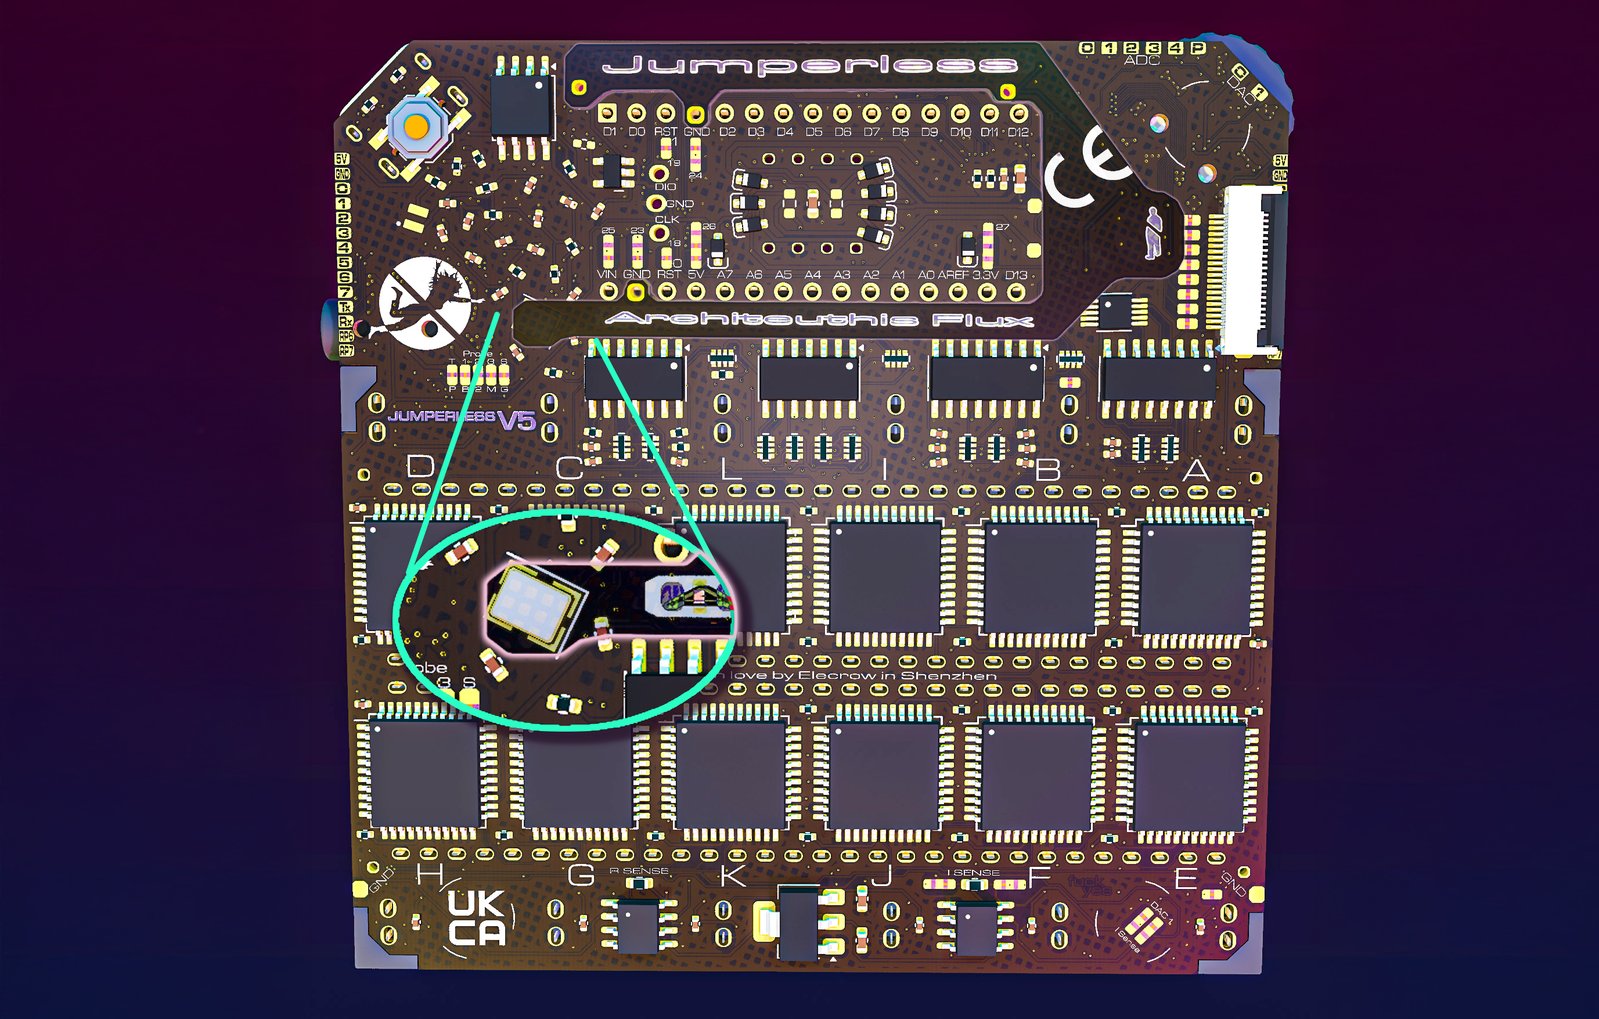
The eagle-eyed among you may have noticed the little "tongue" sticking out from the bottom of the LED wishbone board that wasn’t there in previous revisions. That’s a consequence of making hardware without an enclosure. If you pick this thing up in such a way that your finger is touching the crystal (the silver rectangle), the added capacitance will cause the RP2350B’s clock to stop, so it’ll freeze up until you yank the power and plug it back in. Not a huge deal because everything is persistent so it just starts back up where you were, but it was mildly annoying and also really easy to fix.
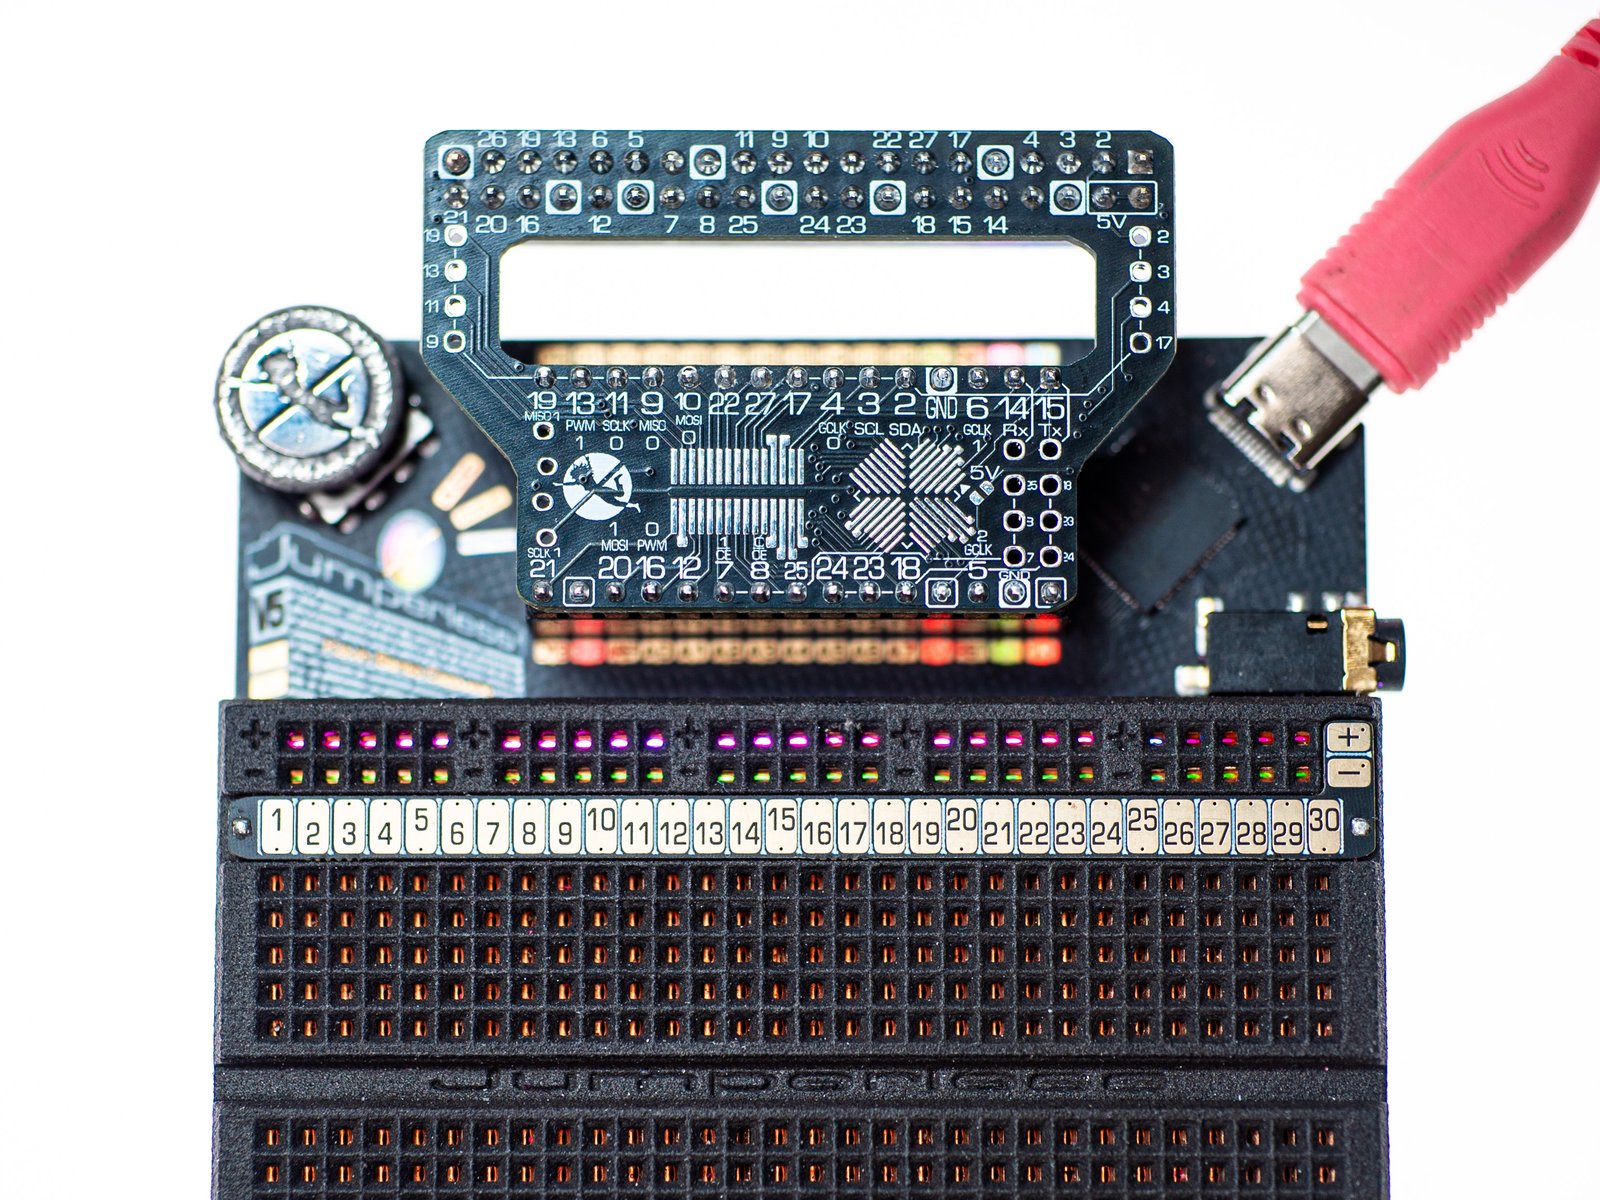
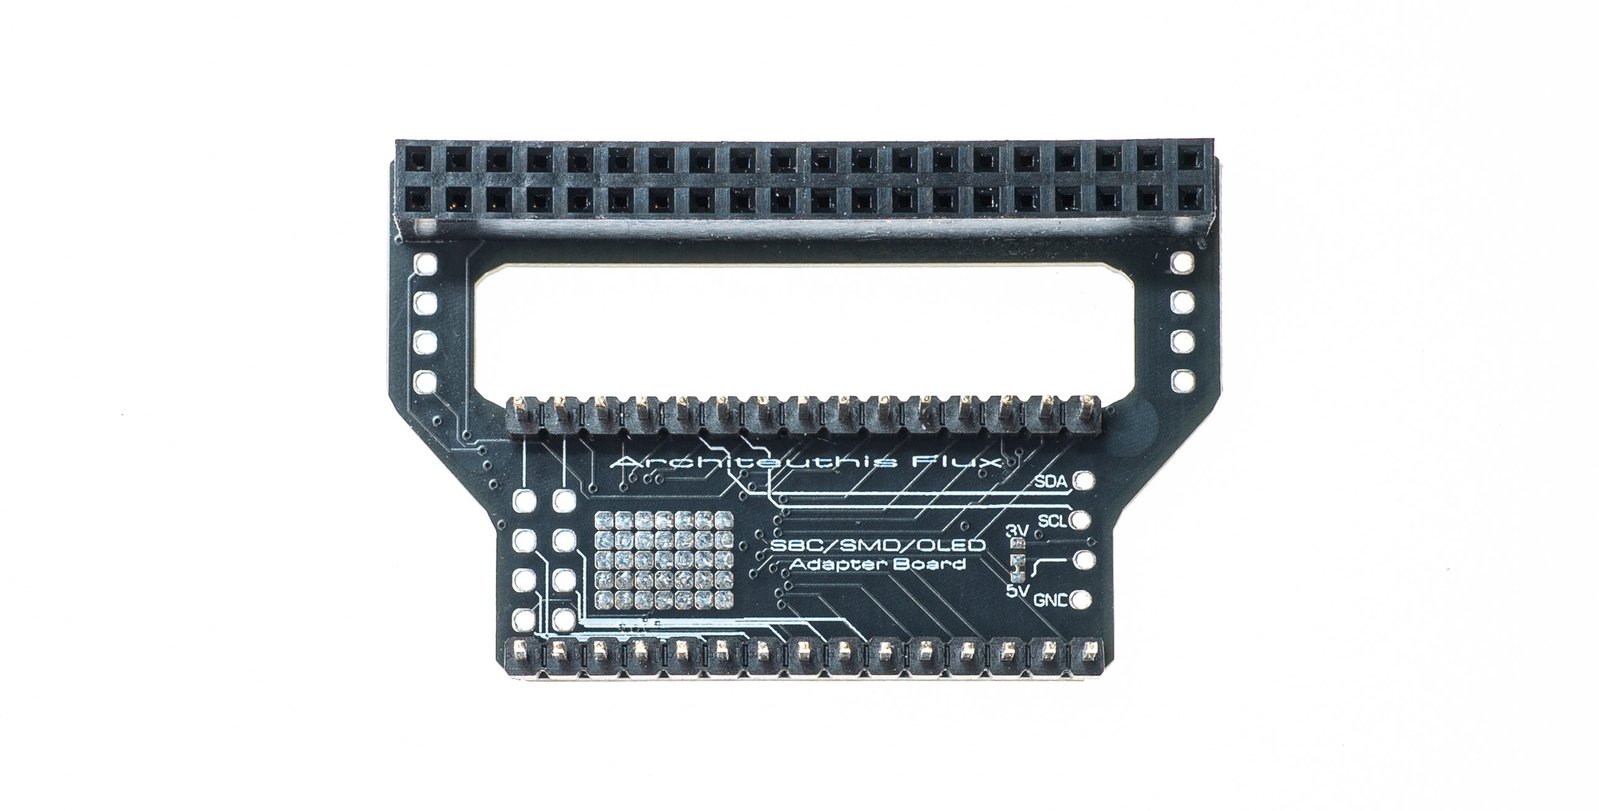
SBCSMDOLED (Single Board Computer/Surface Mount Device/Organic Light Emitting Diode) Adapter Board
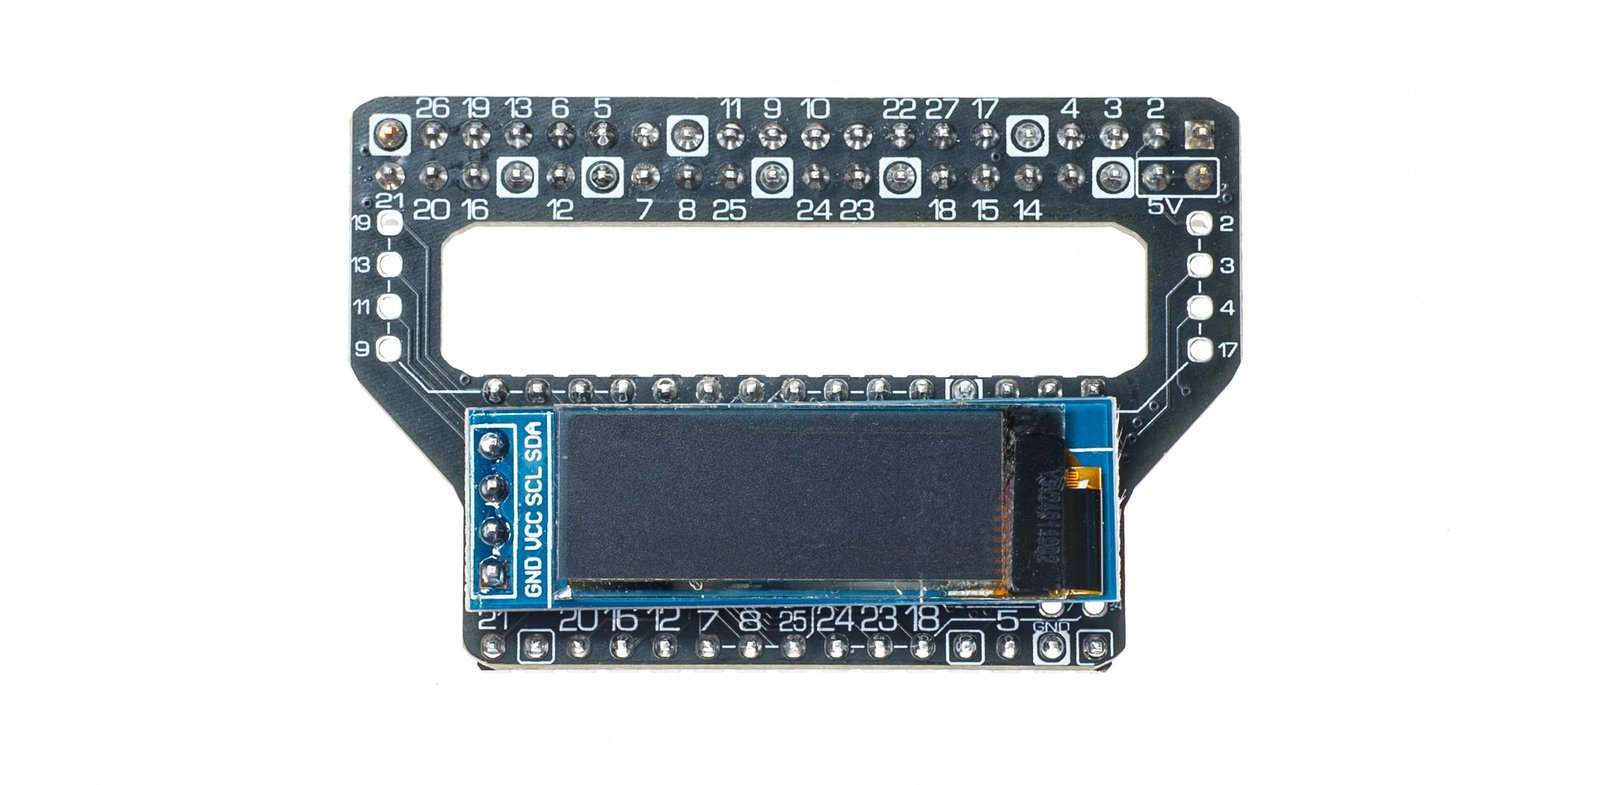
I talked about these in my first update, but now they’ve arrived, so I have actual pictures instead of renders. The gist of that update is since I’m including this board anyway, I tried to make it cover a pretty broad range of things that might be useful.
Yes, the Raspberry Pi’s 40 pin GPIO port has some very silly pin numbering, so I had to more or less follow that. Also note that the SMD pads with the blobby extensions aren’t connected to anything, I’m really shoving a square peg in an Arduino Nano-shaped hole here, so some weirdness was inevitable.
This also lets you friction-fit a little 0.91 inch 32x128 I2C OLED module onto it, which can be controlled by the Jumperless. Eventually there will be some UI for it as an extension to the breadboard LEDs, but it’ll require some time to write that firmware (or better yet, someone in the community taking initiative on), so don’t expect that to be a working thing when you get your Jumperless V5. But it’s on the list, so support will come eventually.
But hey, the hardware’s there, we just need to write the firmware, we’re halfway done! (Joking.)
Hapax LEGOmenon
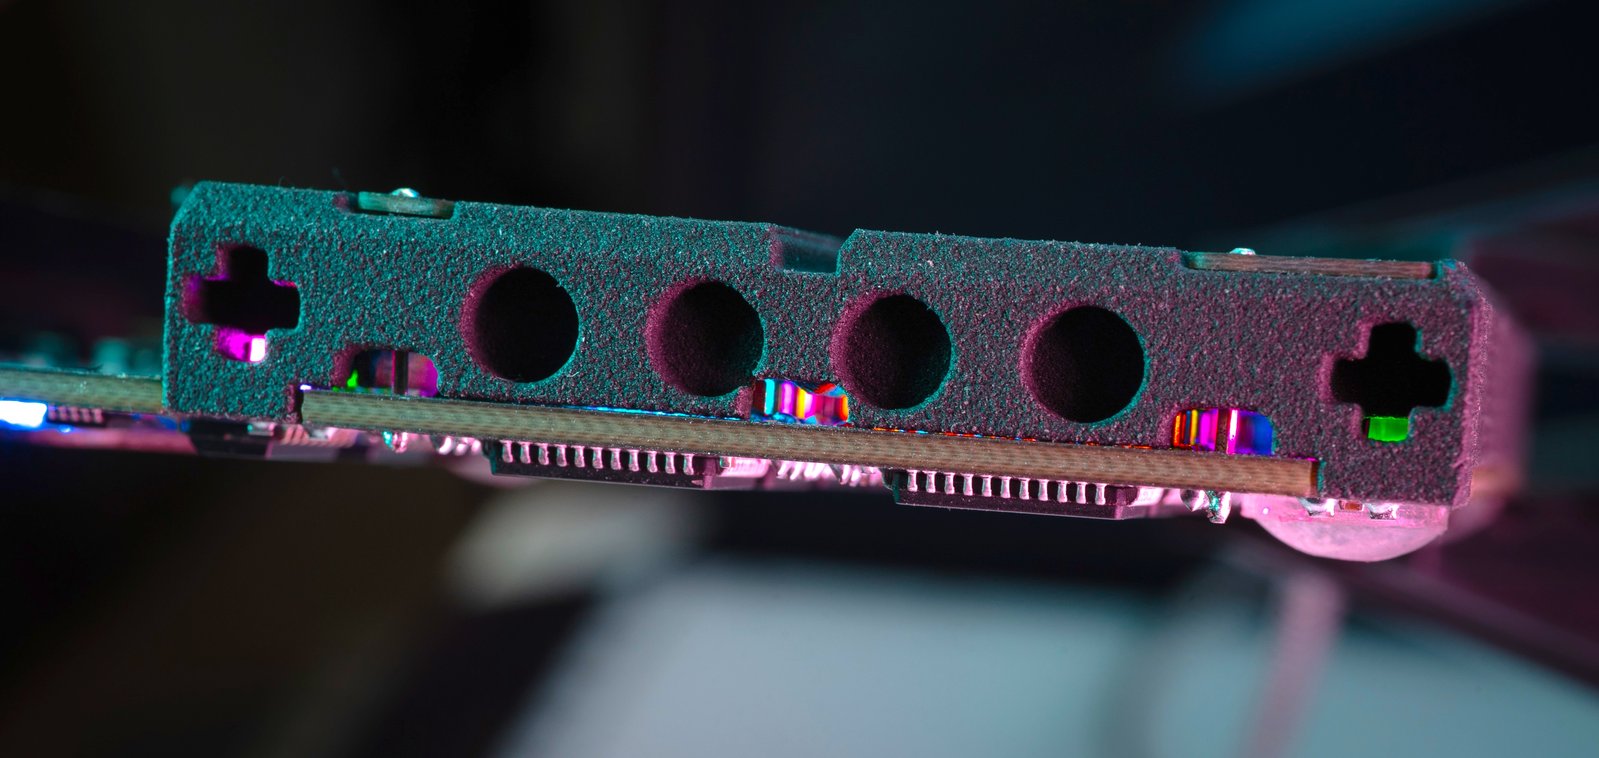
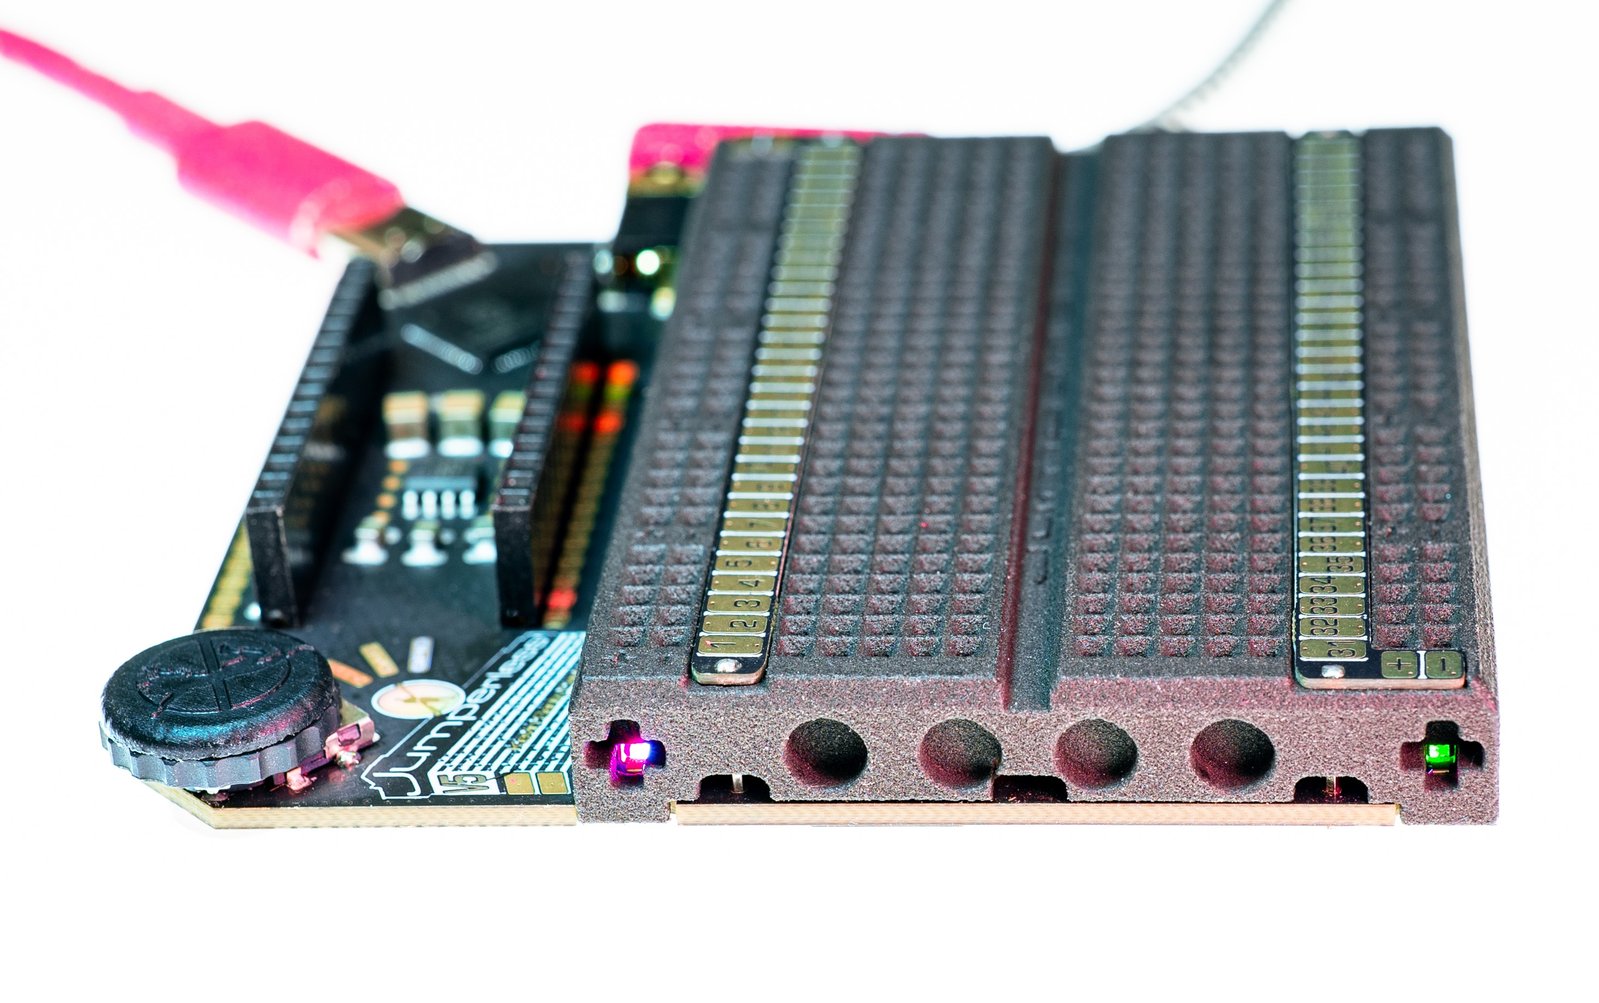
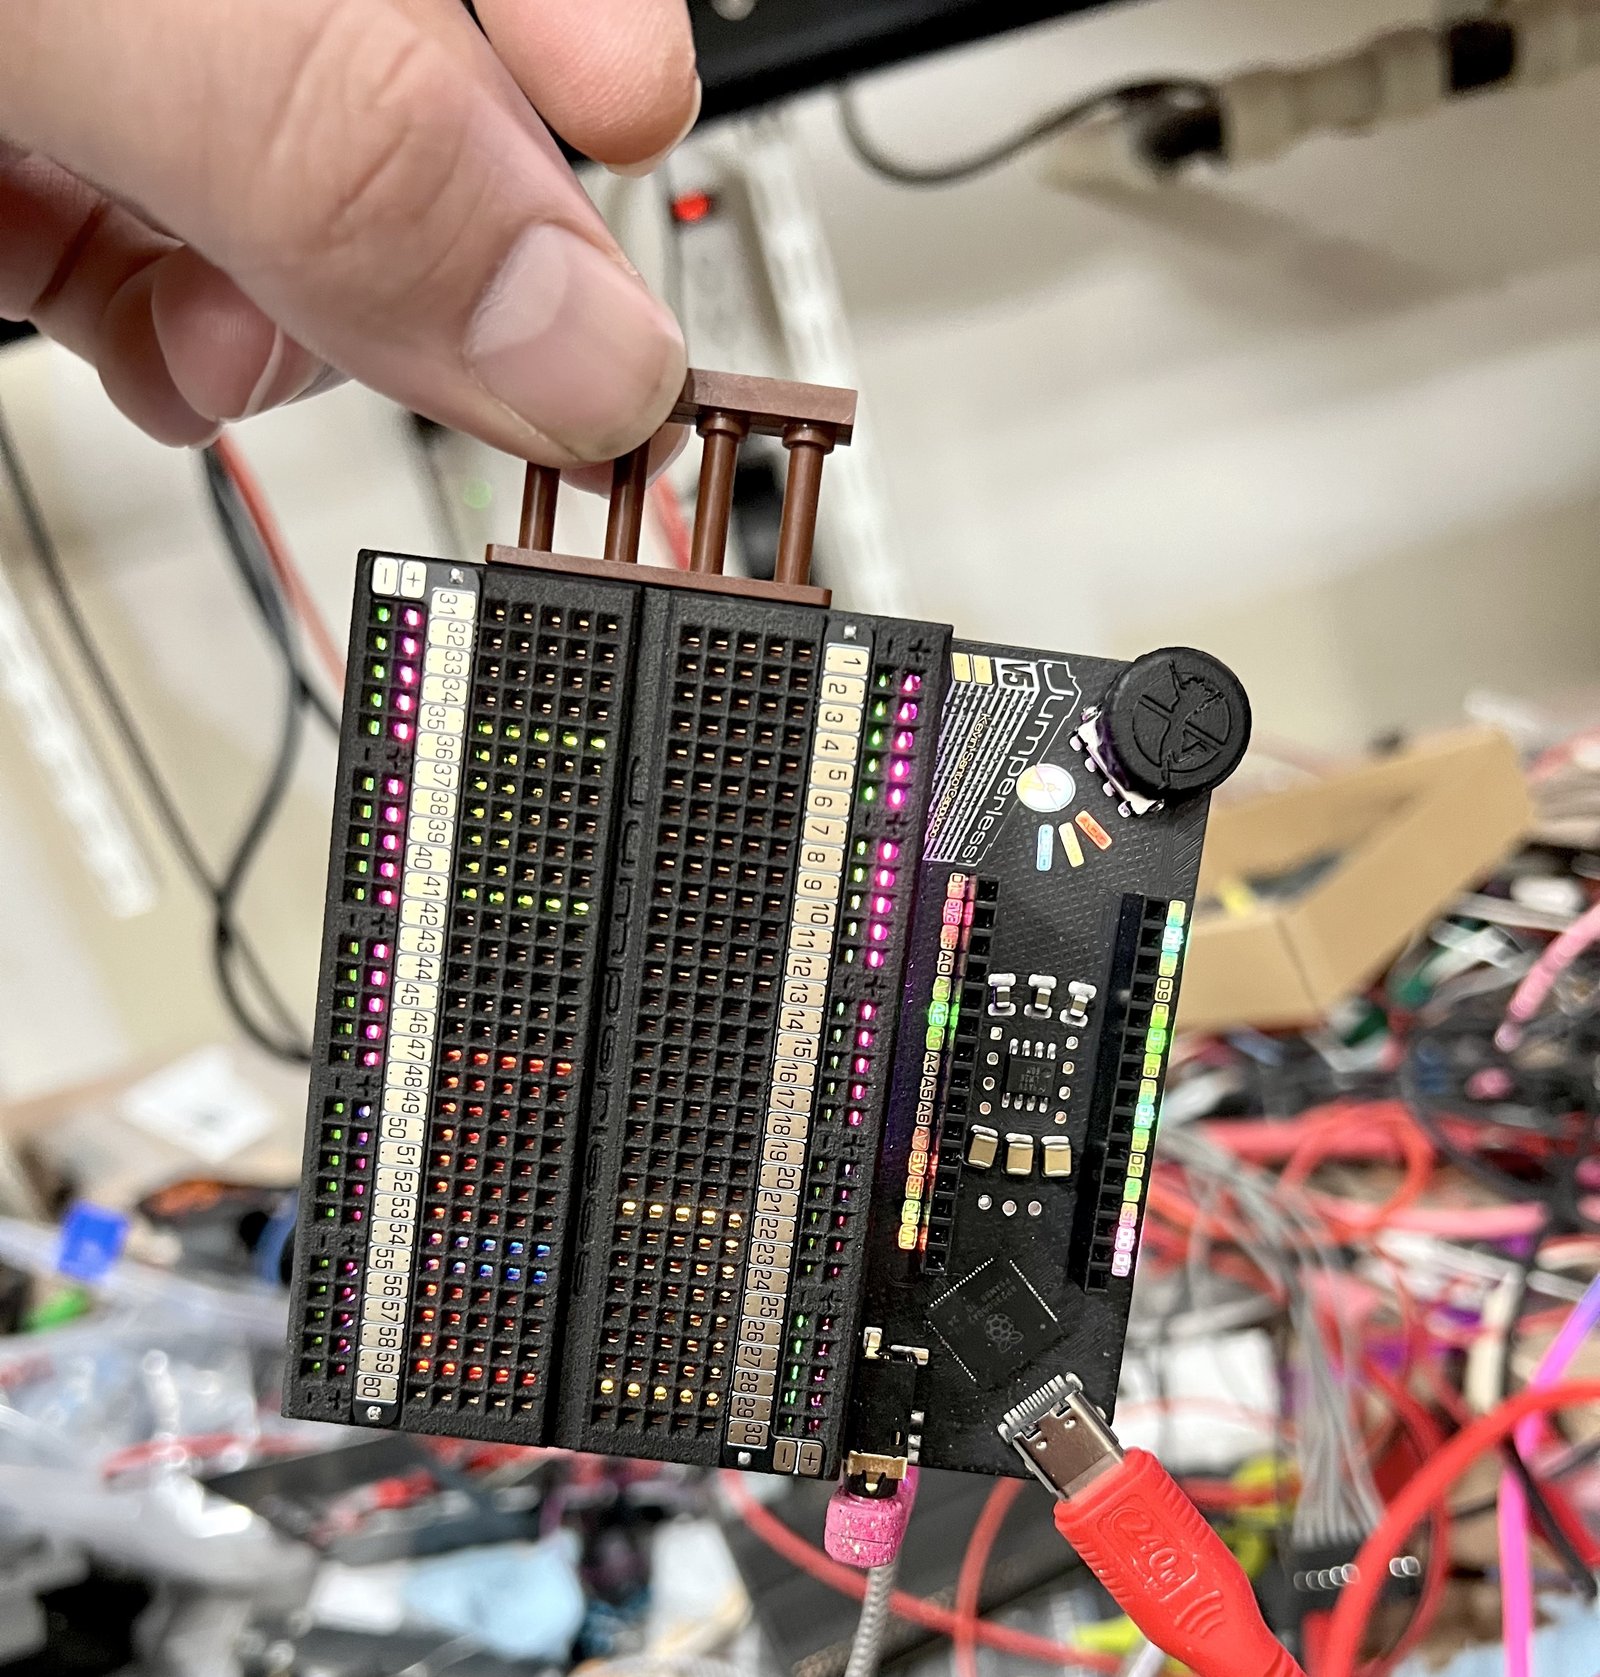
I had mused about this in an earlier update, and I finally went for it. I put holes on both sides of the breadboard shell to accept Lego and Technic axles, in case you want to make a stand or something with that. Very much a "why not?" feature I hope someone will do something awesome with. Note: both sides are holes, there’s nothing sticking out on the other side.
And they hold pretty snugly (apparently Lego themselves use SLS nylon to prototype bricks, which is good to know).
If you’re wondering about those other three holes on the sides, those are for cooling. The 445 addressable RGBs on a small board like this can pump out some heat, so the idea is to use the spring clips as cooling fins and allow air to passively flow in from the side and through the breadboard holes.
Here’s a POV of an air molecule flowing through an (old revision) Jumperless V5:
The heat’s not as much of an issue now that the crossbar matrix supply is tuned to a voltage they can better handle (still way outside of spec, but a bit less so), but these things still do get a bit warm in normal use. Nothing to worry about, just letting you know. But if it’s getting hot, let me know because something’s wrong and I’ll troubleshoot/fix/replace it for free.
Shipped Inside A Monolith
Speaking of 2001: A Space Odyssey references, the packaging isn’t totally finalized yet, but they’ll be coming in a magnetic-closure gift box that’s the same dimensions as the movie’s monolith, 1² x 2² x 3² (1" x 4" x 9", in inches because aliens don’t use metric, apparently.) In case you have extremely particular storage needs and care about the dimensions.
Yeah, I do way too many of these silly edits.
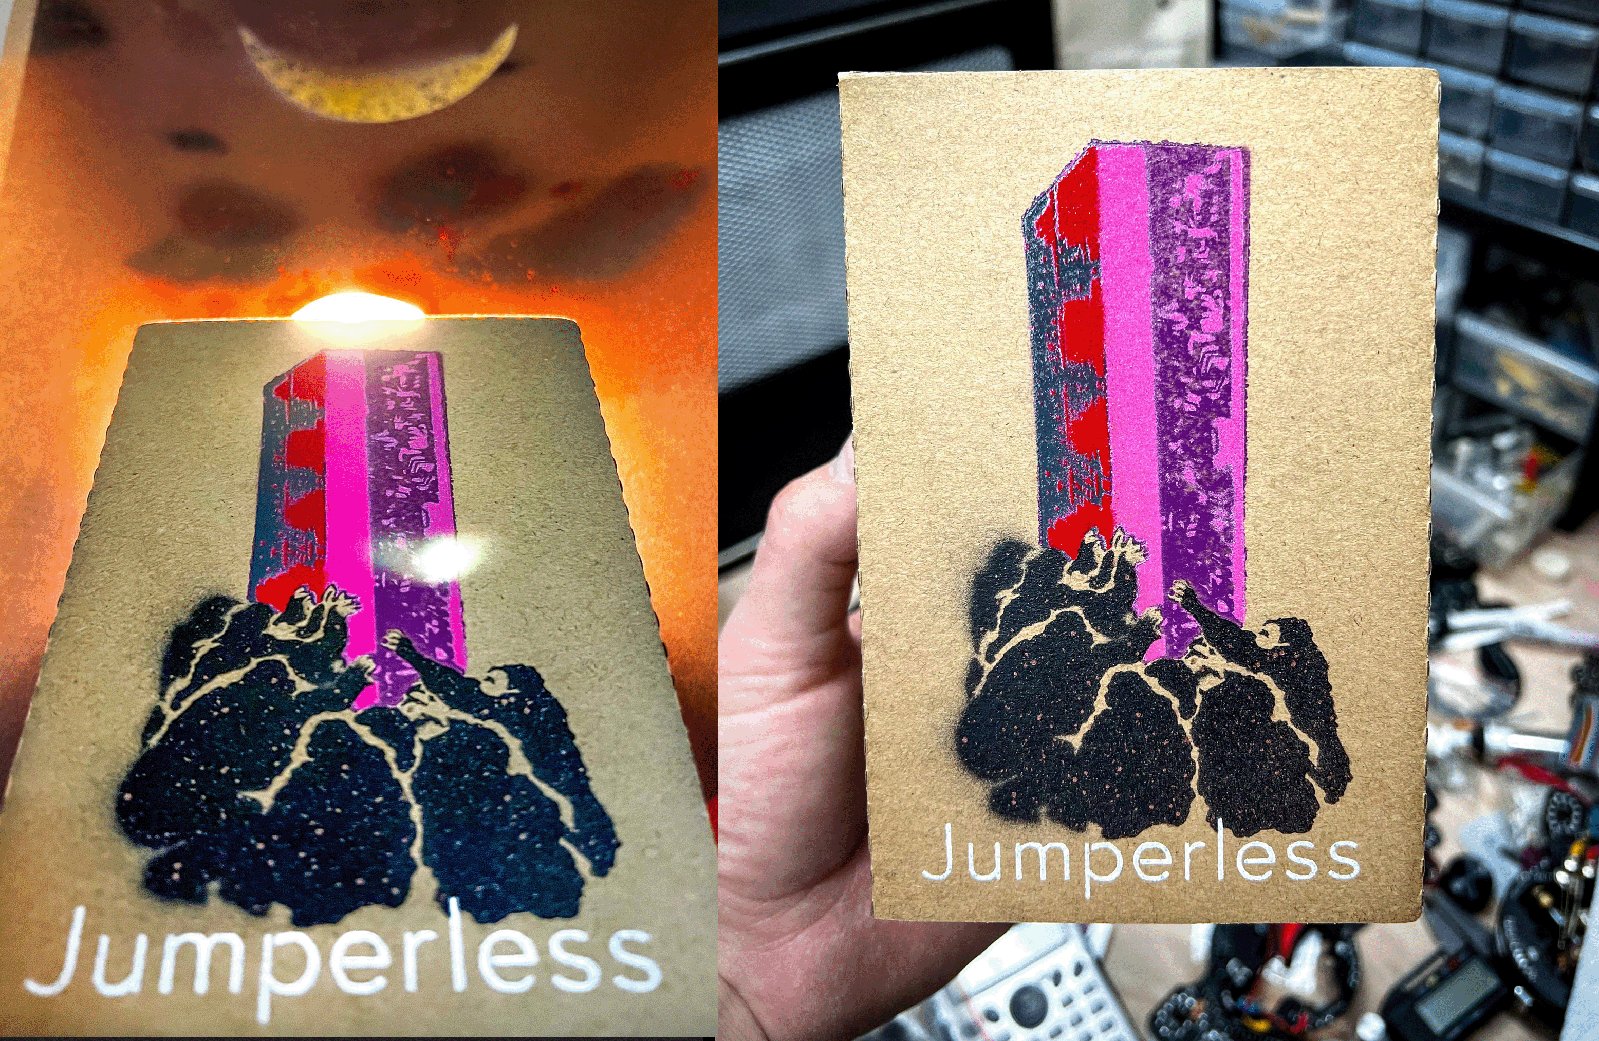
This was actually my very first hand-stencilled box design for Jumperless back when it was a totally different shape and I had just changed the name from breadWare.
How it started:
How it’s going:
If you’re wondering why it looks all pixelated like that, it’s because this box is meant to be printed in CMYK(+W) Process Color. Normally they’d just do the color halftone split for you, but my art school background (and general printmaking snobbery) wouldn’t allow me to leave that up to someone else. So I kind of leaned into the look that comes from the limitations of printing this way.
Schedule
The original plan was to slide in right before Chinese New Year and at least have a good portion of backer orders shipped to me by the time it starts on January 29th. And I probably could’ve pulled that off, if I hadn’t decided to fix a bunch of hardware stuff that I felt could be better:
- adding the FPC connector
- tuning the ±9 V power supply to run the crossbars at the point of lowest on resistance and highest safety margin
- splitting the LEDs into two separate chains for a higher frame rate
- tightening overcurrent protection on the crossbar matrix
- putting some backpower protection on the Arduino Nano's 5 V and 3.3 V supply pins
- rerouting the whole thing from scratch to give tracks more clearance/lower noise/better grounding
- adding even more three-way solder jumpers for different hardware configuration options
- more stuff like that which I can't remember right now
I was fairly confident I didn’t screw anything up too badly in the process, I’ve made a lot of similar tweaks over the years on Jumperless and they usually come out fine, as long as I’m patient and spend an entire day staring at it after I think it’s finished, which I did here. So I was kind of willing go for it with the new revision and have 100 made before CNY without testing beforehand. Worst case, I’d spend a week hunched over fixing them as penance for my hubris.
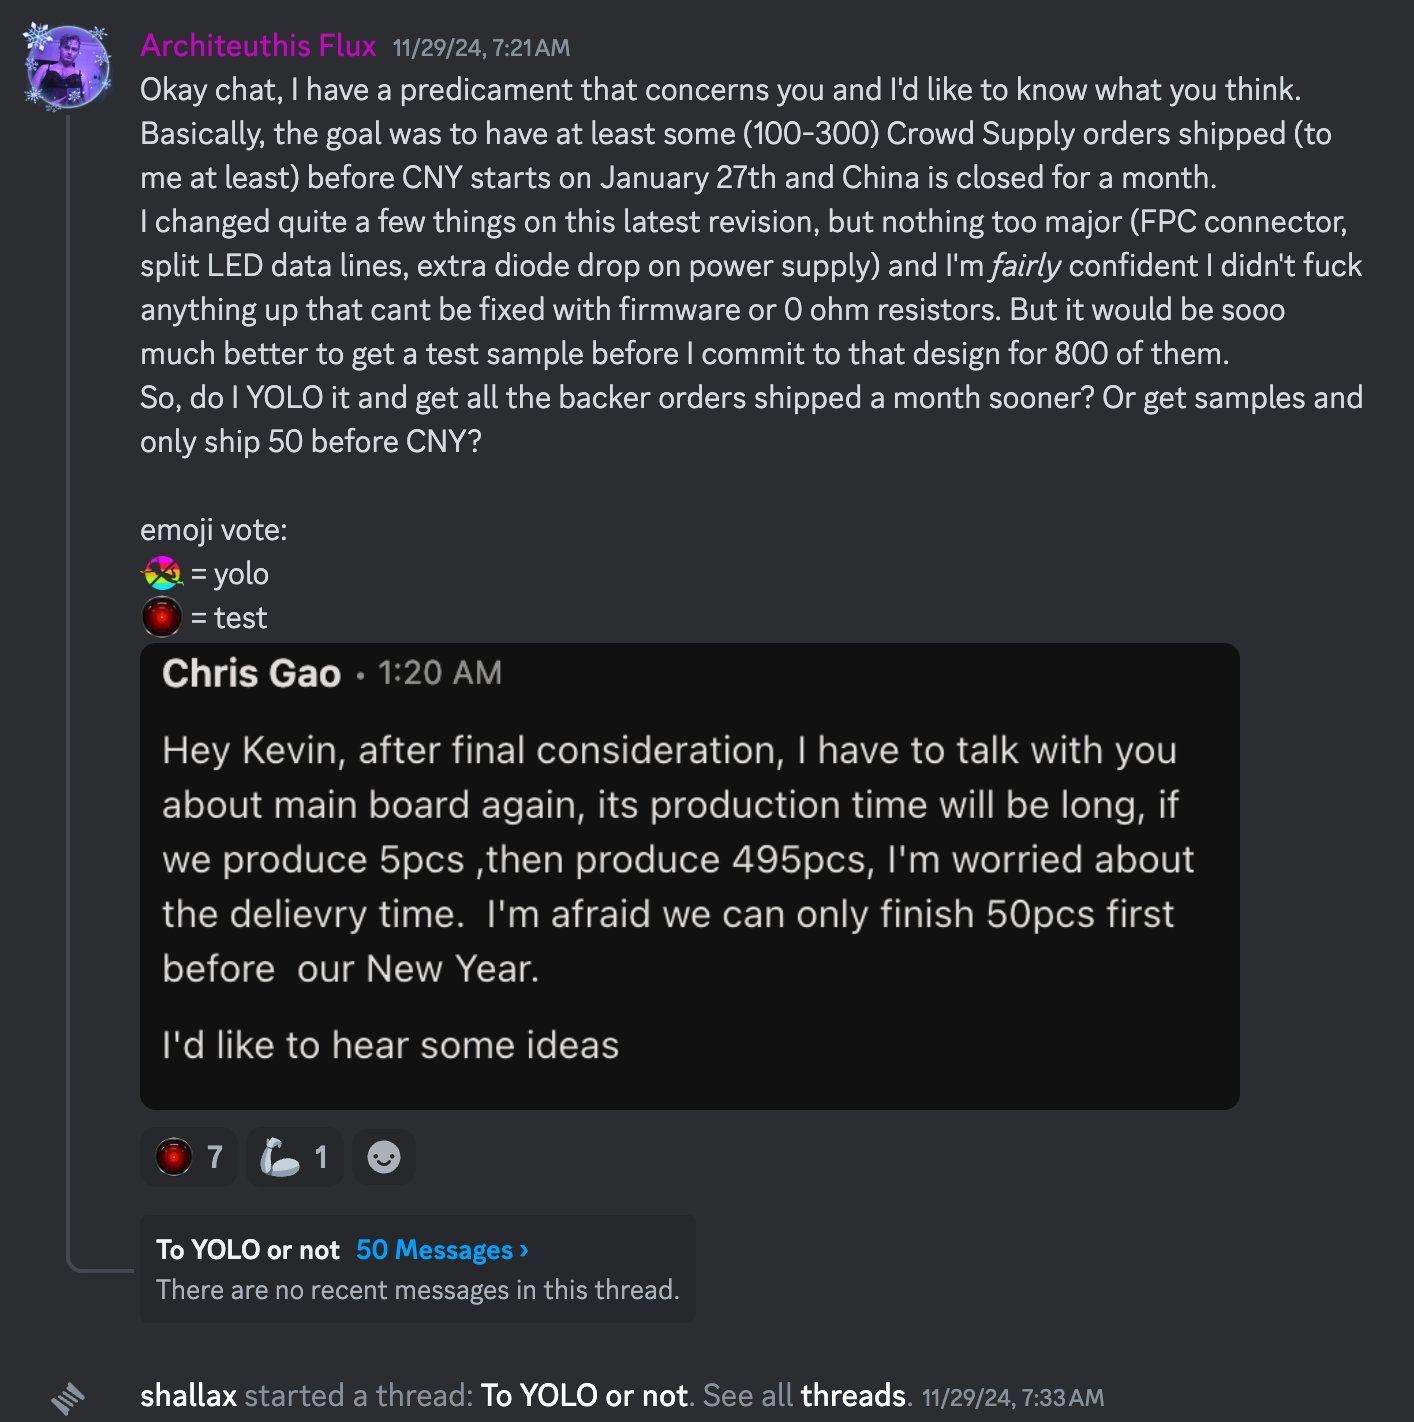
So I put it up to a vote in the Jumperless Discord, thinking there’d be some impatient people like me willing to risk it to get their Jumperless V5 a month sooner.
Nope, it was unanimous in favor of me getting five pre-production proofs made before committing to a run. The people have spoken! Honestly it’s a huge relief that people don’t seem to be nearly as worried about the tight deadline I set for myself.
I’m not really sure about the small run of 50 happening before CNY. There was an issue with the PCB fab needing to scrap four out of five main boards due to shorts and needing to make them again, which isn’t really a knock on them, this is a tight four-layer board, and I’m pushing their board constraints a bit further than they advertise.
The good news is when something like this happens, they’re usually super extra careful on future runs. This happened on the spring clips for the OG Jumperless: there was a batch made to the wrong tolerance once (which they of course offered to make again for free, but I got them to let me pay for materials so they’re not losing money on some random low-volume customer), and ever since they’ve been noticeably perfect, like, unnecessarily so. Pro tip: be nice to the people making your stuff.
The Part Where I Get To The Point
- Five pre-production proofs will be getting to me sometime next week (all the parts for a full run of 500 have already been sourced.)
- I test them to make sure I didn't screw anything up (and fix anything I did).
- JumperlessV5_MainBoard_Final_FINAL_ForRealThisTimeActuallyFINAL_OKAYREALLYFINALMAKE500OFTHESE_Corrected.zip goes to Elecrow.
- They'll have a little bit of time to look at it and make some preparations for when they get back
- Chinese New Year happens, nominally it's January 29th - February 17th this year, but in practice it seems to take an extra week or two for things to fully spin up again, so assume it ends March 1st.
- While China is taking their well-deserved vacation:
- Boxes will be made and arrive sometime around the end of February.
- I will paint and glitter the probe cables (yes, I do these by hand one at a time, none of the samples I had made look right.)
- Elecrow starts making a run of 500 Jumperless V5s.
- SMD parts are usually assembled in one big pass, but there's quite a bit of hand work: putting spring clips into the shells, mounting the LED wishbone and probe sense boards, soldering the probe needle and screwing those two boards together, etc., so I'll have them ship as they finish in batches of 50-100. The first batches should start being ready to ship to me around the Ides of March.
- Boxes of assembled Jumperless V5s start showing up at my house (which is more factory than house at this point), I attach the click wheel caps, plug in the probes, thoroughly test each board, and lovingly pack each one into their boxes. These then go into a bigger box to ship to Mouser, around mid-late March.
- Mouser gets them, does their Mouser thing, and ships them to you (I have no idea how long this takes).
TL;DR
We’re shipping in April!
Of course that’s a guess, but it feels reasonable enough. There haven’t been any serious unexpected delays (knock on wood), just my insistence that I should probably do one more round of shaking out potential hardware bugs before these ship.
But yeah, I’m in a huge hurry for these to get to you, because I can’t wait to hear about the looks on all your faces when you open up your shiny new Jumperless V5s and start playing with them. Every time I pick up one of these prototypes after not working with the hardware for a few days, I get reminded how much freaking fun these things are. Of course I’m totally biased because it’s my baby, but I am so excited for all of you to experience it for yourselves.
If you have any questions about anything or just want to get a more real-time stream of updates about how it’s all coming along, come chat with me and the community on the Jumperless Discord, Forums, GitHub, Bluesky, or Mastodon.
Love,
Kevin
