Project update 25 of 28
[VIDEO] Open Source JavaScript IoT Platform ioBroker
by ANAVI Technology[VIDEO] Open Source JavaScript IoT Platform ioBroker
ioBroker is an open source Internet of Things platform written in JavaScript that uses Node.js for the back-end. The project started in 2014. The source code is hosted in GitHub and the core is available under MIT license. The project originates from Germany and it is very popular locally there. Honestly, it is so good that deserves more worldwide attention!
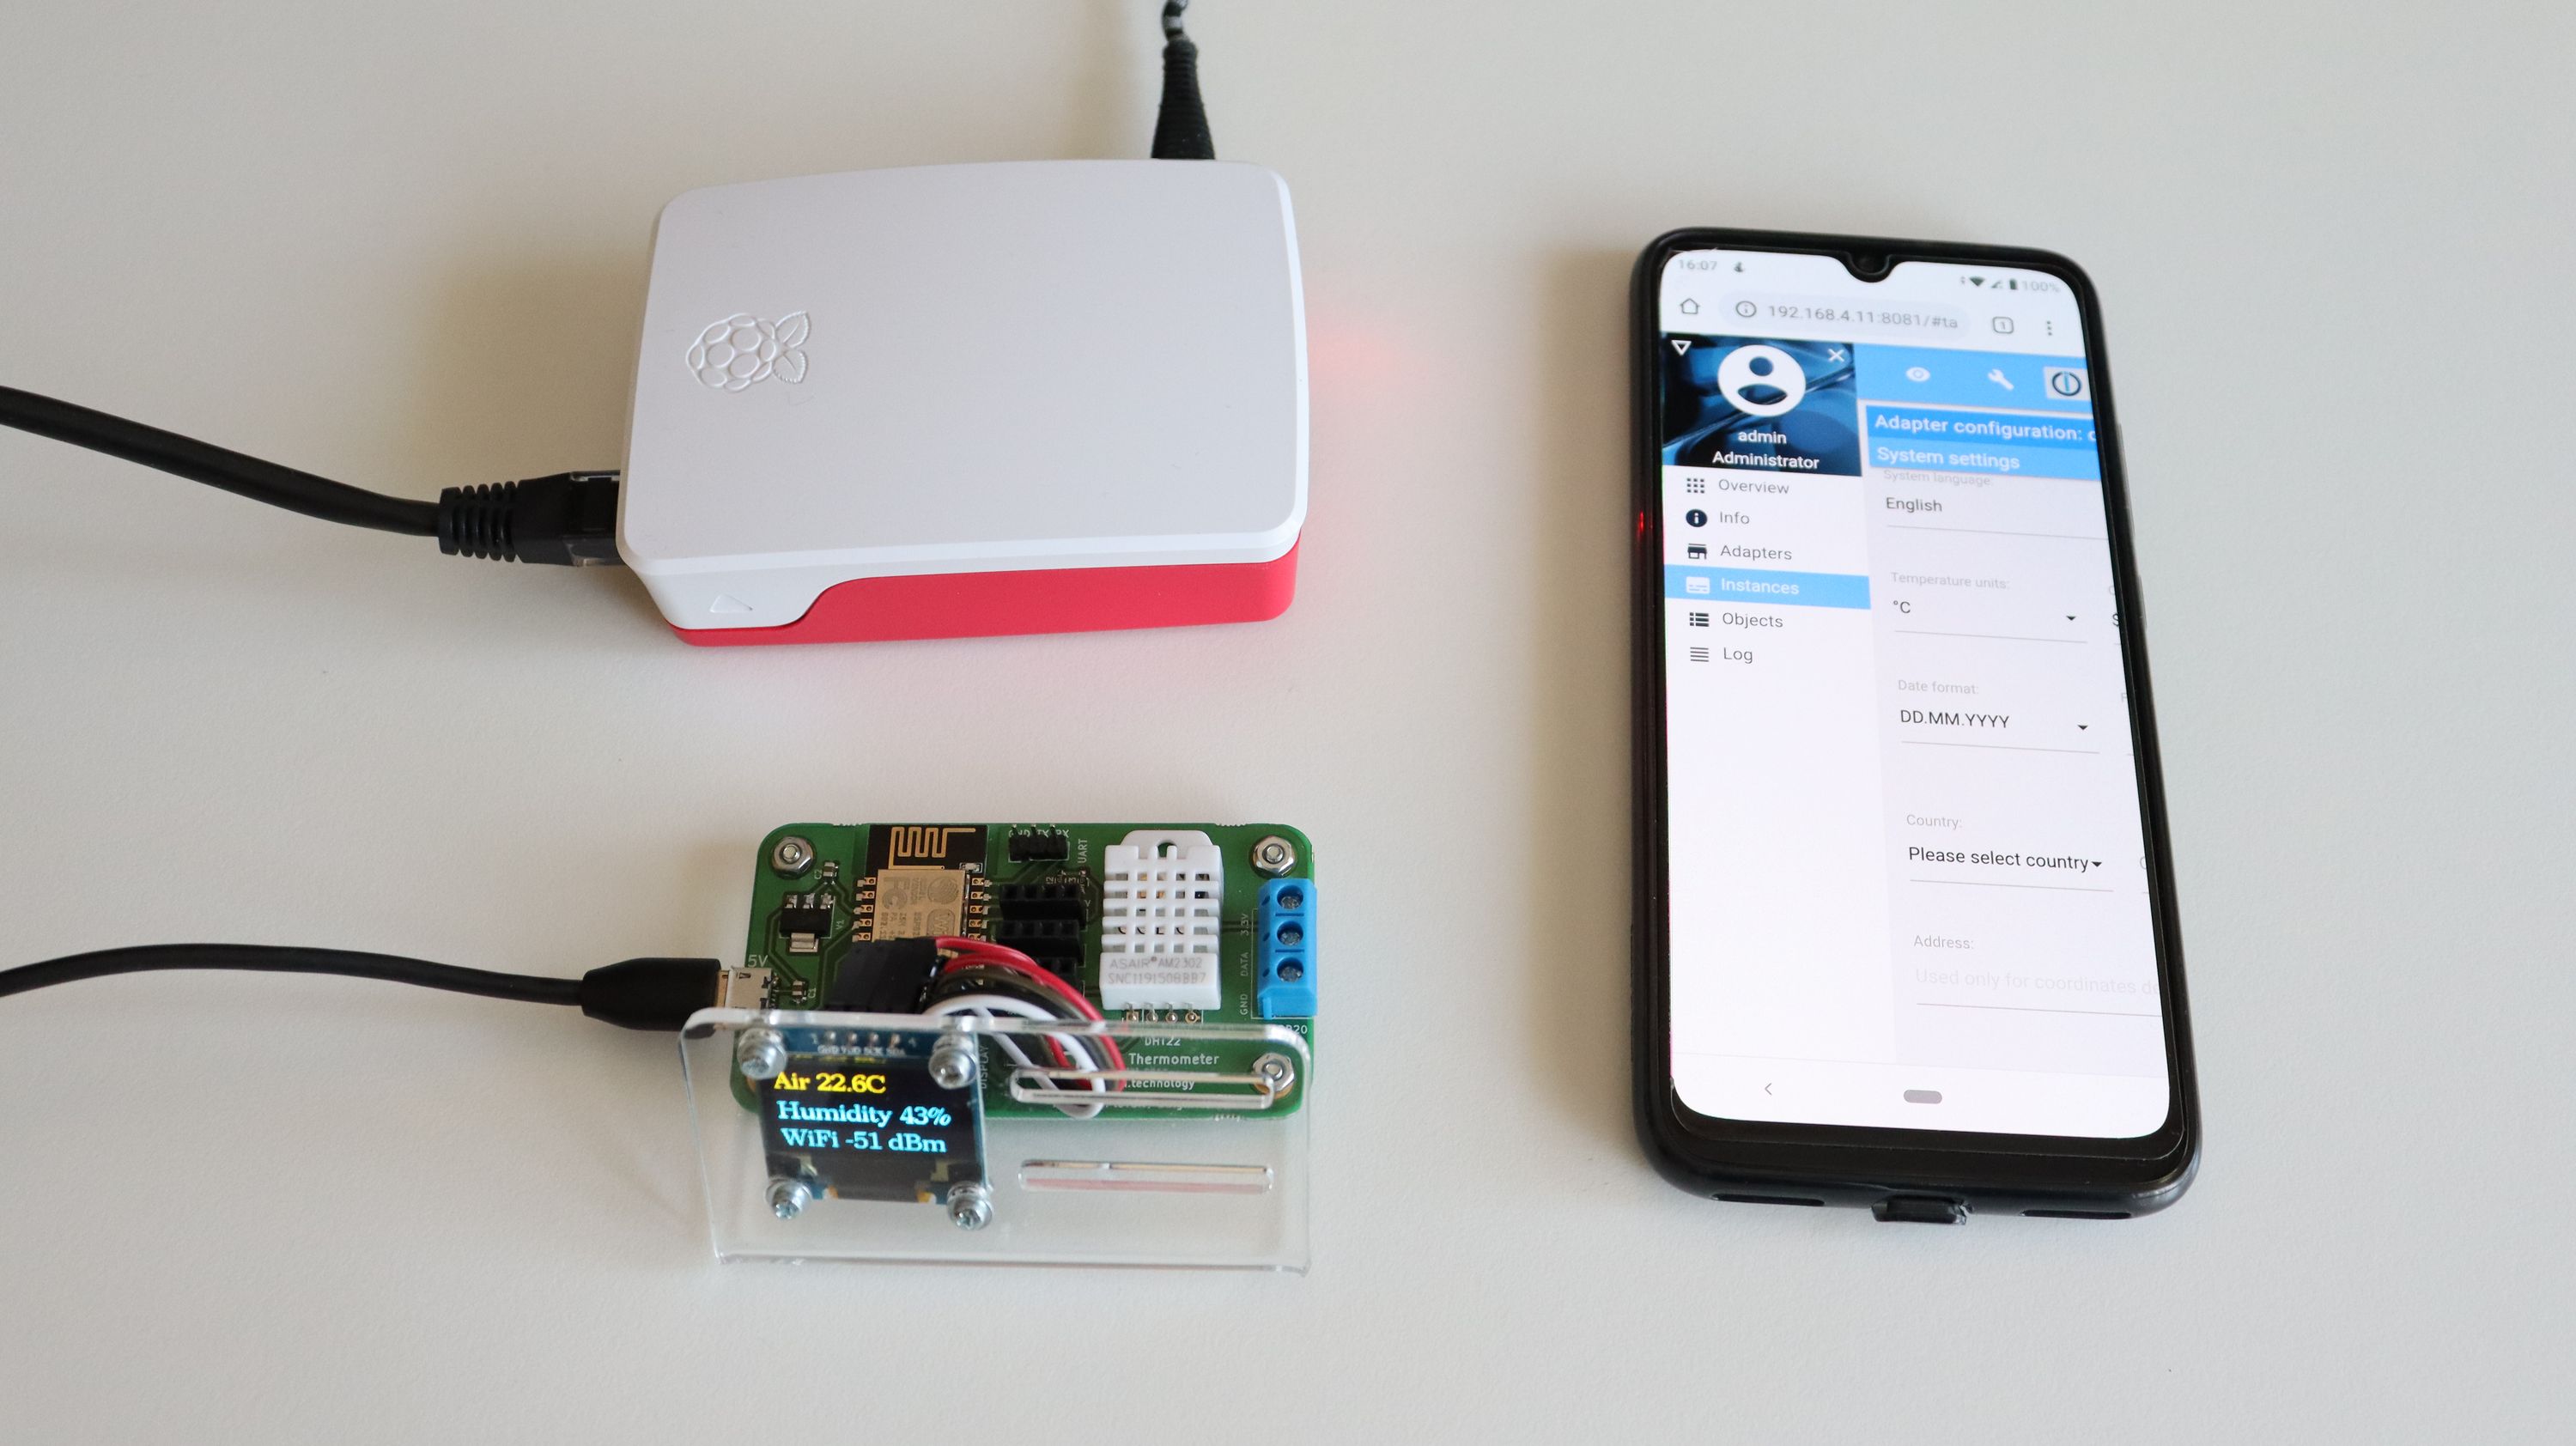
I have been keeping an eye on ioBroker for a while. Recently, Jan shared how he integrated ANAVI Gas Detector in ioBroker setup with Amazon Alexa. This inspired me to install ioBroker on my Raspberry Pi 4 and connect ANAVI Thermometer to it.
Installing ioBroker
The installation of ioBroker is straight-forward. Only two steps are required for GNU/Linux distributions, especially on Debian, including on a Raspberry Pi with Raspbian (which is based on Debian):
- Install Node.js and run ioBroker installation script:
curl -sL https://deb.nodesource.com/setup_10.x | sudo -E bash -
sudo apt-get install -y nodejs
curl -sL https://iobroker.net/install.sh | bash -
- Open the web interface of ioBroker in a web browser and follow the guidelines from the installation wizard to finalize the setup.
Using ANAVI Thermometer with ioBroker
Out of the box, the open source firmware of ANAVI Thermometer, works with Home Assistant specification for automatic discovery and MQTT messages with JSON payload. Just make sure you are running the latest stable version (you can flash it easily with esptool).
Although ioBroker is an alternative open source IoT platform, through an adapter it supports the Home Assistant specification. The process for using ANAVI Thermometer in ioBroker is straight-forward thanks to the adapters MQTT Client/Broker and HASS-MQTT. Here are the exact steps:
Install ioBroker adapter MQTT Client/Broker, you can either configure it as MQTT broker or as a client connected to external MQTT broker. If you are configuring it as MQTT Broker, disabled publish check-boxes from the MQTT Settings tab.
Install ioBroker adapter HASS-MQTT from a custom URL https://github.com/smarthomefans/ioBroker.hass-mqtt
Bound the instance of adapter HASS-MQTT to the instance of adapter MQTT Client/Broker
Turn on both instances of the adapters in ioBroker
Turn on ANAVI Thermometer by plugging a microUSB cable. Go through the initial configuration to connect ANAVI Thermometer to the same MQTT broker used by ioBroker.
NOTE: If you have already configured ANAVI Thermometer and need to change the settings and the MQTT broker, press an hold the RESET button for 10 seconds to wipe out old configurations.
ANAVI Thermometer will be automatically detected and the data from DHT22 as well as from any other attached supported sensors will be automatically reported to ioBroker. You just need to configure how to display it in your preferred graphical user interface (ioBroker offers several of them). In the video, I used the ioBroker visualization adapter which requires activation through a unique key. The activation requires registration with a email and is not shown in the video. Adapter visualization if free for personal use. The other adapters, MQTT Client/Broker and HASS-MQTT are free and open source without any limitations.
Have a look at the ioBroker videos published at my YouTube channel for more details. And of course, ANAVI Thermometer still works with other popular open source home automation platforms like Home Assistant and OpenHAB 2, which we have covered in previous updates.
Thanks,
Leon

