Project update 8 of 38
Last Three Days, and How to Catch a V2 Wide-angle Unicorn
by Eugene PomazovOur campaign will end in three days, so there’s still time for you to grab a StereoPi from the first batch.
Brand-new CM3+ Lite Availability
Thanks to the Raspberry Pi Foundation, we were able to get some of the newest CM3+ Lite modules! This module has quickly become so popular, that almost everyone is already sold out. But we were able to find 150 pieces and will include them in the first 150 Deluxe Kits, which are now known as StereoPi Deluxe Kit (CM3+ Lite). If you have already ordered a Deluxe Kit, you have automatically upgraded to the CM3+ Lite version. If you haven’t yet ordered a Deluxe Kit, there are still a few units available that will come with the CM3+ Lite.
Catching a Unicorn
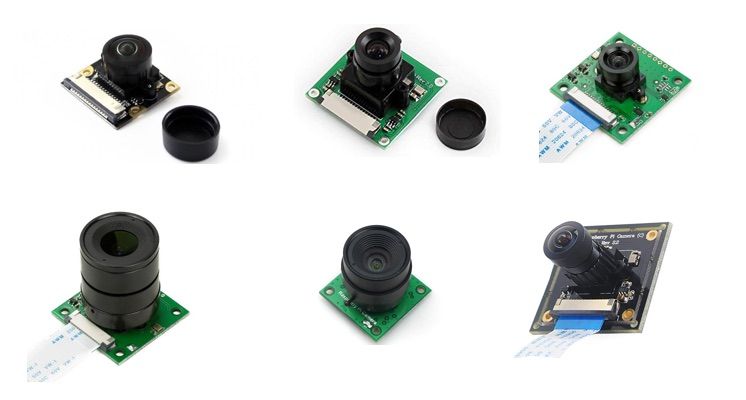
If you search for wide-angle cameras for Raspberry Pi, you find that almost all of them are based on the previous generation V1 camera with an OV5647 sensor. But it is very difficult to find a wide angle V2 camera. Why?
Well, the V1 camera became so popular after it came out that a lot of manufacturers cloned it. Some of these clones were just a replica of the original, while others were fully redesigned modules with more advanced optics. This gave DIY fans some great choices, since the original camera has pinhole optics and a basic field of view (FOV).
Then the V2 camera appeared, with a new Sony IMX219 sensor, higher resolution, and some advanced features. And the same stock pinhole optics. Afterward, a lot of DIY recipes appeared in the Internet, explaining how you can cut off and replace the original optics, or how you can you use Olloclip-like fisheye lenses for phones to increase your FOV. But V2 also has some minor, but important difference from V1. In particular, it has an onboard crypto chip that hides the I2C data. Though this crypto chip has yet to be hacked or replaced, inspired engineers are unstoppable and one elegant solution has been found — instead of hacking the existing hardware, upgrade it!
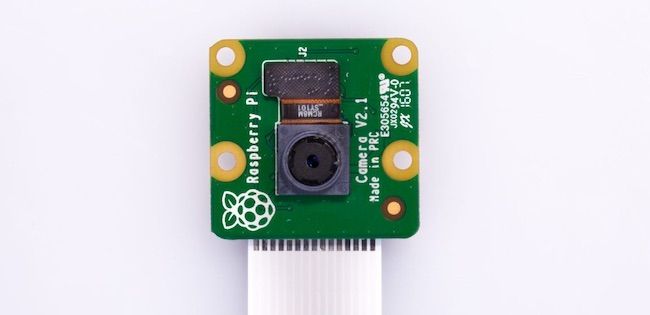
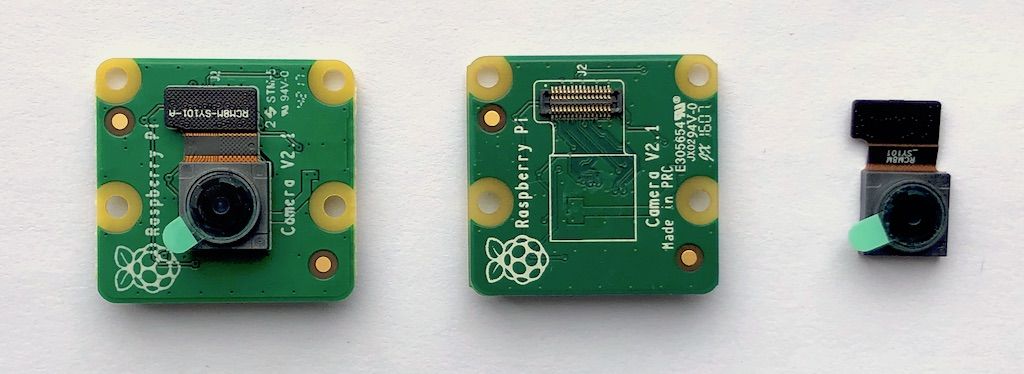
The V2 camera consists of a carrier board and tiny sensor board connected with a ribbon cable:
And here is the solution:
{pi-camera-v2-wideangle} You just replace sensor module and ribbon cable of the original V2 camera, and you have reliable, durable solution. The bottom side of the new sensor is held down with double-sided tape, which fixes it in place quite well. We found this solution on Odseven site. Note that this is just a replacement kit, and does not include the V2 camera itself.
Does the StereoPi support simultaneous use of V1 and V2 cameras?
In short, yes, you can, but we do not recommend it. :-)
In this scenario, cameras become unstable. For example, you should use raspistill or raspivid for each camera individually before using 3D mode, otherwise you’ll get an MMAL error. Also, you may get errors while saving captured images (not enough buffer), and so on. These are predictable problems, as sensors have different resolutions and specifications. So, if you plan to do such an experiment, don’t waste your time — we already did it for you. The only use case we found for using different cameras is to compare the V1 and V2 under different lighting conditions or with different optics. We’d like to compare the FOV of V1 and V2 wide-angle versions, thus we did this proof-of-concept setup:
The V2 camera image is on the left, and the V1 camera image is on the right. The camera axes are not parallel, since their PCBs are constructed very differently and require different approaches for affixing them to the plate, but you can still make out the difference in the optics: V2 has a bit wider FOV, better white balance, and better light saturation management.
Waveshare 160° cameras are still our favorites, but modded V2 cameras look like a potential competitor! The modded V2s pass a lot of tests in a dozens of use cases, just as its predecessor successfully did over the last few years. Time will tell which is better!


