Project update 4 of 8
Build Log for our Delta Bot
by ODrive Team
When developing a new product, you always want to test it out in the real world so you can make it as easy as possible to use. This is called “dogfooding” — and we made sure to do it as much as possible throughout the Micro’s development. So, we pretended we were a hobbyist with a cool project idea and worked to figure out how to build it using the ODrive Micro.
We really wanted a use-case where we could push the Micro’s precise control to its absolute limits, so we chose a high-speed robot. Delta robots are extremely common in industry, with uses in everything from product picking to 3D printing. Their lightweight, low-inertia design allows for extremely high speed movements, and they can achieve quite high precision with the right motor driver. And we knew ODrive Micro would be up to the task!
We didn’t want to reinvent the wheel, of course, so our first step was to find an existing delta robot we could retrofit with the ODrive Micro. It was important to us that it be open source and easy to modify, since we’d be having to mount new motors and add a stronger frame. We found the Delta X 1 robot, an open-source Delta robot kit, and instantly knew it was perfect. It uses NEMA 17 stepper motors — common for 3D printers, but generally quite low-power; we knew we’d be able to supercharge it with a proper brushless motor conversion. A few days of shipping time later and we had it built in front of us.
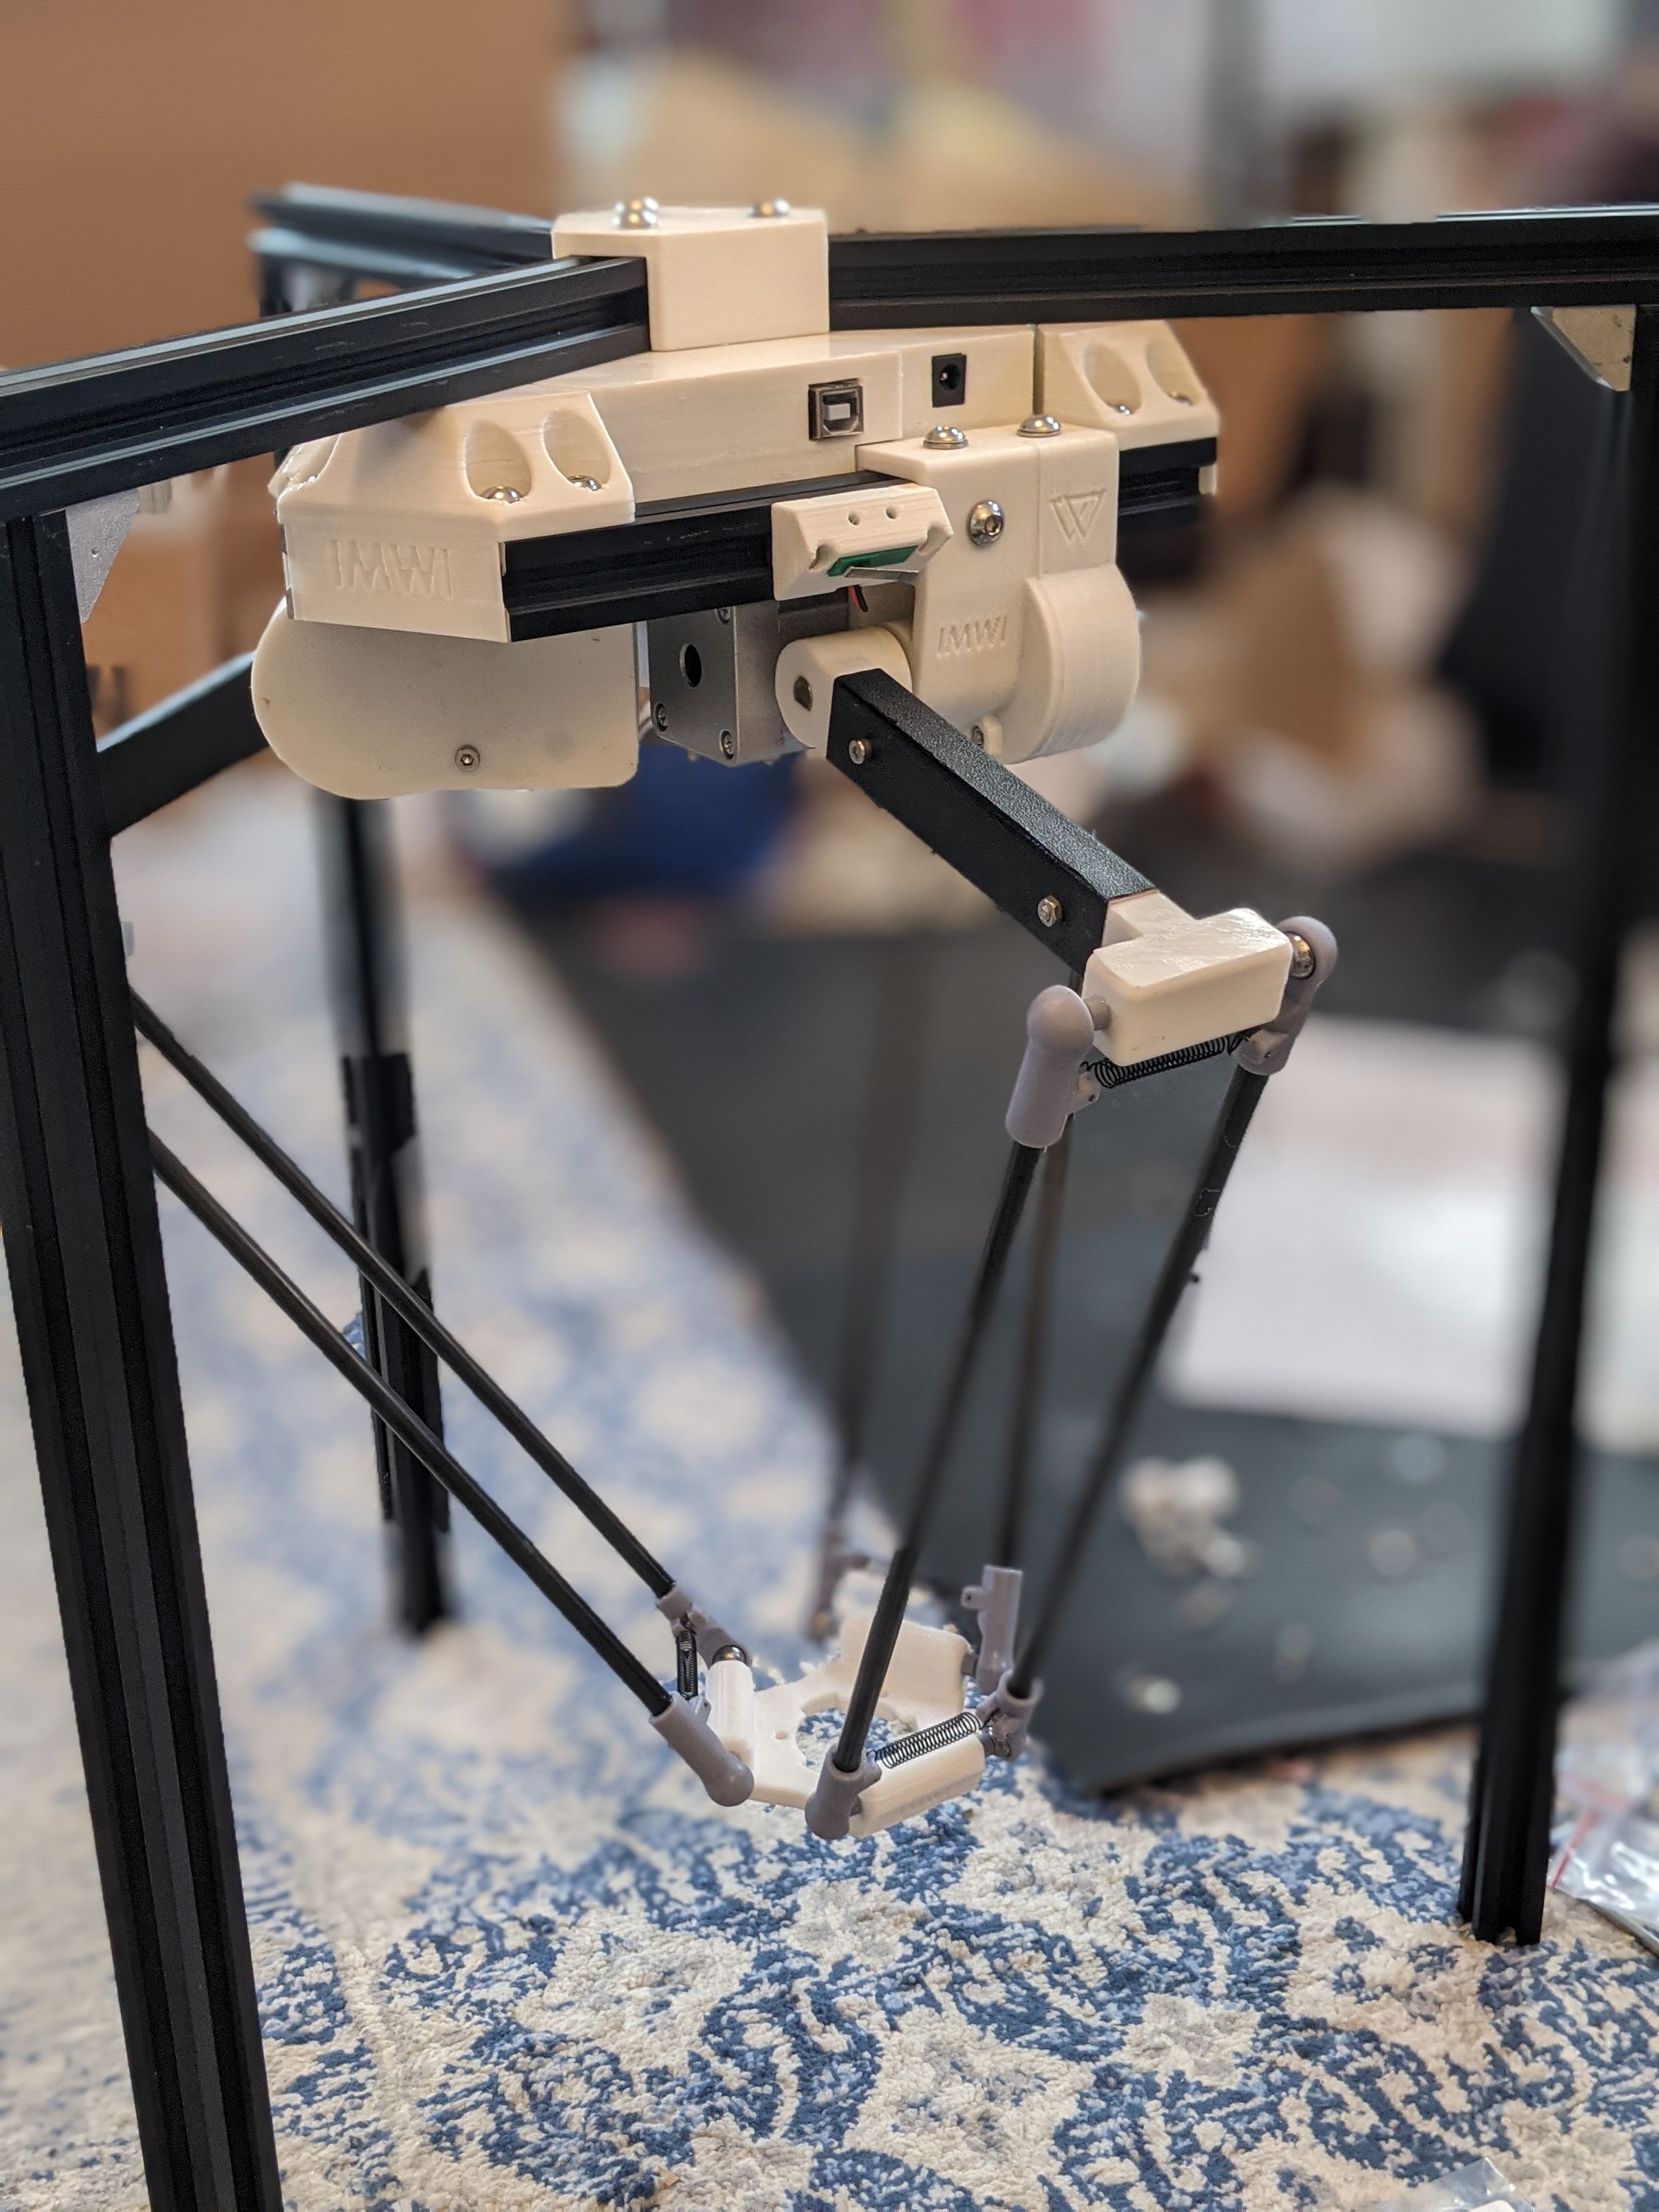
Next, it was time to figure out how to add brushless motors. A few months back, we worked with a factory to design some brushless motors in the NEMA 23 form factor, custom built to mount an ODrive Micro on the back and to utilize the Micro’s onboard encoder. This let us benefit from the existing ecosystem of NEMA 23 compatible mounting brackets and gearboxes — even though this was a brushless motor, not a stepper motor — and these custom motors rapidly became our main workhorse for testing the ODrive Micro. So, we requisitioned three of them from our test rack and got to work!
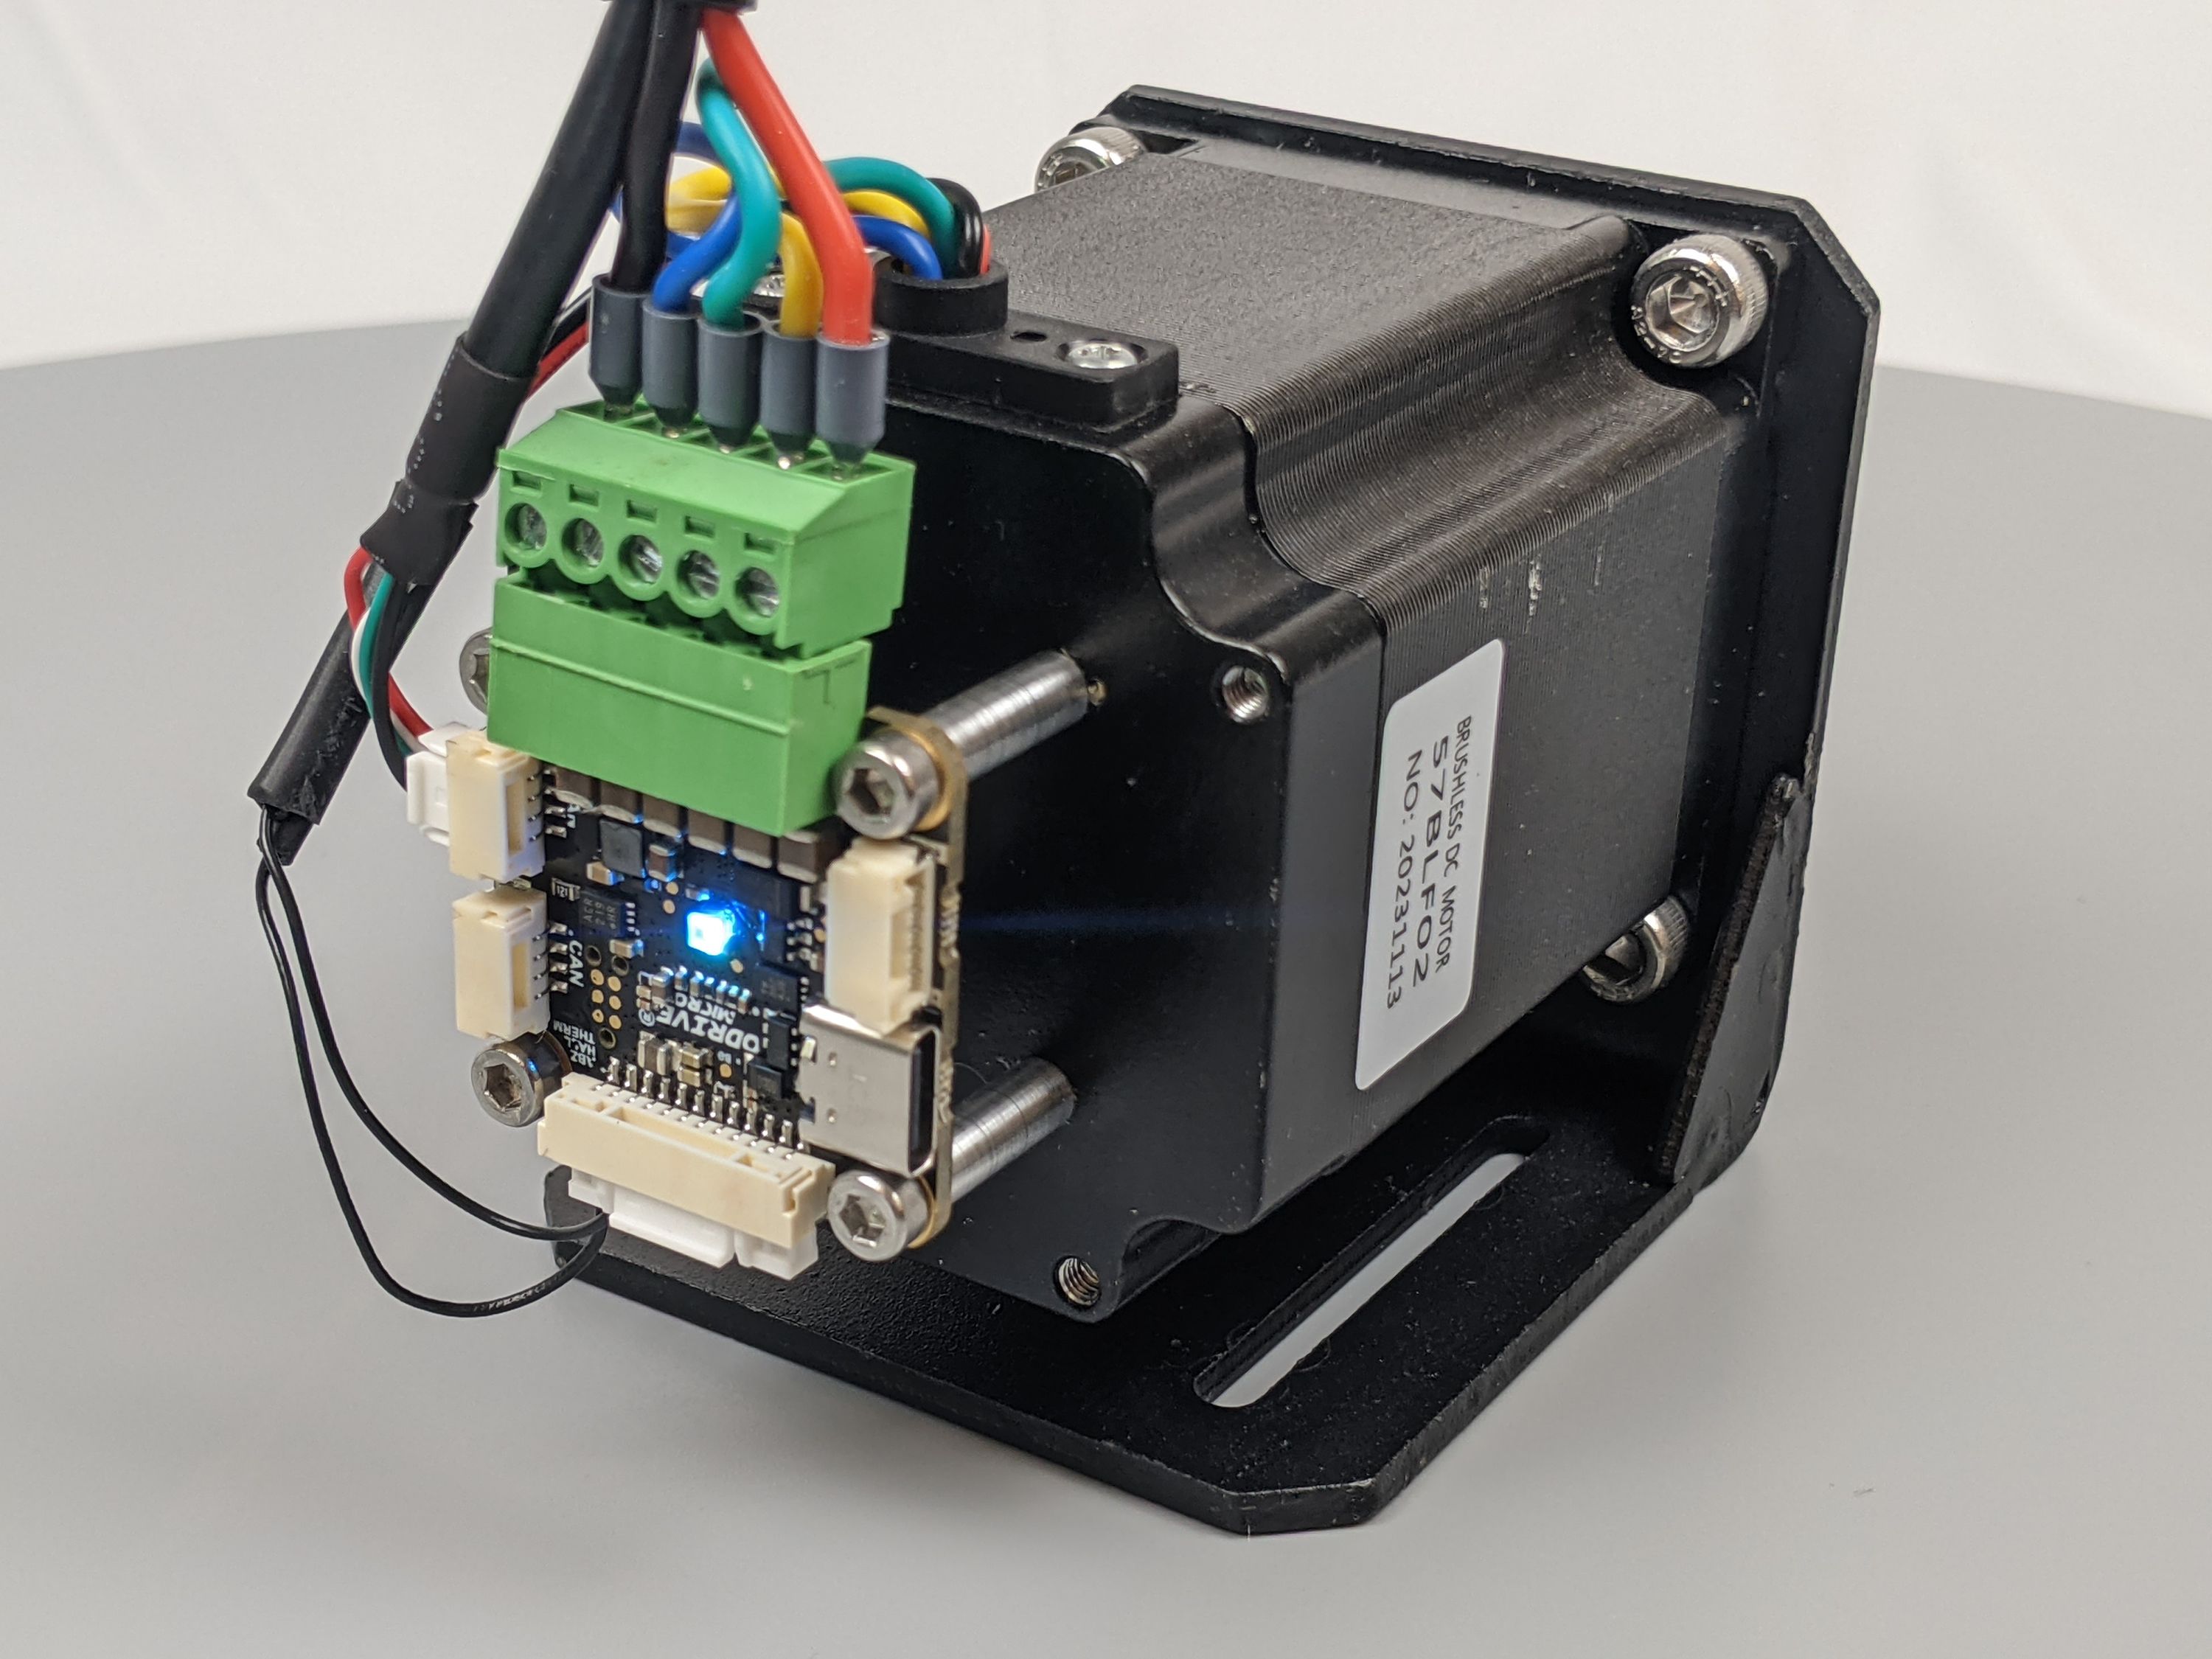
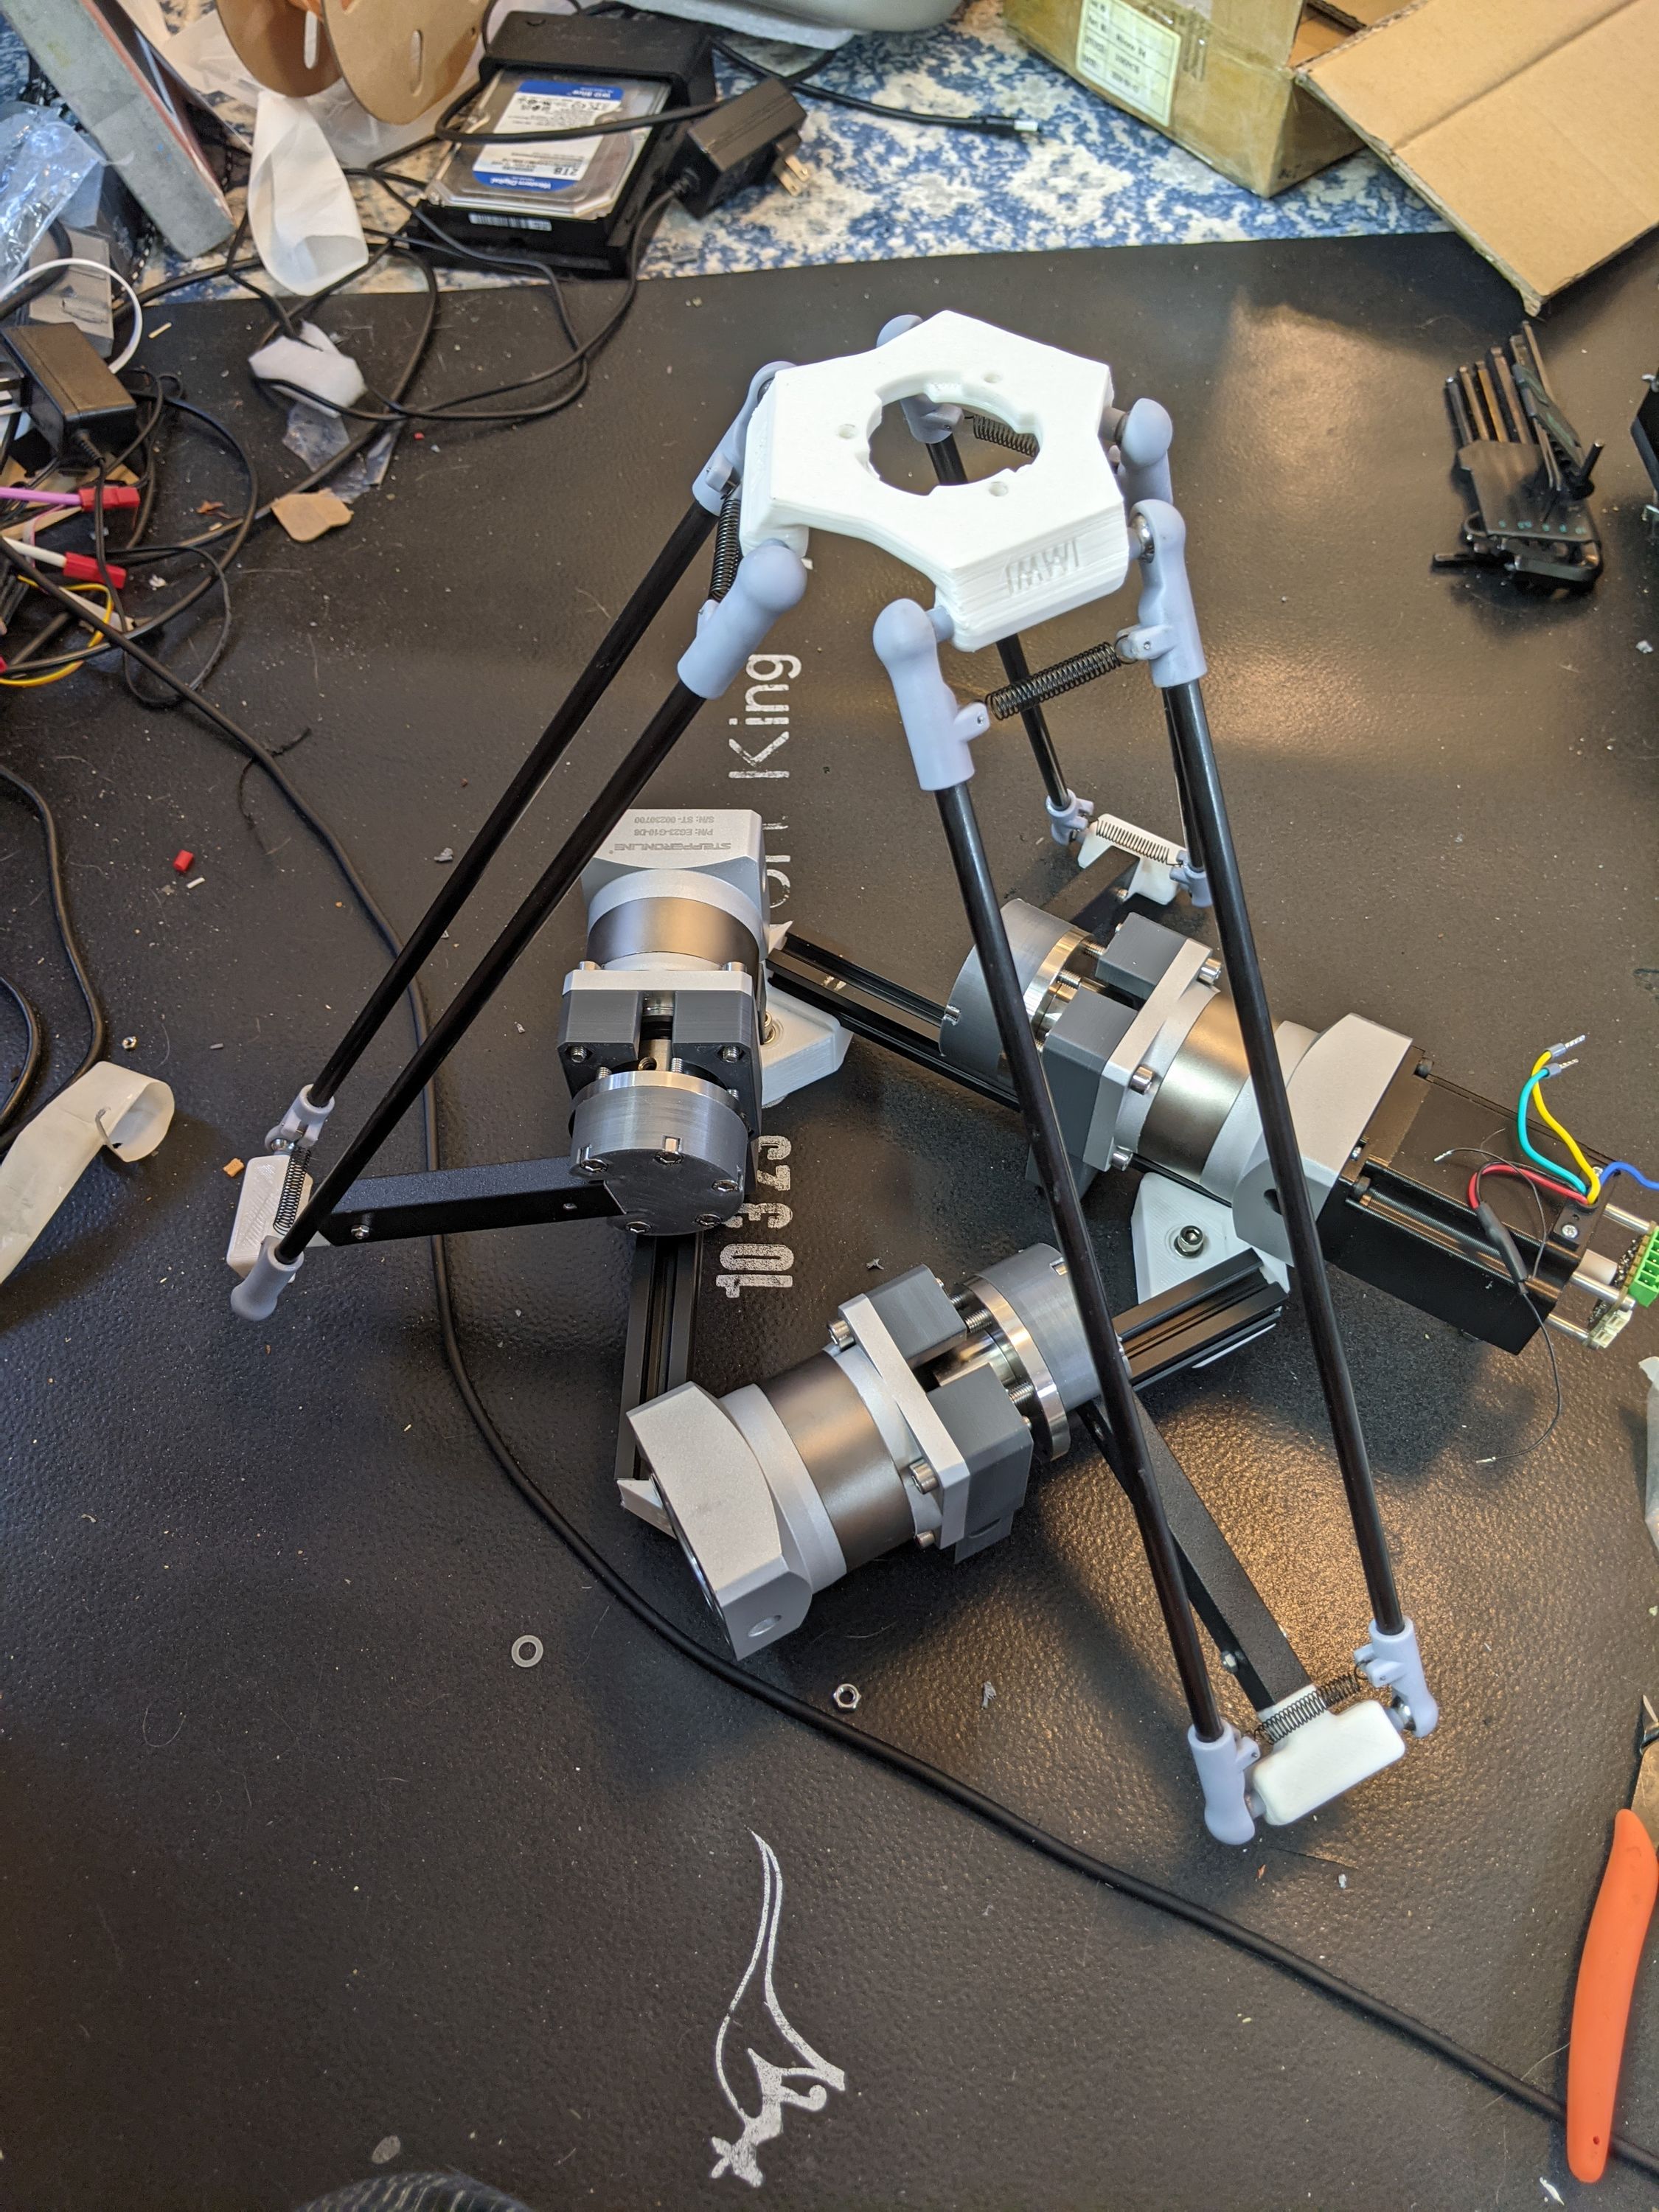
After some math and simulations, we determined that a 10:1 gearbox would allow for the fastest arm movements — striking a balance between top speed and acceleration. We used a high-precision EG series gearbox — usually designed for stepper motors, but still a perfect fit for our custom NEMA 23 brushless motor. Once the gearboxes arrived, we bolted everything together and had our new high-torque servo up and running in no time.
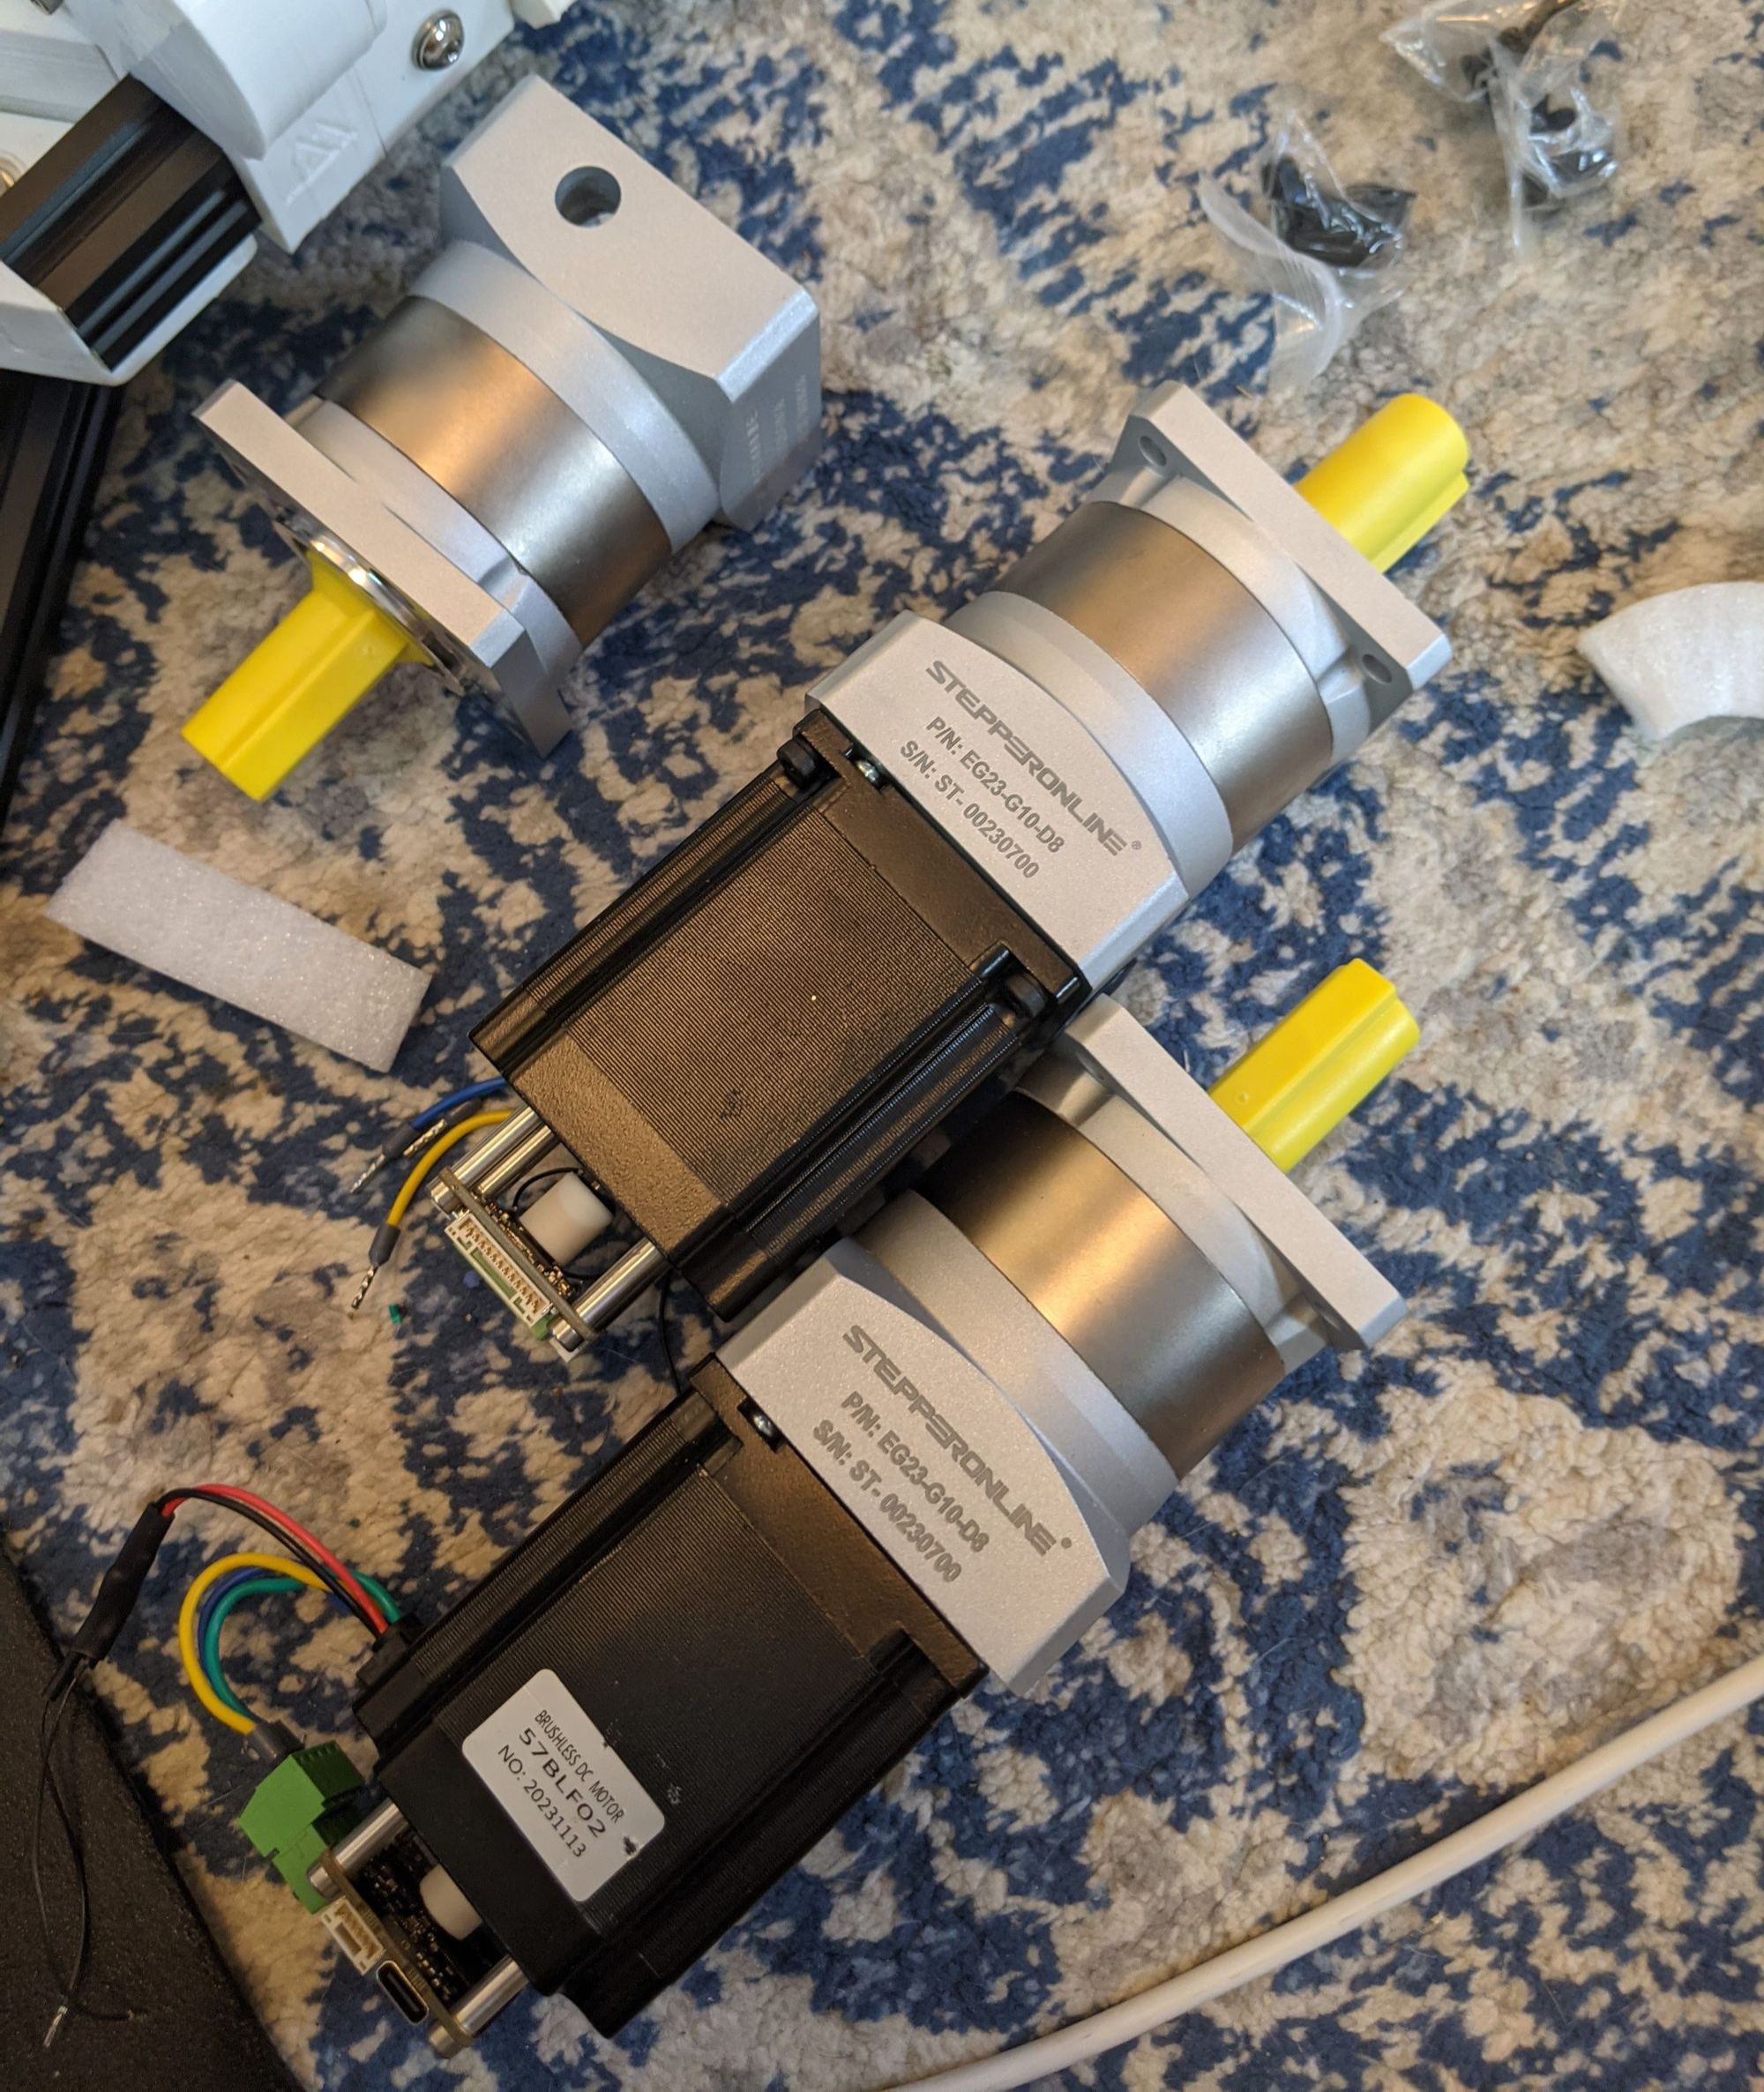
However, with great power comes great responsibility a lot of space usage, as each motor-gearbox alone was nearly the entire length of the robot’s controller! It was definitely going to be a tight fit.
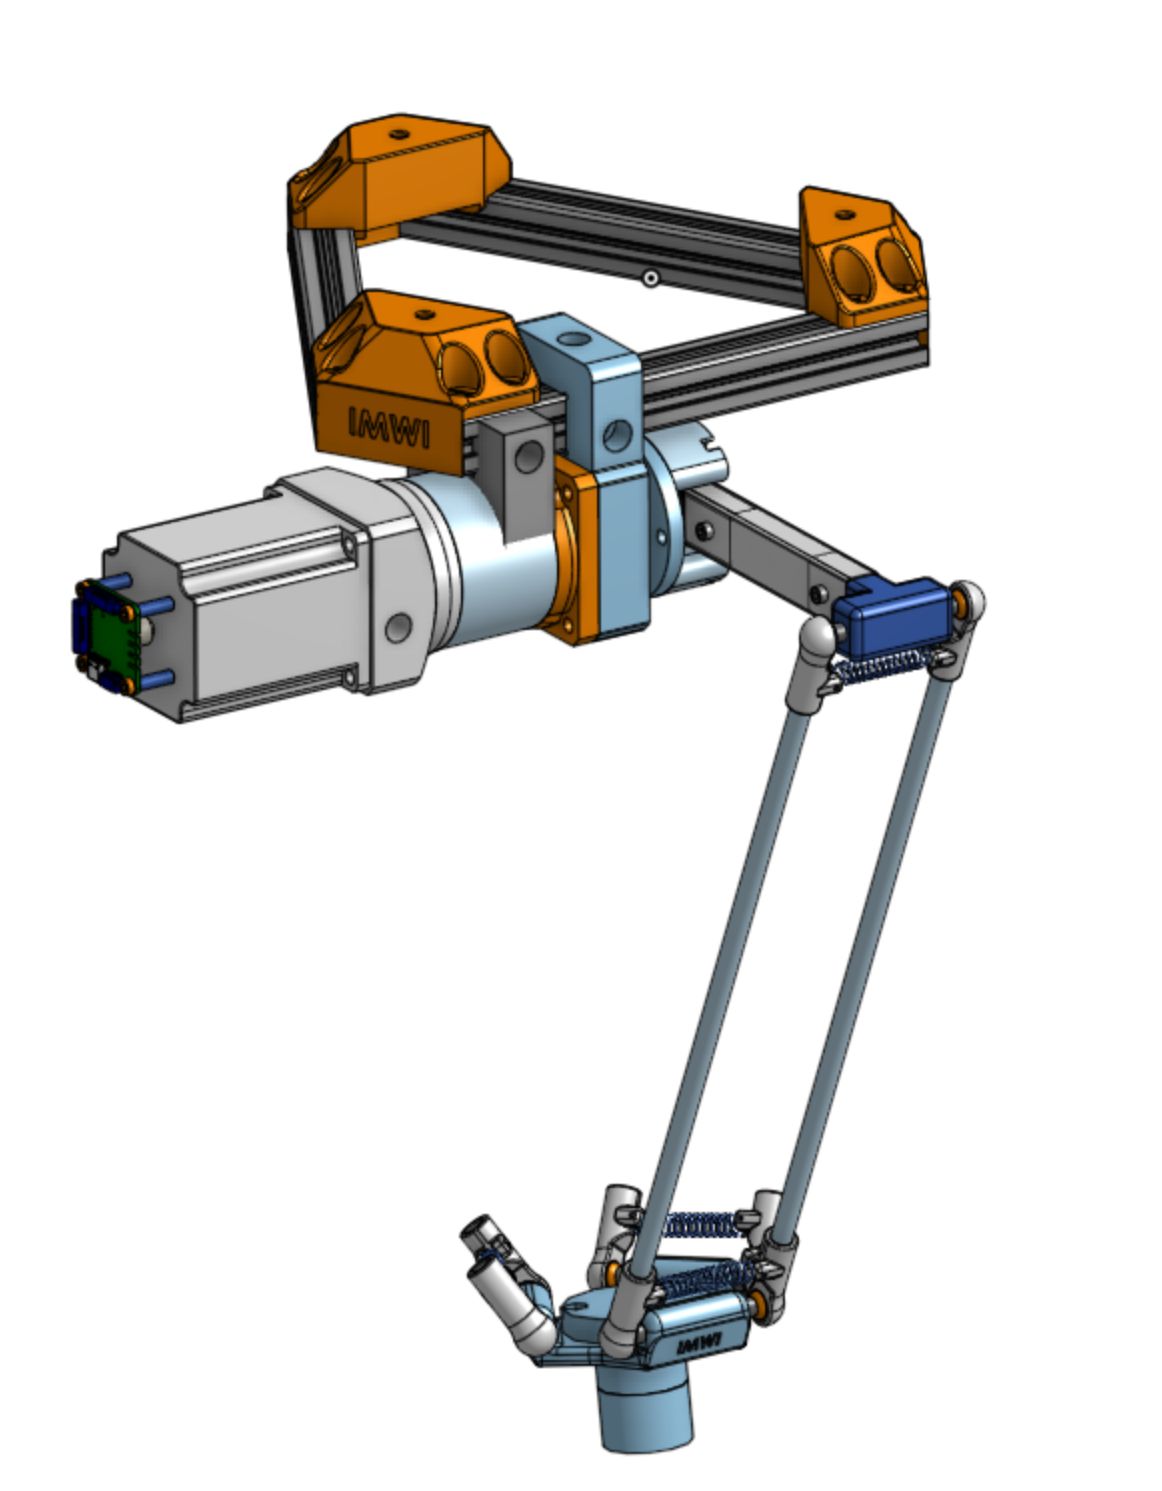
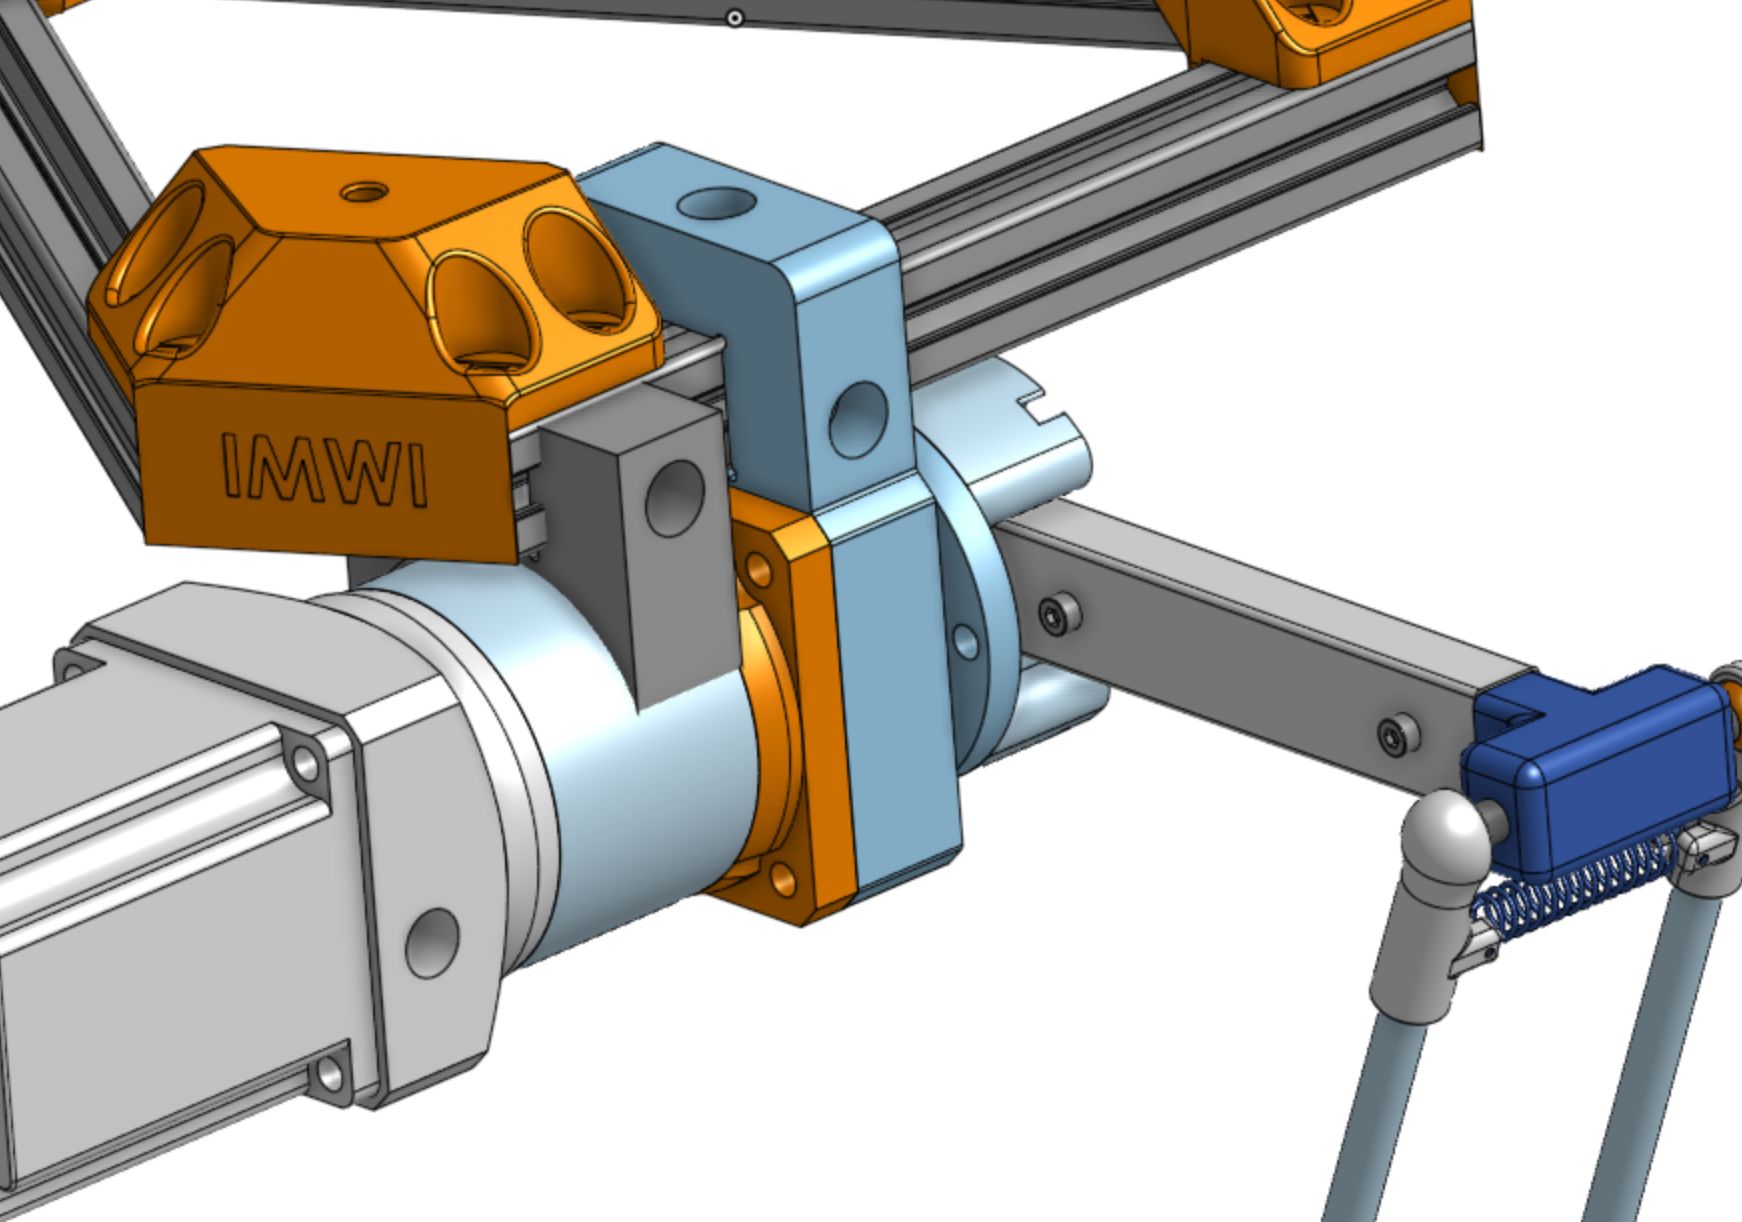
Next, we opened up our CAD program and imported the Delta X 1’s helpfully-provided STEP file. We disassembled all the stepper motors and default electronics from the robot, and designed some 3D printed adapters to mount the our motor-gearbox assemblies on the frame.
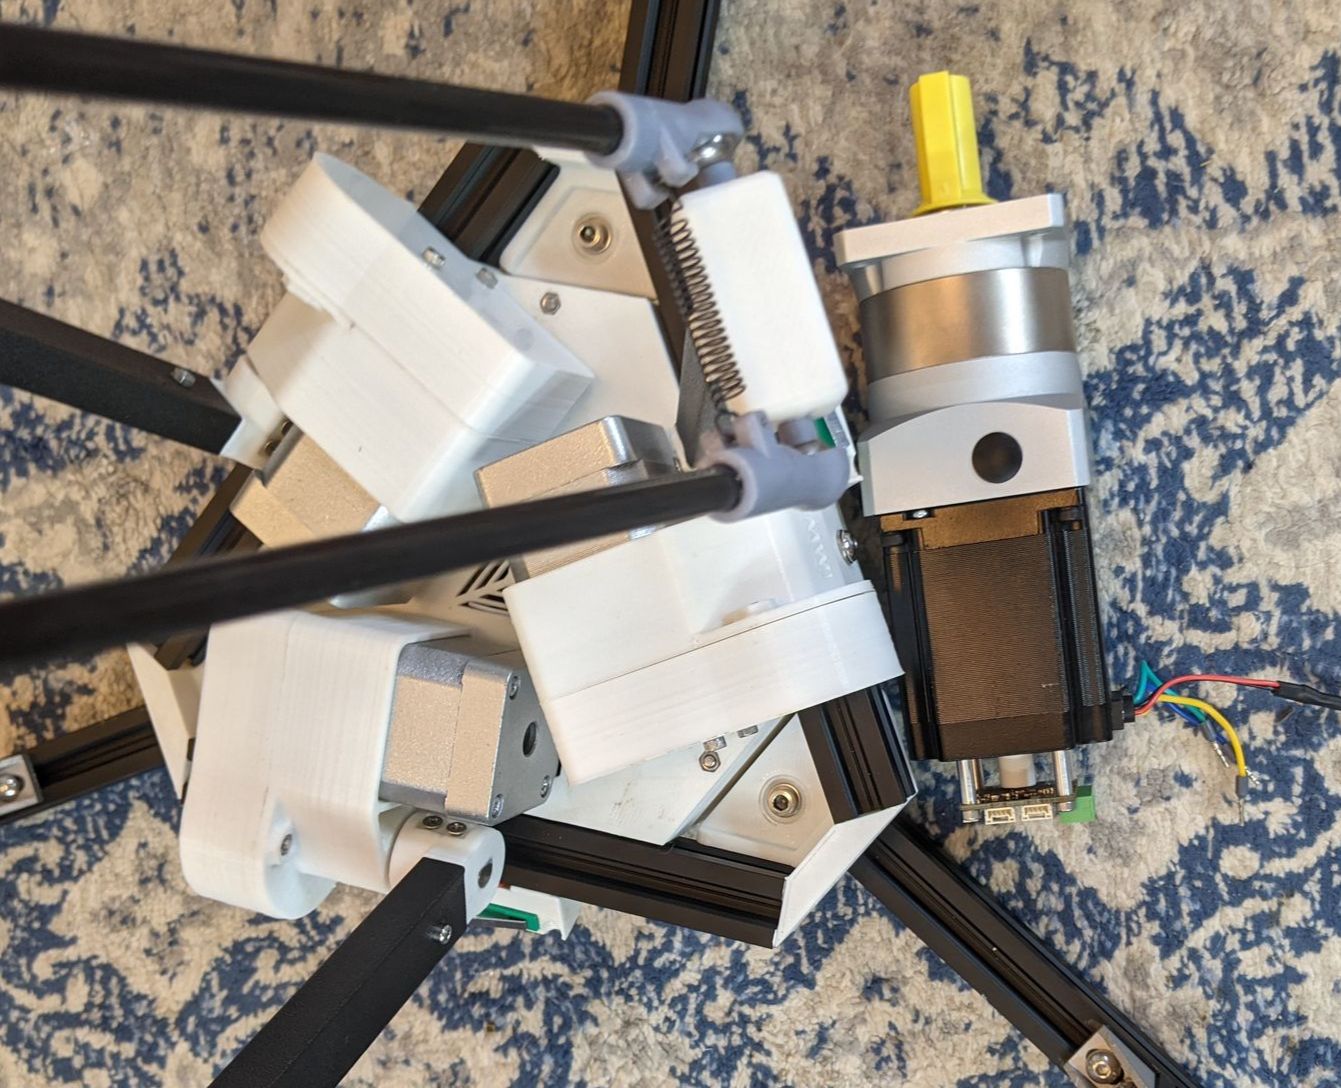
After a few hours of printing, the first motor mount was ready. And it was a perfect fit! (Our engineer asks you kindly excuse the messy backdrop in the photos.) Then, we printed the remaining three gearbox mounts and got everything assembled.

Finally, we bolted the arm assembly to the outer frame — with no help from Saké, the world’s worst shop cat. Additionally, we knew we’d eventually want to be able to pick up and manipulate steel ball bearings (as a simple demo project), so we added an electromagnet to the end effector.
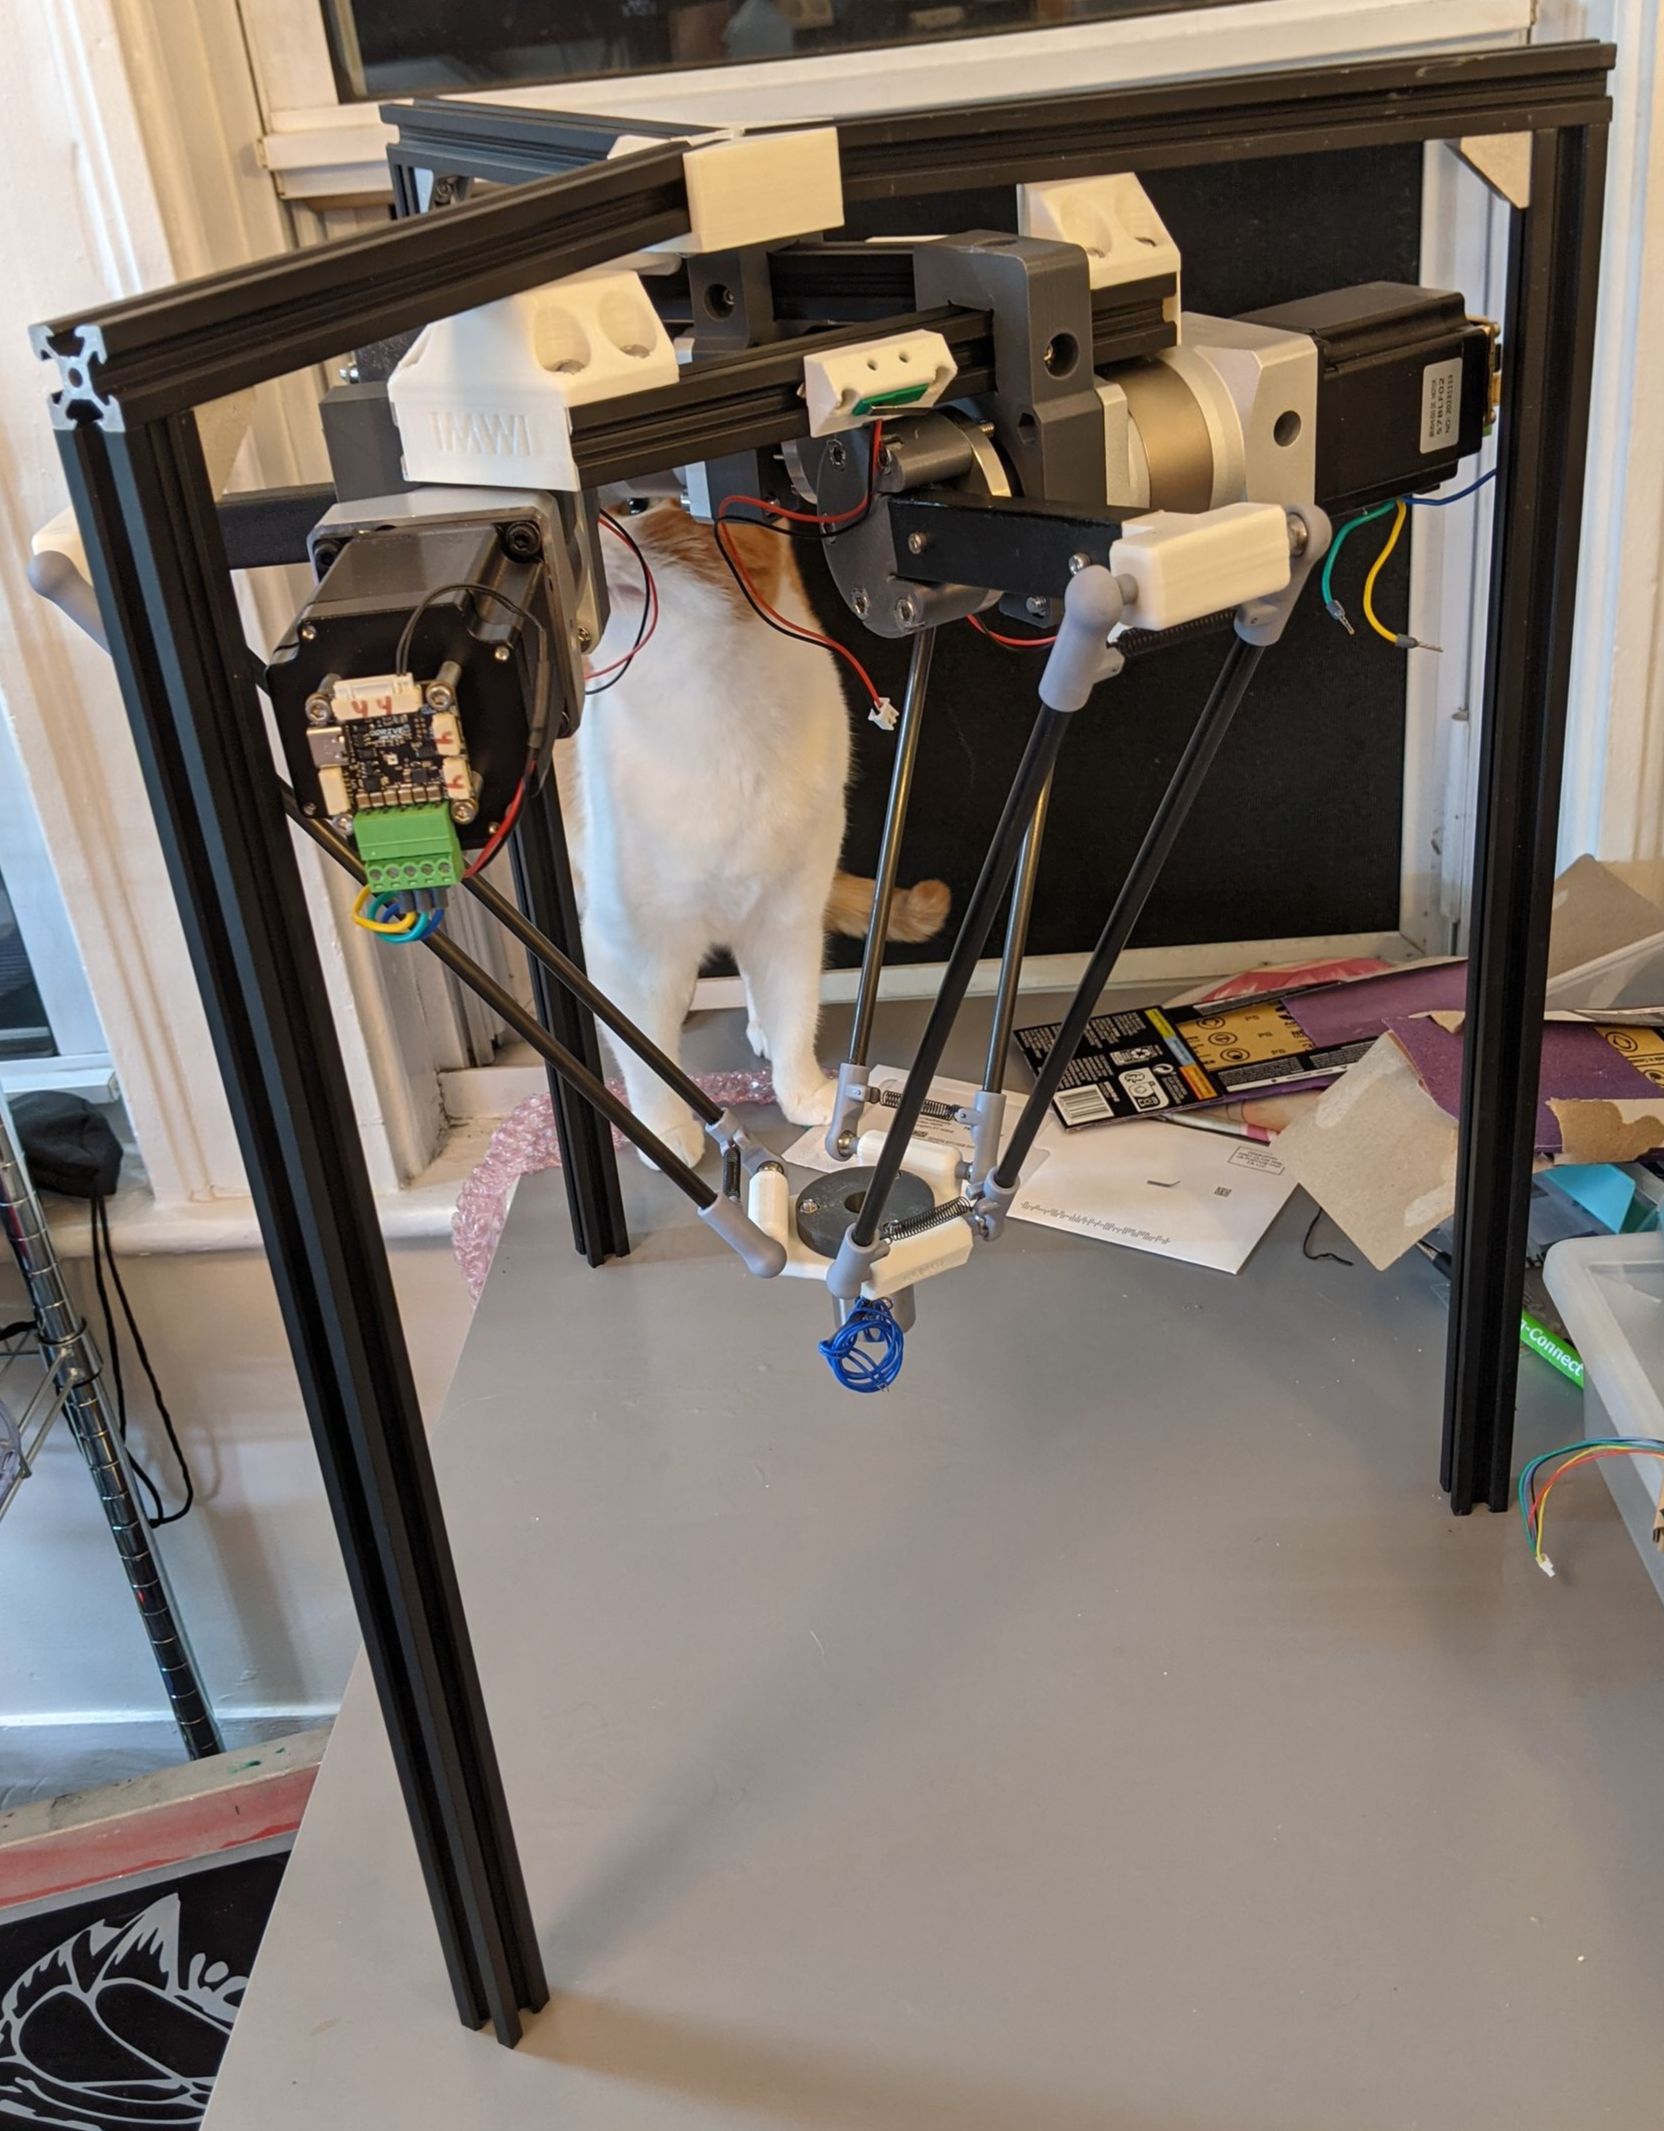
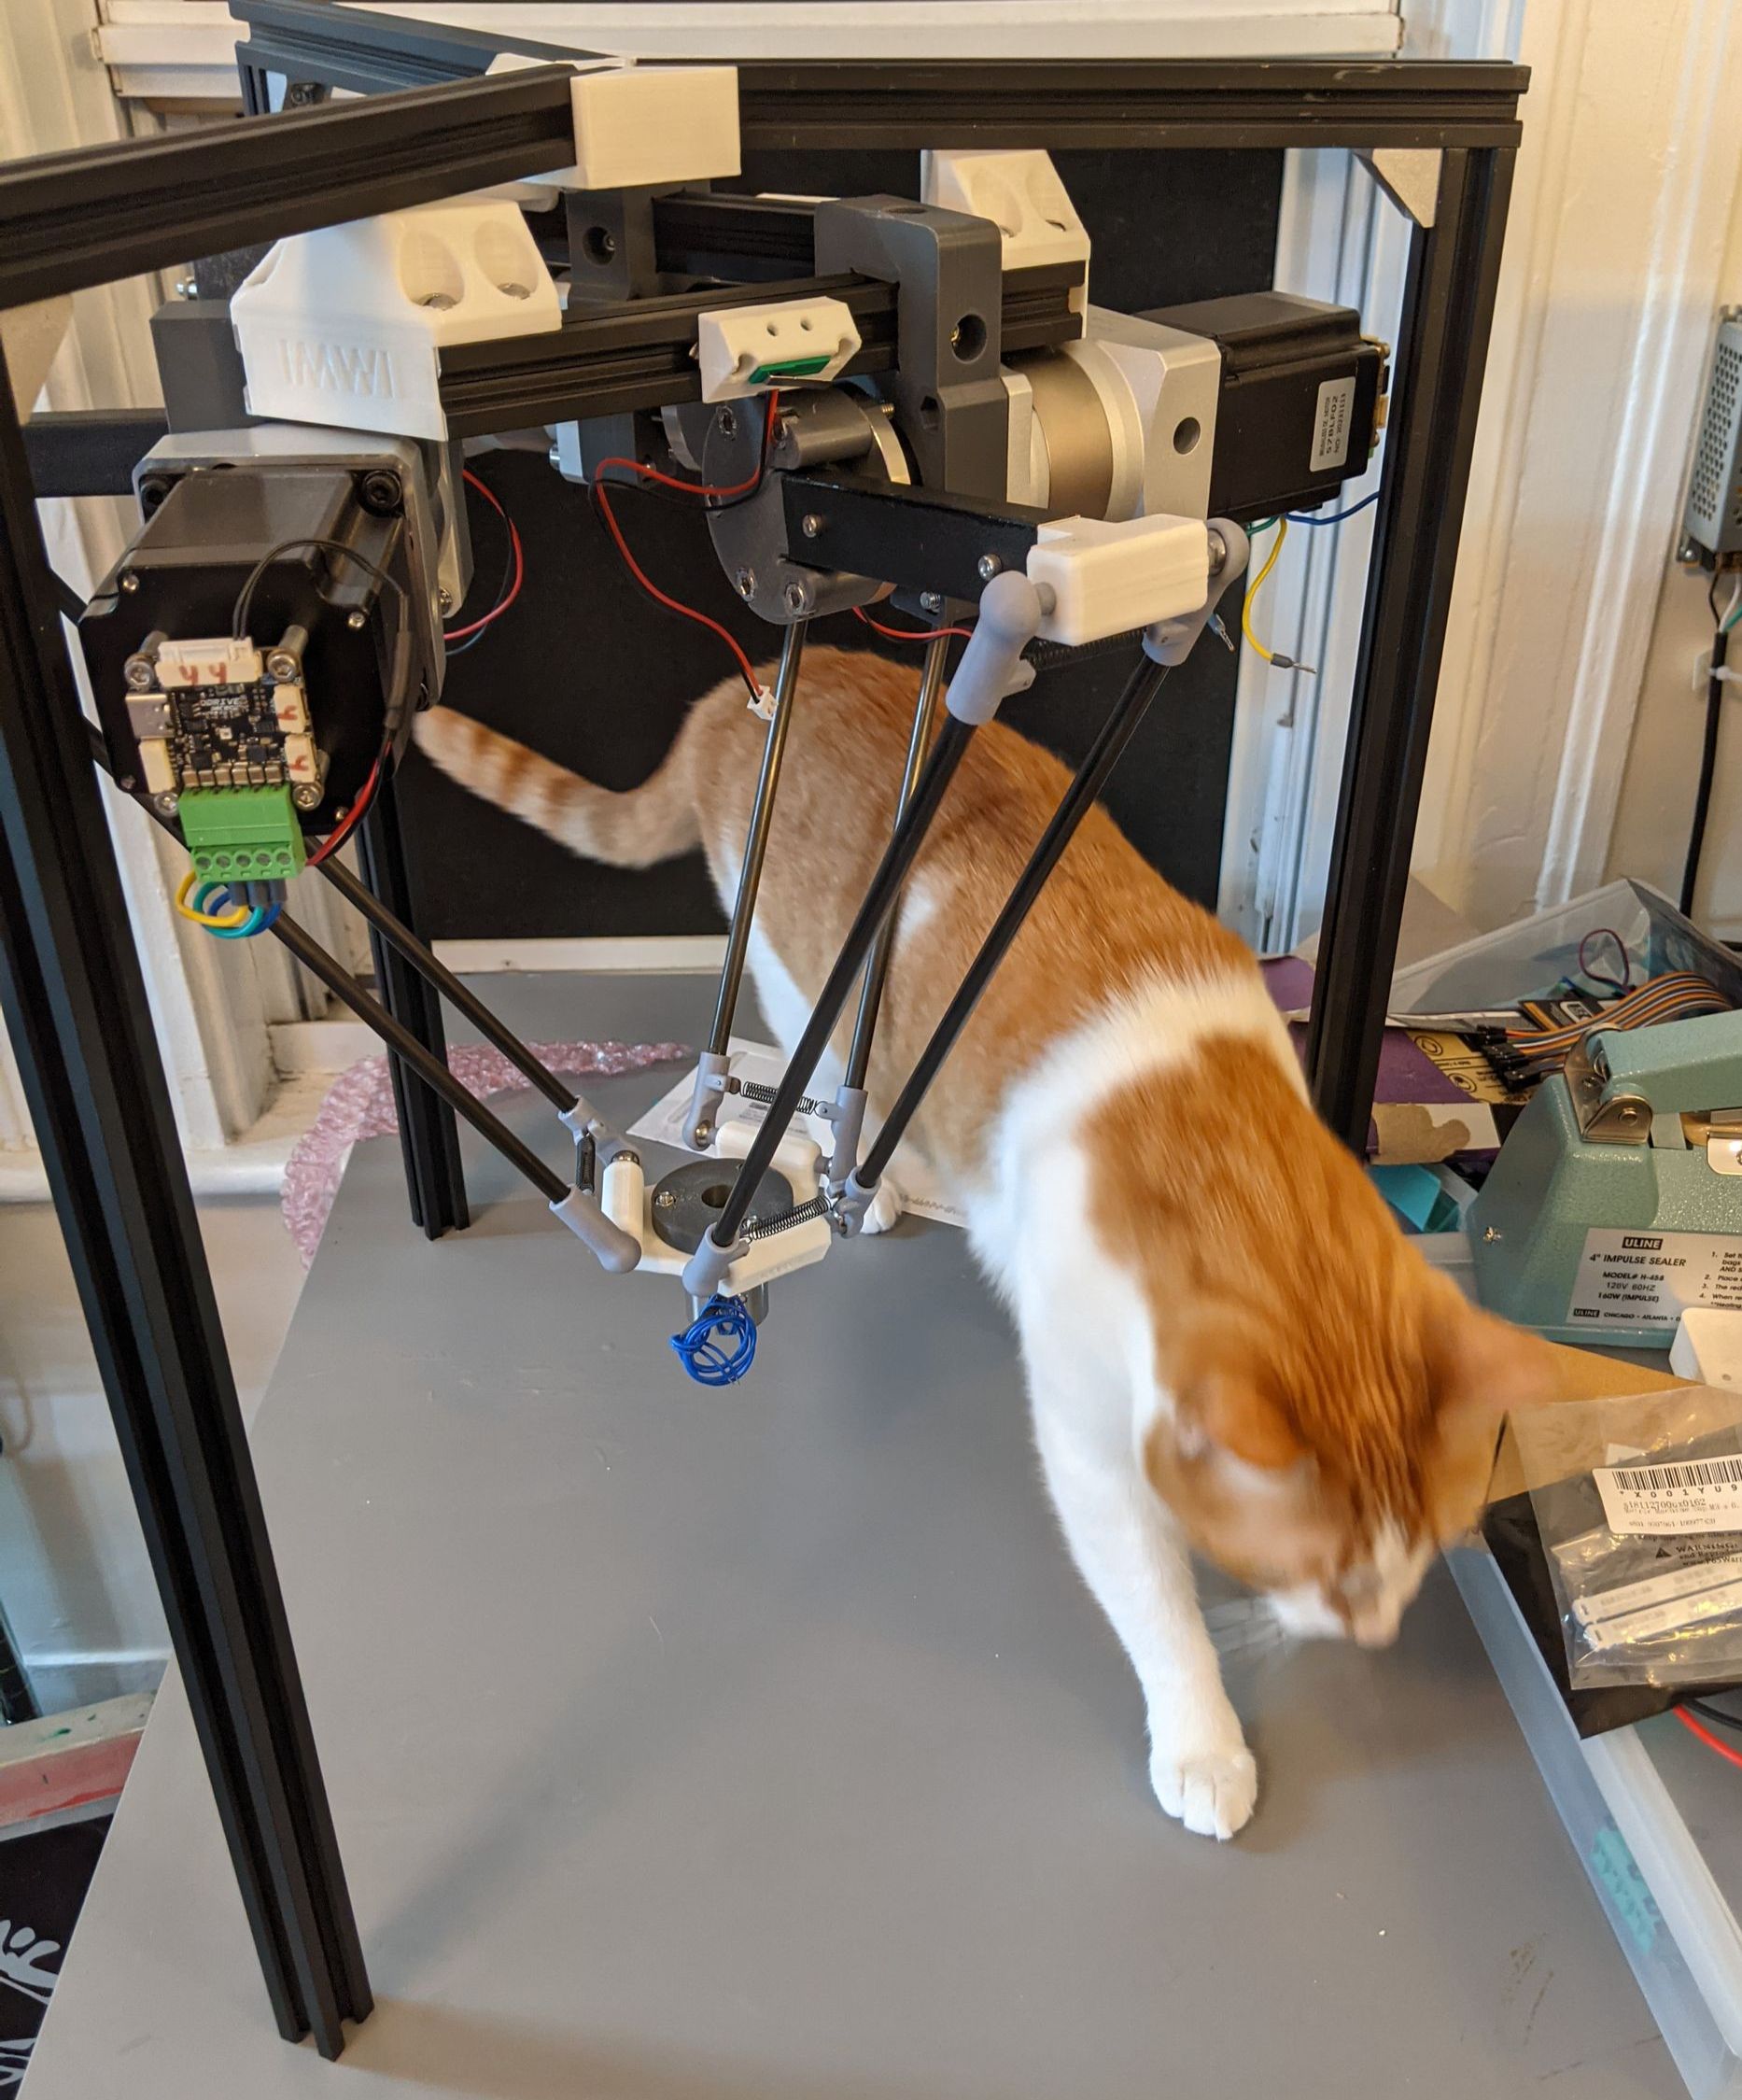
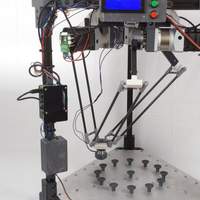
Finally, it was time for the robot’s first movements! We directly connected to one of the Micros over USB, taped the other two motors in place, and then used the Web GUI to get everything calibrated and tuned. Look at that speed — and that’s at a fifth of max power! You can also see the CAN wiring, daisy-chained between the three ODrive Micros.
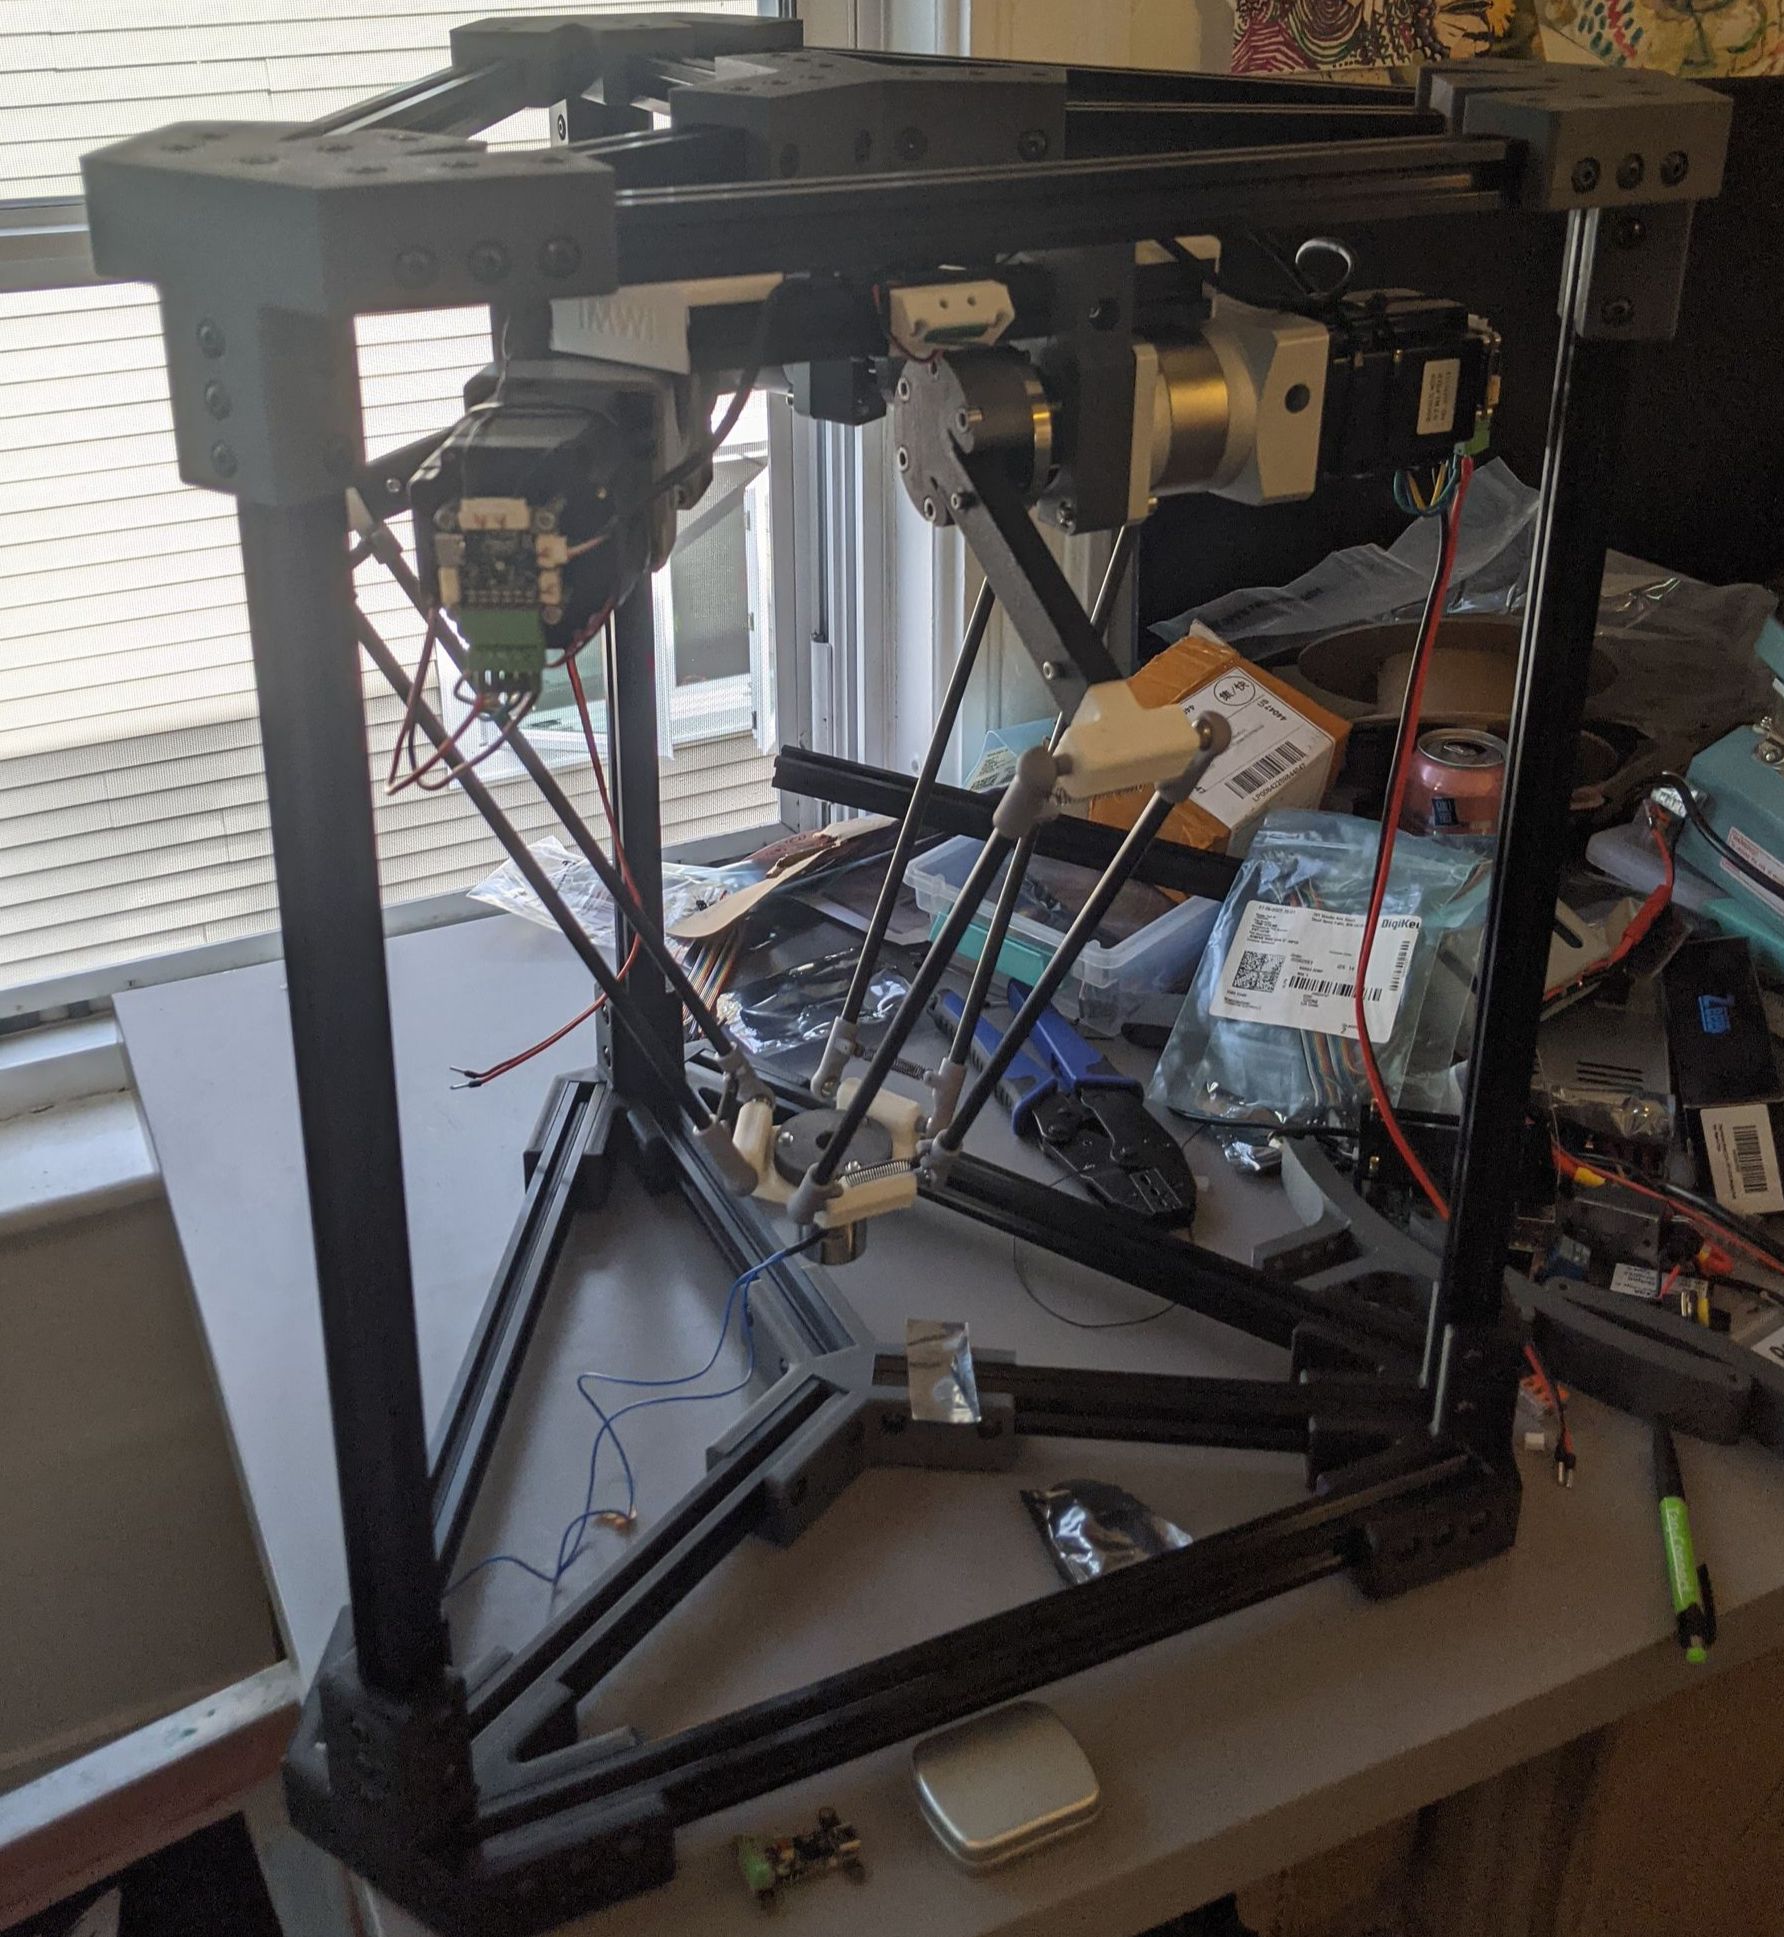
Next, it was time to figure out a control system. We knew that all the Delta robot kinematics calculations take a good amount of math, so we’d need a beefy microcontroller at the very least. We were originally thinking of the Arduino UNO R4, but ended up using a Raspberry Pi 4 with a CAN HAT. That way we could program everything in Python and maybe add some wifi control down the line.
Wiring was quick and easy, thanks to the daisy-chain CAN connectors on the Micro — only power and CAN needed to be routed to each Micro. Finally, a quick bit of Python code sent some pre-planned trajectories to each axis for a test movement. The speed was truly impressive, but the frame shake was significant. However, we knew this could be an issue if we wanted to push the Micros to their true limits.
If you’re wondering what’s going on with the mess of power wiring below the robot — when doing the initial test movements, we quickly ran into an issue: rapid decelerations would feed regenerated power back into the power supply, raising the bus voltage and causing over-voltage errors for the whole robot. So, we used a diode, capacitor bank, and the ODrive S1’s brake resistor voltage feeback feature as a makeshift Regen Clamp since none were currently available. Later, once the Regen Clamp came back into stock, we replaced the tangle of wires with one of those — much cleaner!
Next, it was time to beef up the frame. Some 8020 and a whole lot of 3D printing later, and we had a veritable tank in front of us. Once again, our hardware engineer asks you to please forgive their messy desk.
Next, we added an LCD display and some buttons for a user interface, as well as another Regen Clamp to catch and dissipate regenerated power.

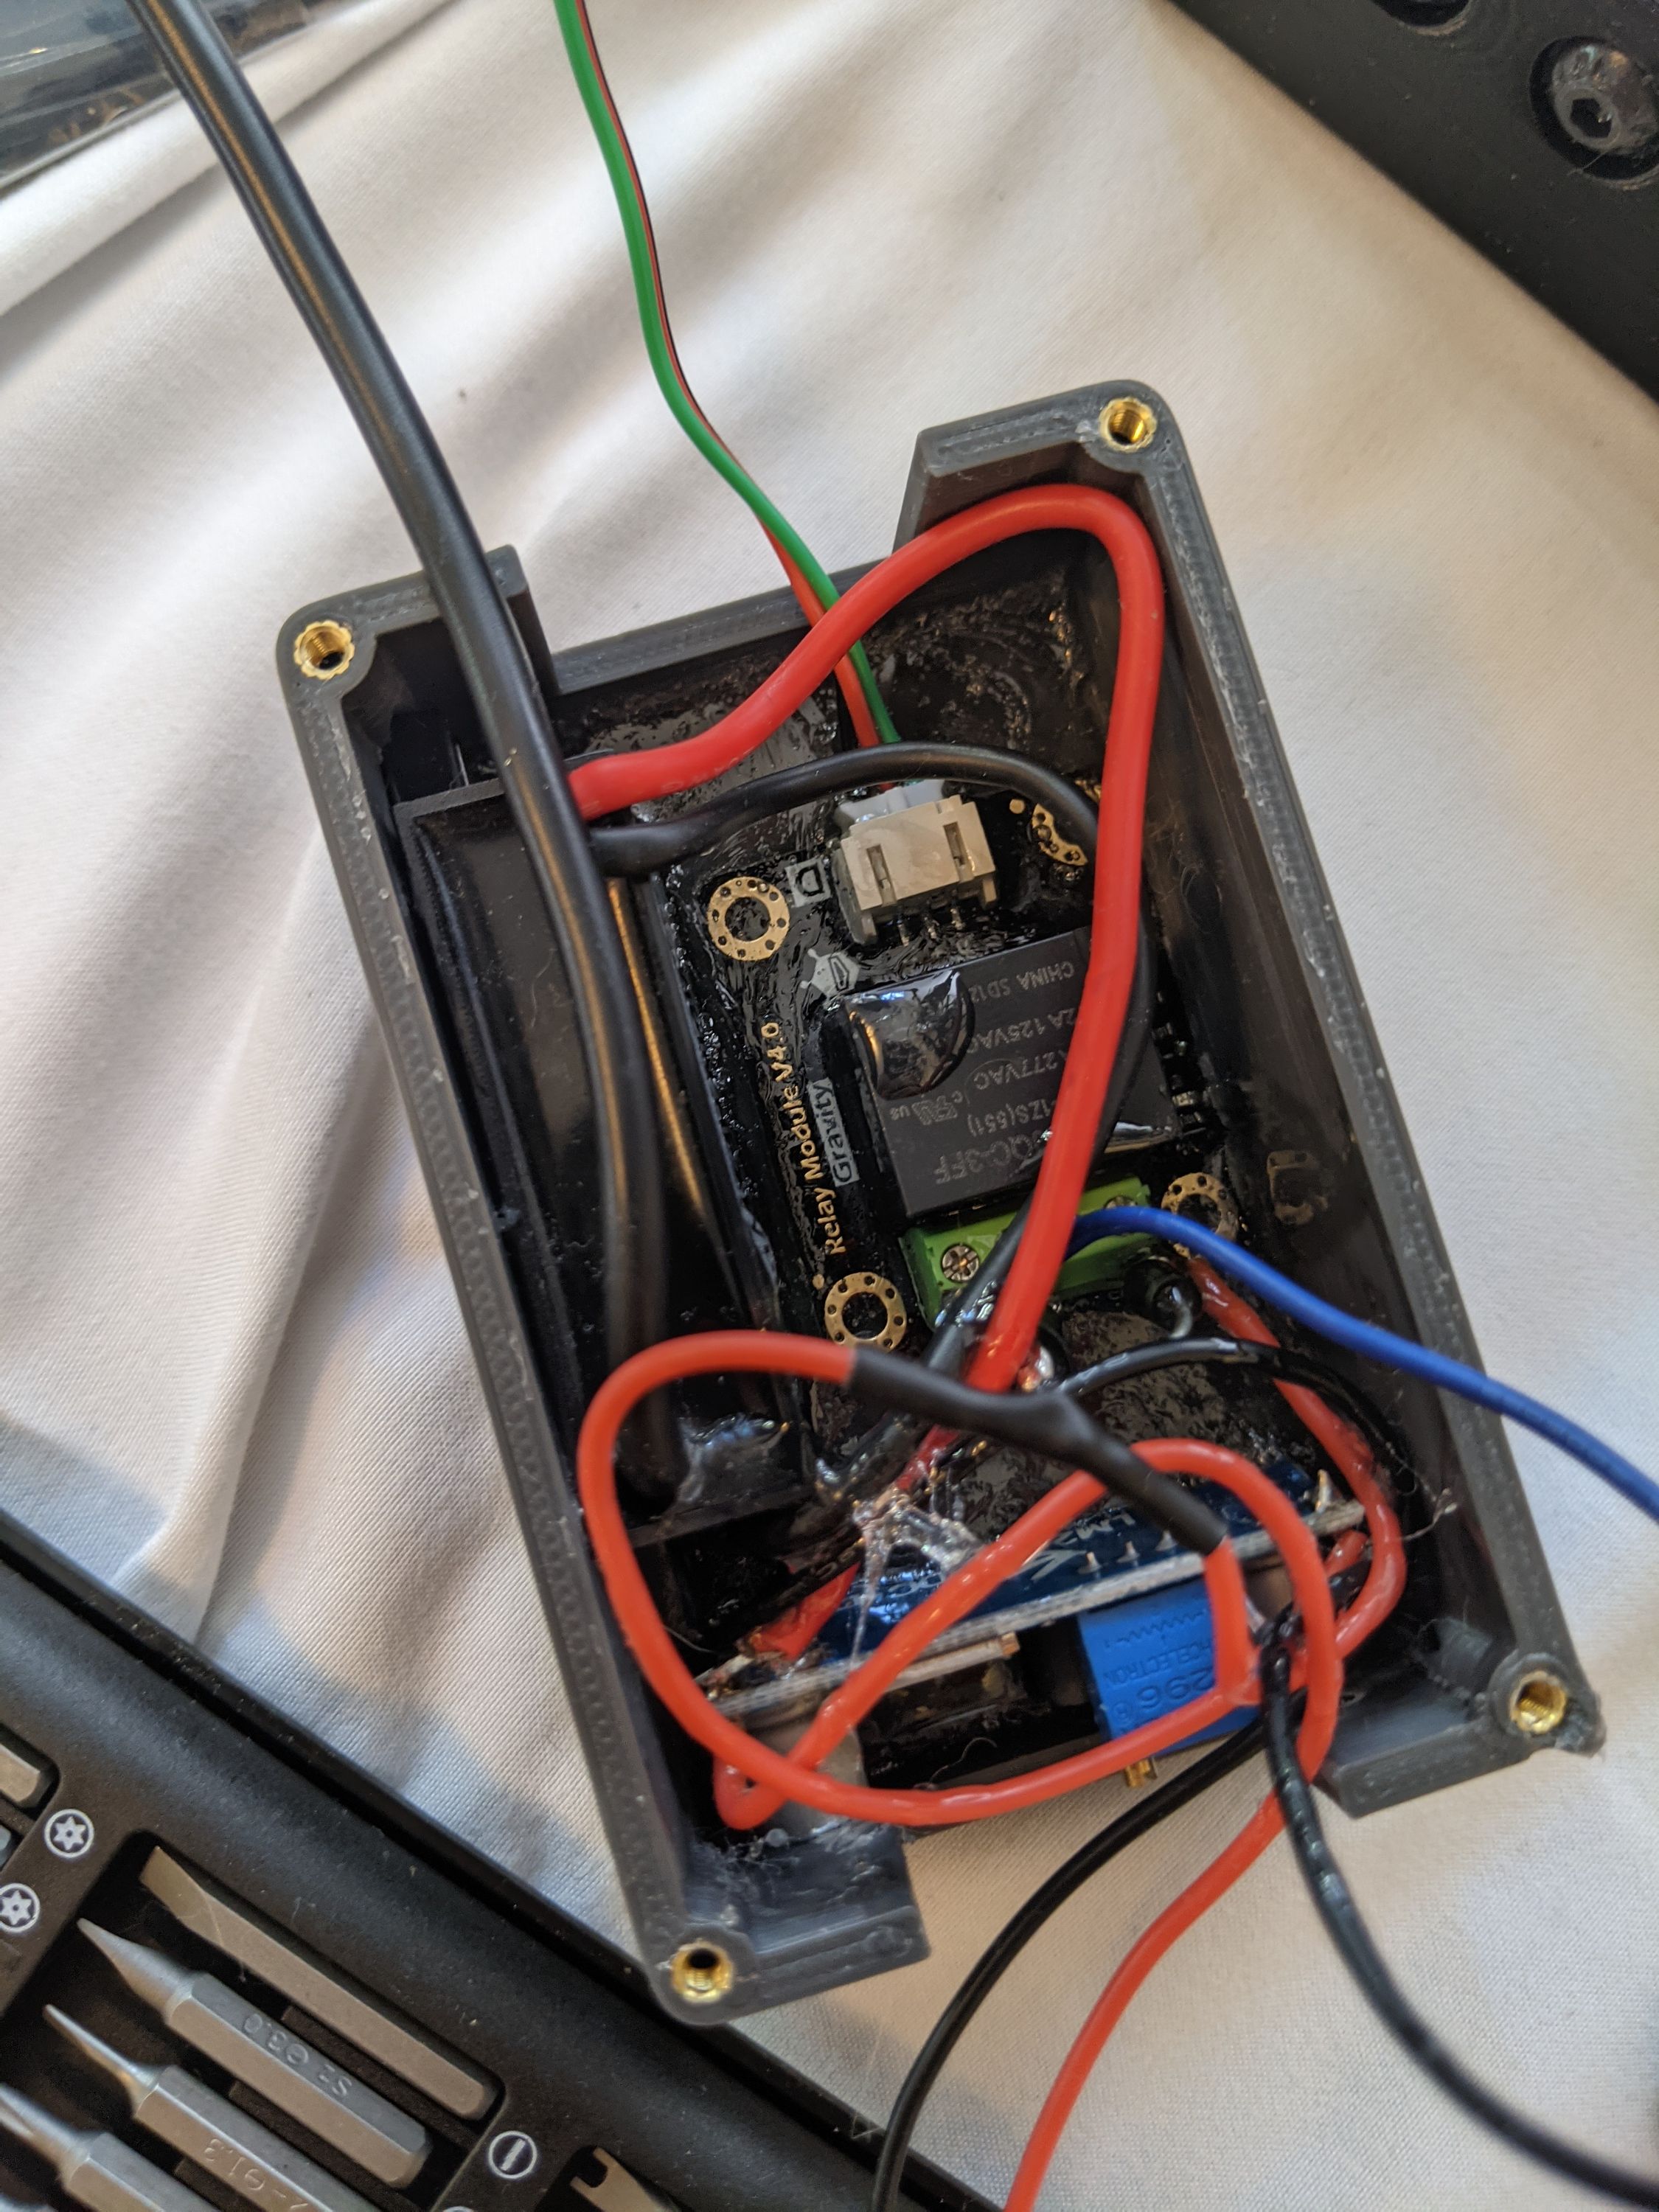
We also added a relay and DC/DC converter to power the Raspberry Pi and the relay from the main 24V supply, and we put together a quick electronics box. An unceremonious epoxy pour provided robustness, perhaps at the cost of aesthetics…
Next, we mounted the 24V power supply, Raspberry Pi, and supporting electronics box to the frame with some quick 3D printed brackets. A waterjet tooling plate and some 3D printed cups allowed us to add an array of steel ball bearings, which we’d use for pick-and-place demos.
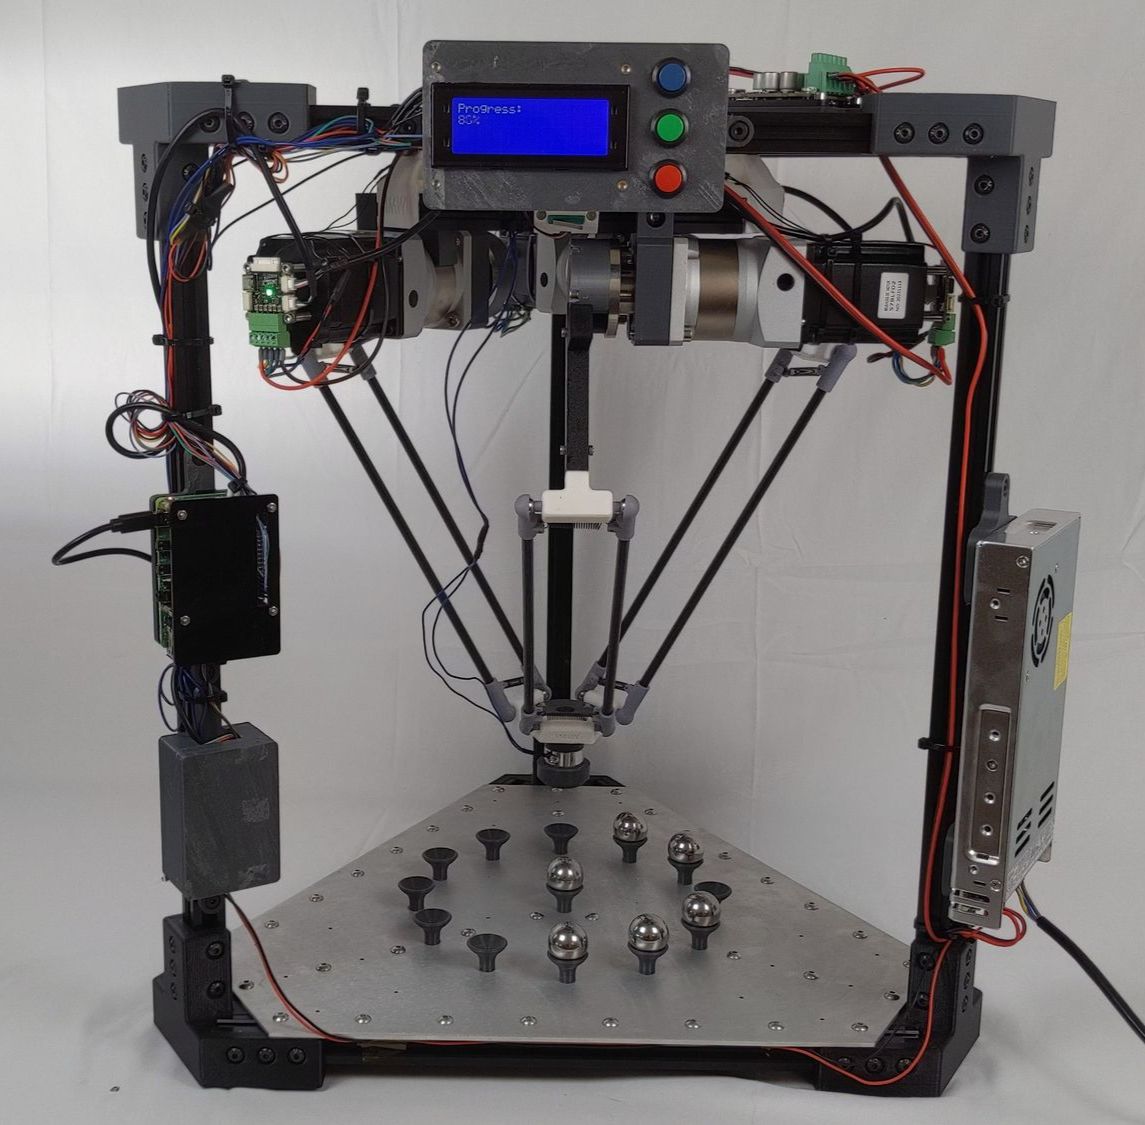
Finally, the whole machine was ready to go! We started with a small hand-programmed trajectory, just to see it in action. And wow, even moving slowly we were impressed!
We programmed in two modes, taking full advantage of the ODrive Micro’s closed loop feedback. First was teach mode, where the Raspberry Pi continuously reads the Micro’s encoder data as the user moves the end effector around, then replays the recorded trajectory at a configurable speed multiple. Second, we added a point-point move mode, which took advantage of the ODrive Micro’s onboard trajectory control mode to move between positions as fast as possible.
Here’s the teach mode in action — the robot’s able to perfectly replay the taught movements down to the millisecond, even including the shakiness of my hand ;)
Next, we did some large trajectories in point-point mode to show the smoothness and consistency the robot’s able to achieve.
Check out that ODrive Micro in action! One fun thing to note is that we were able to keep the existing endstops of the Delta robot and connect them directly to the Micro; this allowed the Raspberry Pi to directly send angle commands using the homed reference frame, greatly simplifying programming.
Next, it was time to crank up the speed and see what our little machine could really do!
As it turns out, this isn’t even as fast as the robot can go! We were limited by the strength of the electromagnet and the integrity of the arm joints. Maybe in the future we’ll revisit the project and truly push the Micro to its limits, but we had a ton of fun with this and believe it serves as a great reference design for some of the possibilities the ODrive Micro can unlock.
Does this inspire you to build something new? Maybe supercharge an existing project? Check out our campaign page to learn more about the ODrive Micro and order yours today!
Got questions? Reach out to us on email, Discord, or our forums!