Project update 6 of 11
Controlling Multiple NeuroStimDuinos on a Single I²C Bus
by Nikunj BhagatHey folks! Our campaign ended yesterday, and we exceeded our funding goal by a significant margin. We are deeply grateful to Crowd Supply and to all of our backers for making this campaign a great success. Thank you!!
Communicating with Multiple NeuroStimDuinos on a Single I²C Bus
We will end this week’s update by demonstrating how to control two NeuroStimDuino using a single Arduino. The default I²C address for NeuroStimDuino is 26. Using the ADDR command from the NeuroStimDuino library, you can change this address and communicate with multiple devices on the same I²C bus. The syntax for ADDR command is ADDR new_address program/switch_only, where:
new_addresscan be any value between 8 to 119, andprogram/switch_onlyis a binary value. When it is set to1, the NeuroStimDuino's current address will be changed tonew_address, and the Arduino will start sending I²C messages to that address. Whenprogram/switch_onlyis set to0, NeuroStimDuino's current address will not be changed. Only the peripheral address stored within Arduino will be updated so that it can start communicating with a different peripheral device.
Setup for Changing I²C Address & Connecting Multiple NeuroStimDuinos
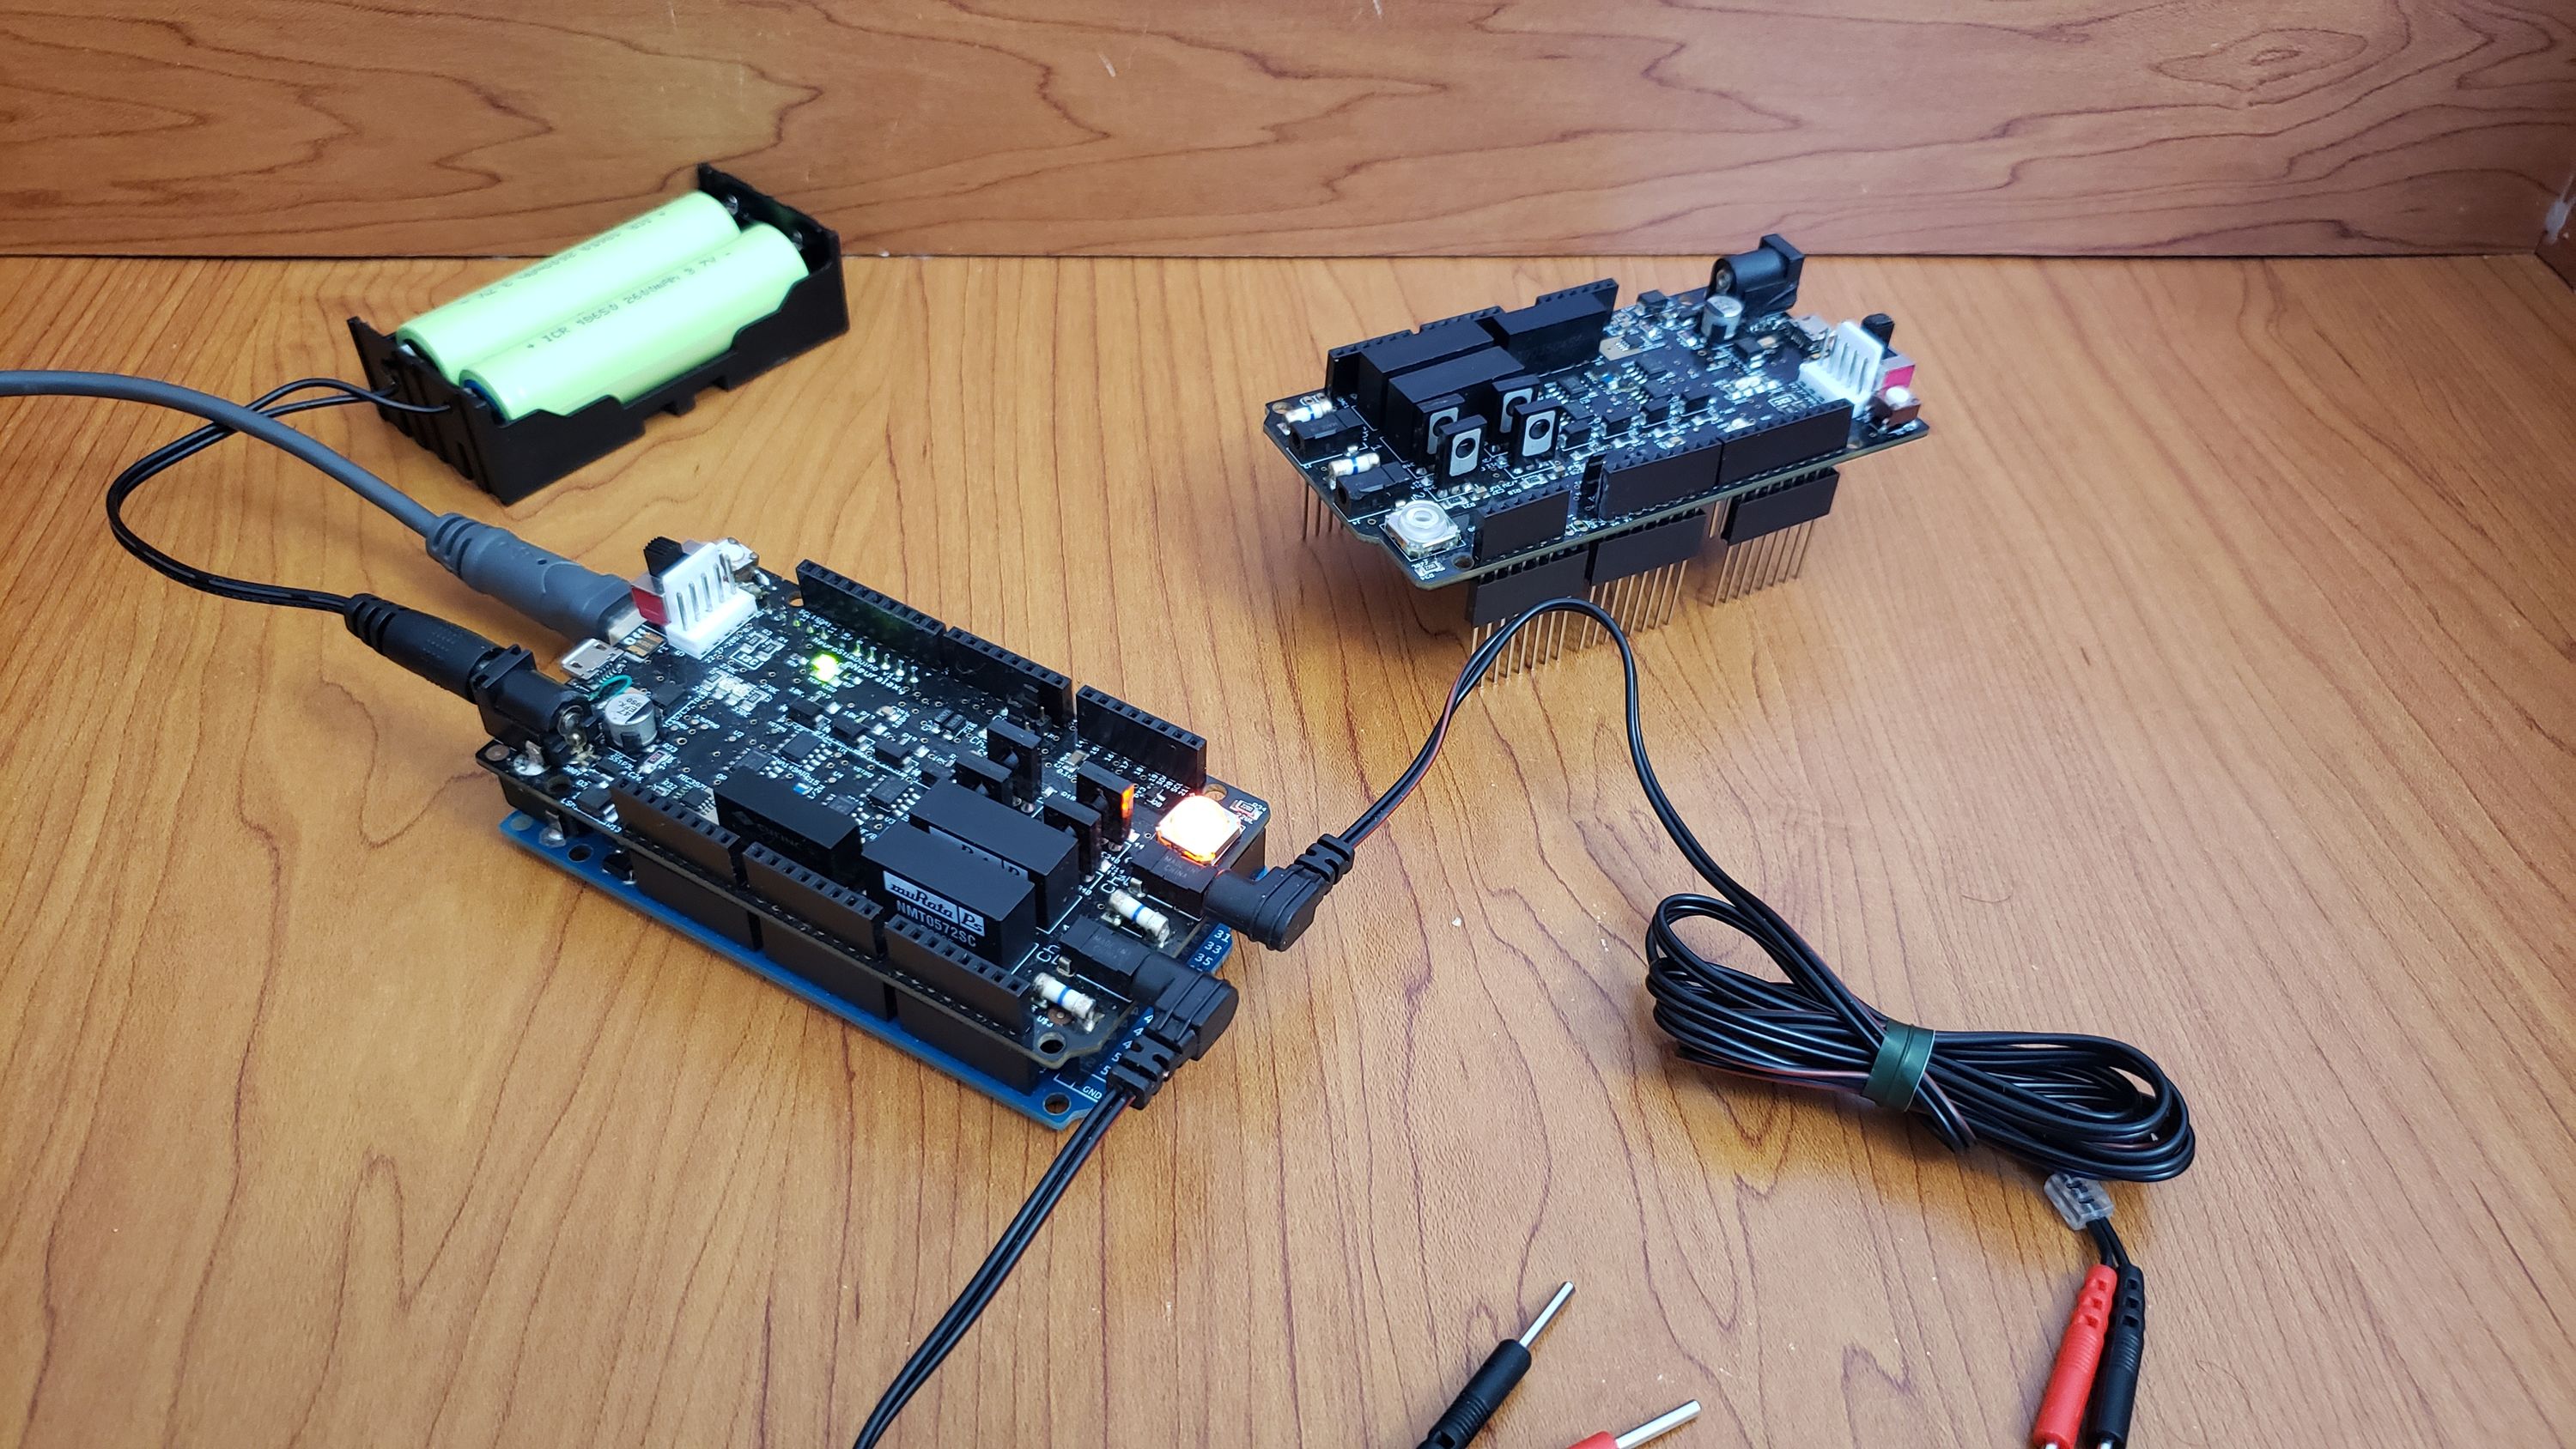
- Connect the first NeuroStimDuino to an Arduino:
- Change its I²C address from 26 (default) to any other value (e.g. 30) using the serial terminal:
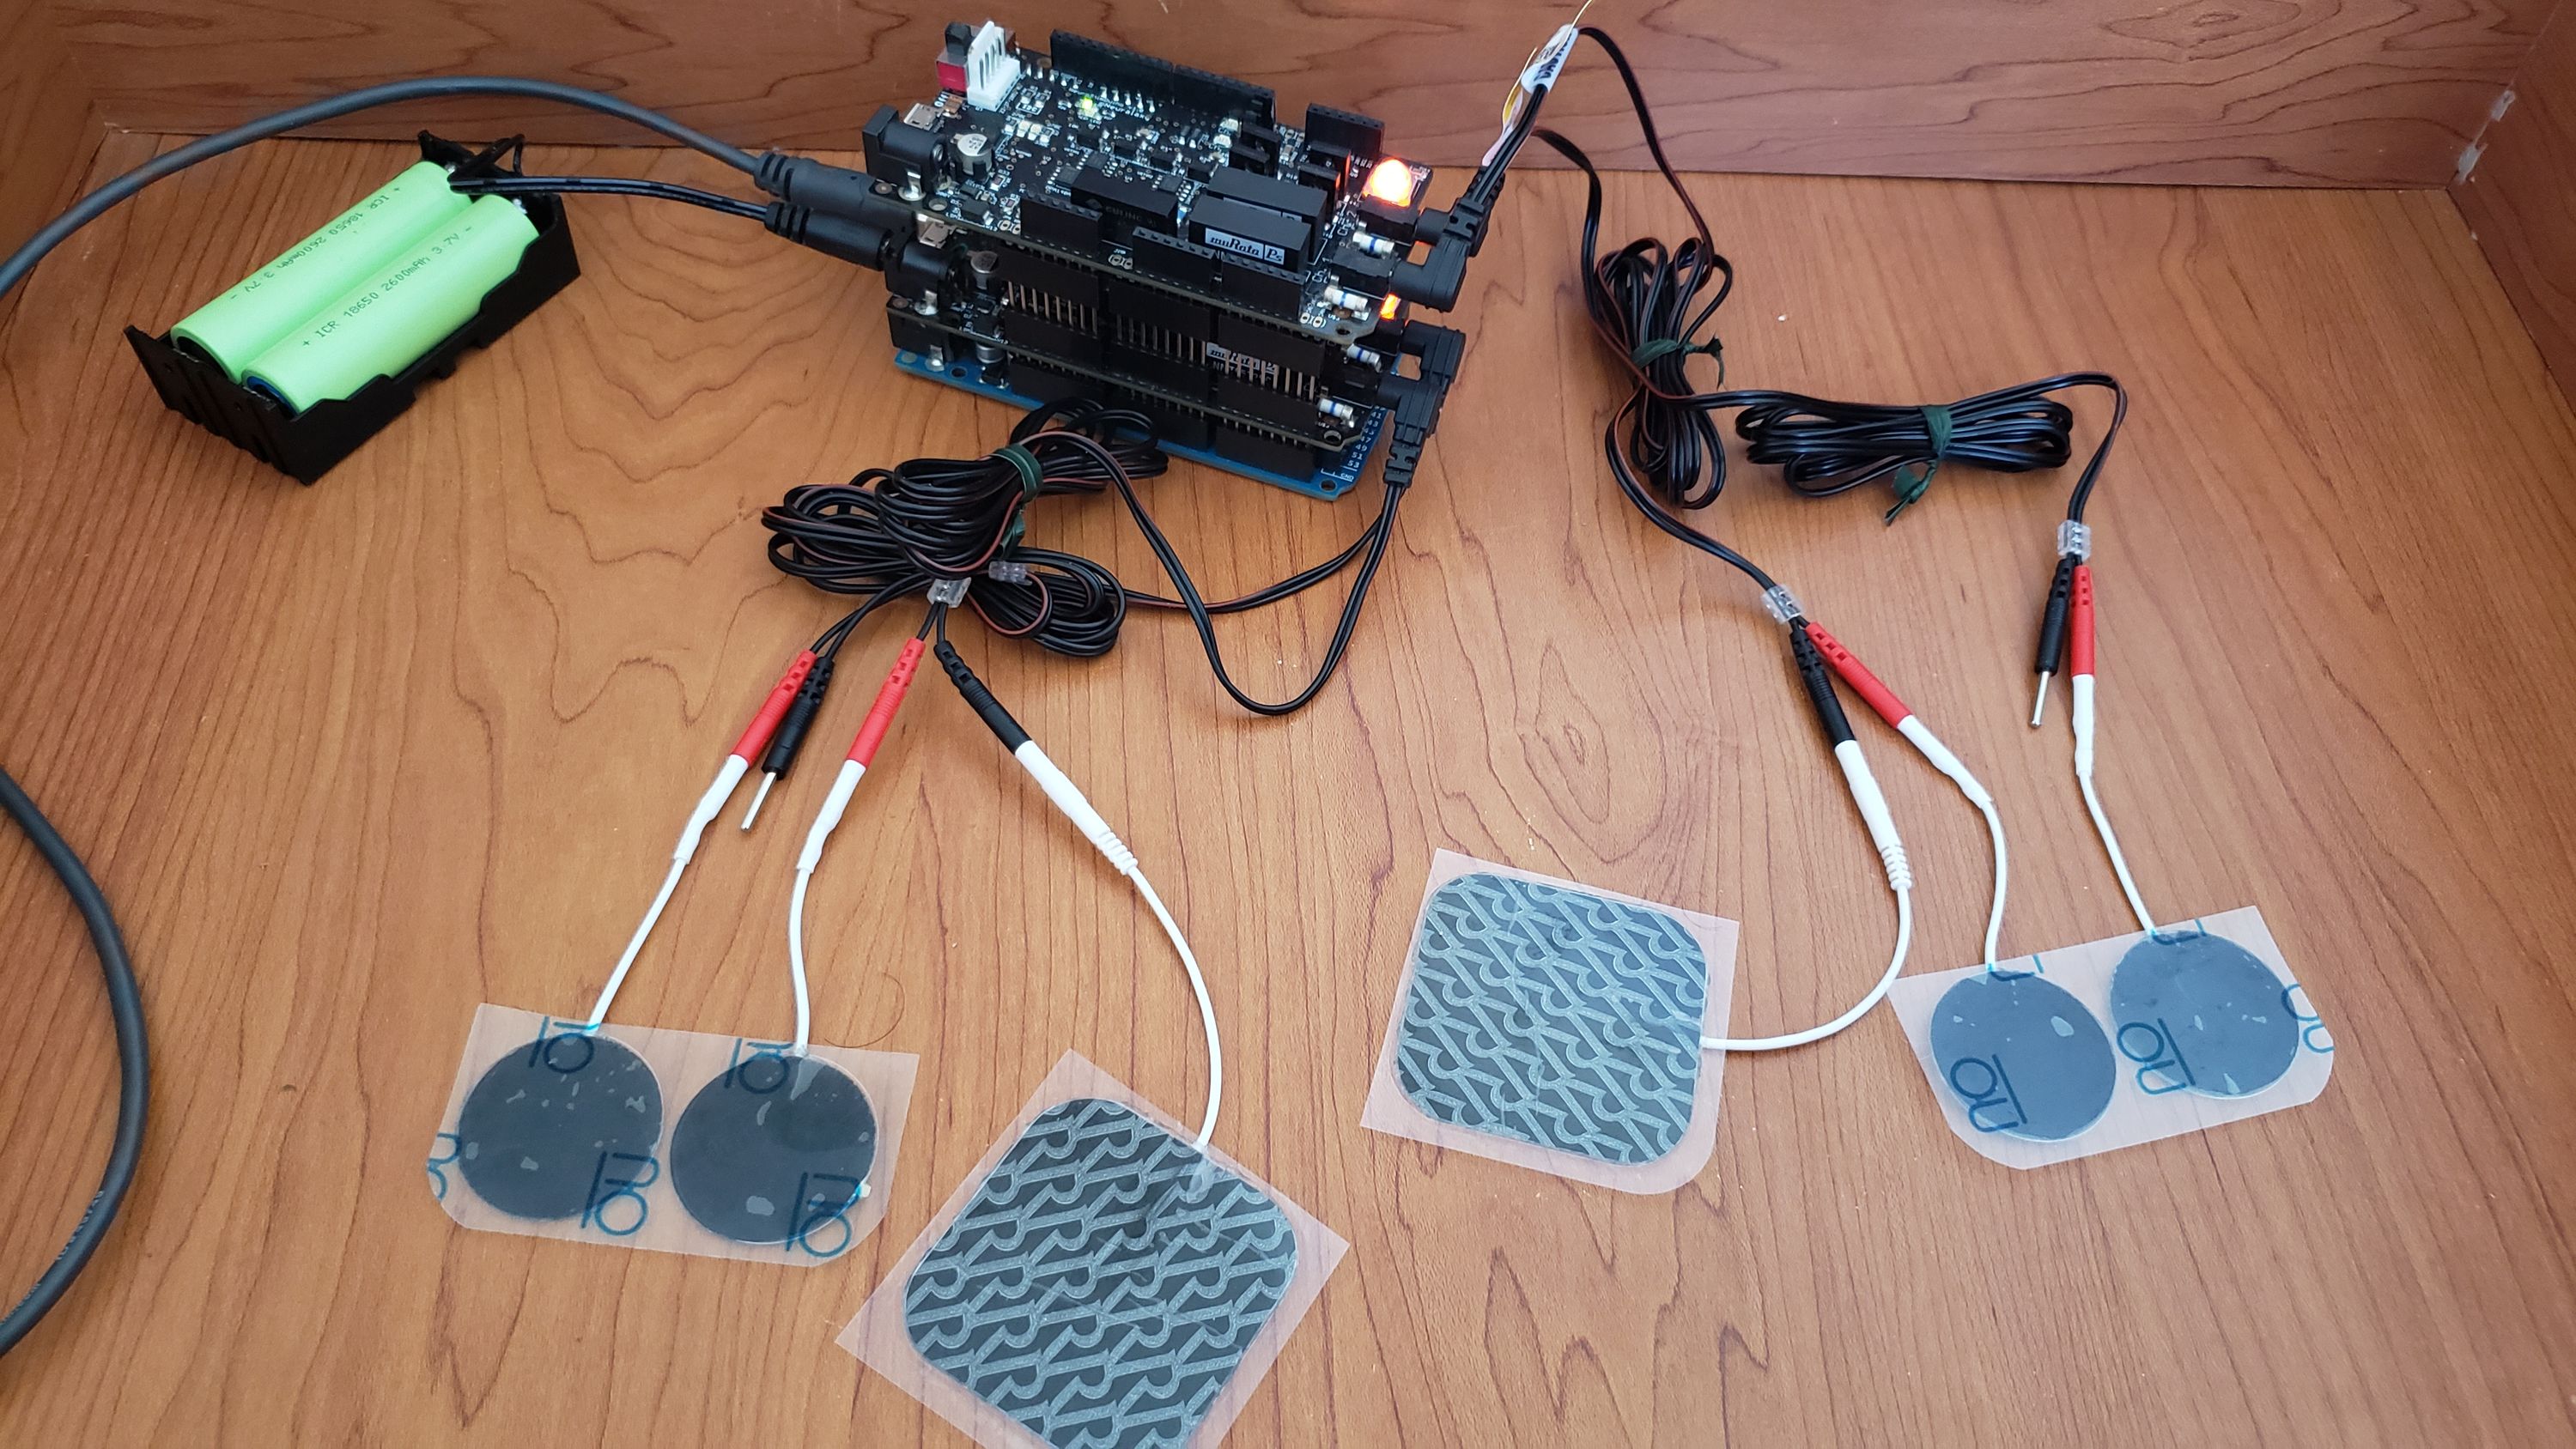
ADDR 30 1 - Now stack the second NeuroStimDuino on top of the first. Use the default I²C address for the second device or change it using the instructions in Step 2:
You are now ready to independently control both NeuroStimDuinos.
Type in the following command using Arduino’s serial terminal to stimulate two Zucchini muscles (video below):
ADDR 30 1     //Change I2C address of 1st NeuroStimDuino and start communicating with it
FREQ 1 15
FREQ 2 15
DURN 1 2000
DURN 2 2000
AMPL 1 100
AMPL 2 100
DELY 1 5
DELY 2 10
ENAB 1 1
ENAB 2 1
STIM 1 0 1
STIM 2 0 1

ADDR 26 0     // Connect 2nd NeuroStimDuino and start communicating with it. Address will not be changed
FREQ 1 5
FREQ 2 5
DURN 1 2000
DURN 2 2000
AMPL 1 100
AMPL 2 100
DELY 1 5
DELY 2 10
ENAB 1 1
ENAB 2 1
STIM 1 0 1
STIM 2 0 1

// At the end of the experiment stop stimulation on both boards
STOP 1
STOP 2
ADDR 30 0  //Switch communication to 1st device
STOP 1
STOP 2


