ANAVI Handle is an open-source hardware USB adapter for a Wii Nunchuk-compatible controller. This step-by-step tutorial guides you through the Handle’s assembly process, which is simple and straightforward and takes less than five minutes to complete. No special tools are required—you can assemble it with your bare hands.
Hardware
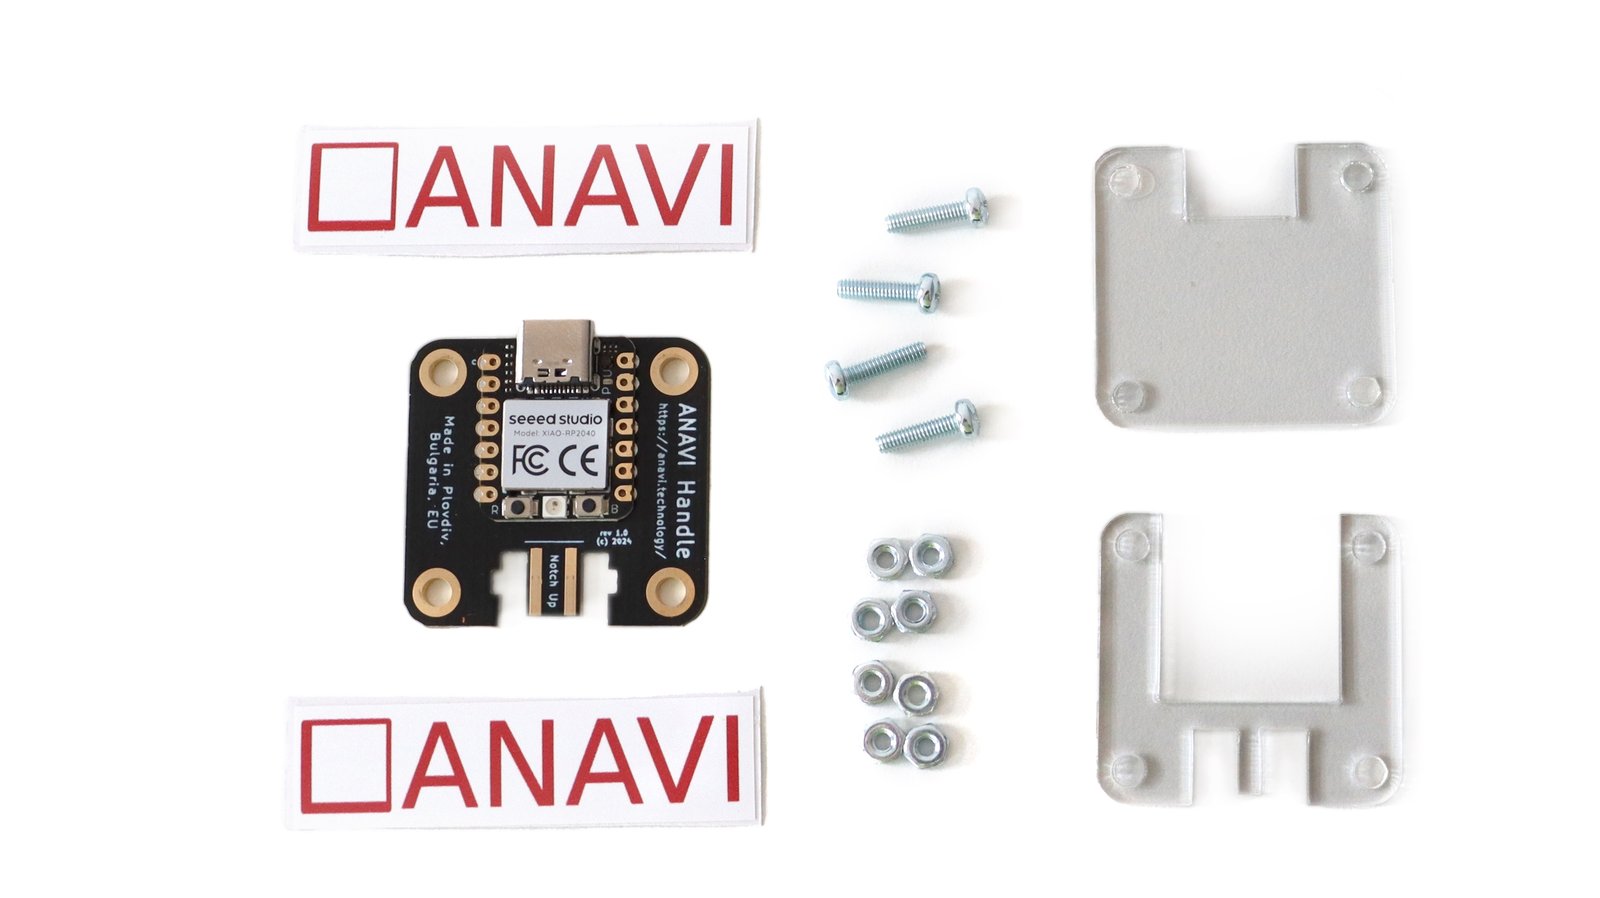
ANAVI Handle is available as a DIY kit, including four M2.5 10 mm screws and eight M2.5 nuts. You can also purchase a kit that includes a white or a black controller.
Step 1: Peel Off Protective Film
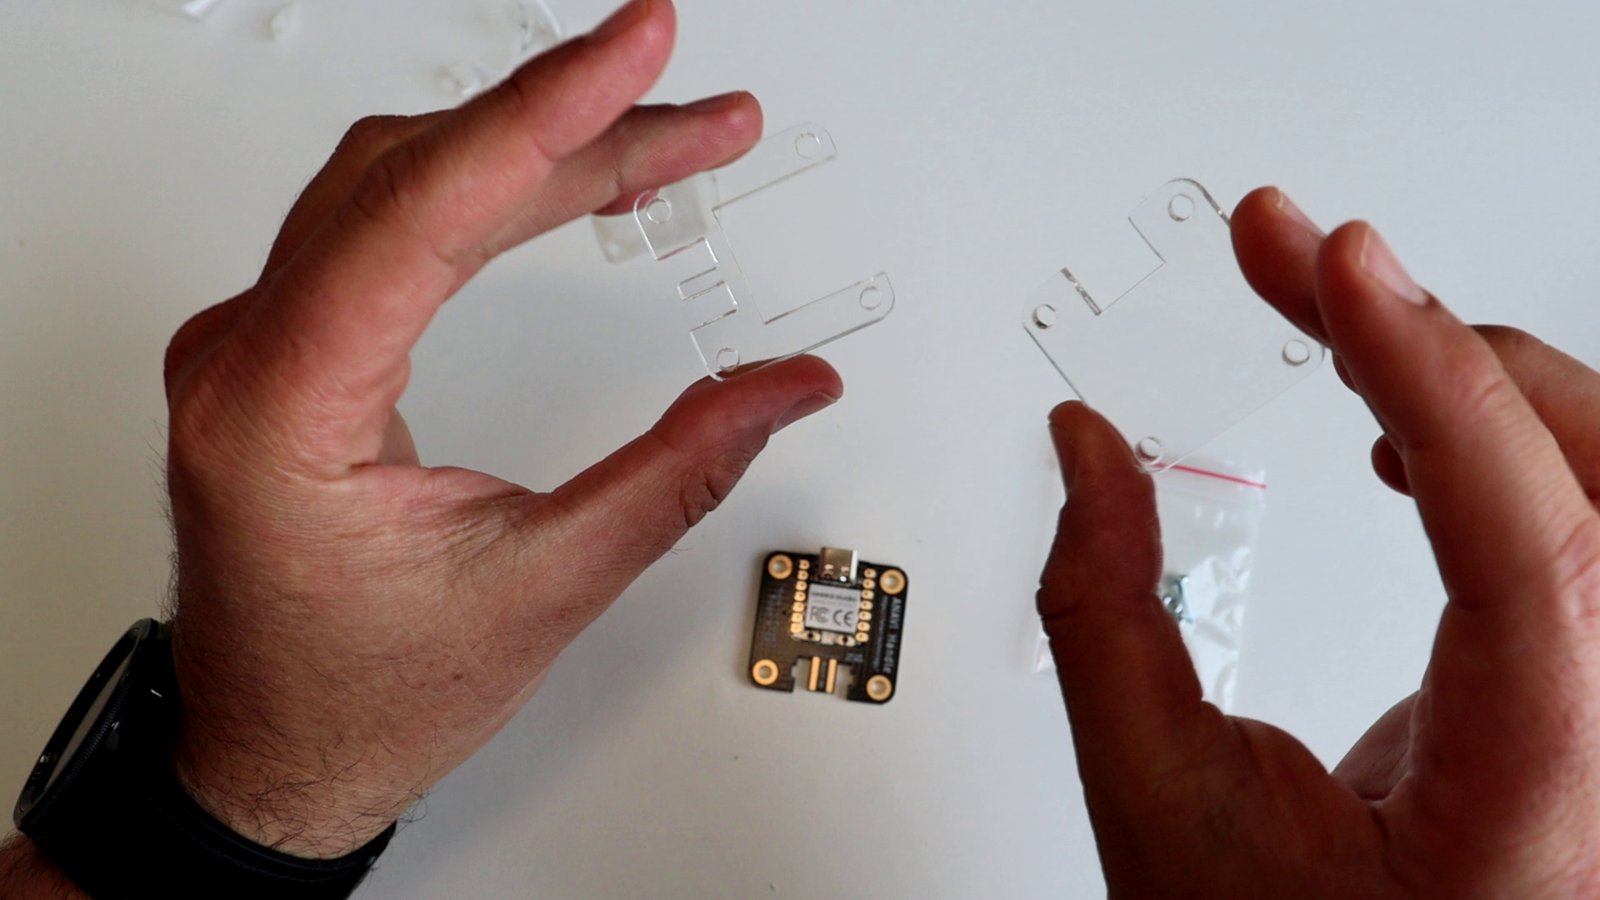
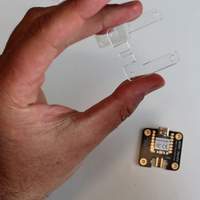
The acrylic enclosure consists of two laser-cut parts, each covered with protective film on both sides. Carefully remove the film from all surfaces to reveal the crystal-clear acrylic.
Step 2: Align Acrylic Enclosure
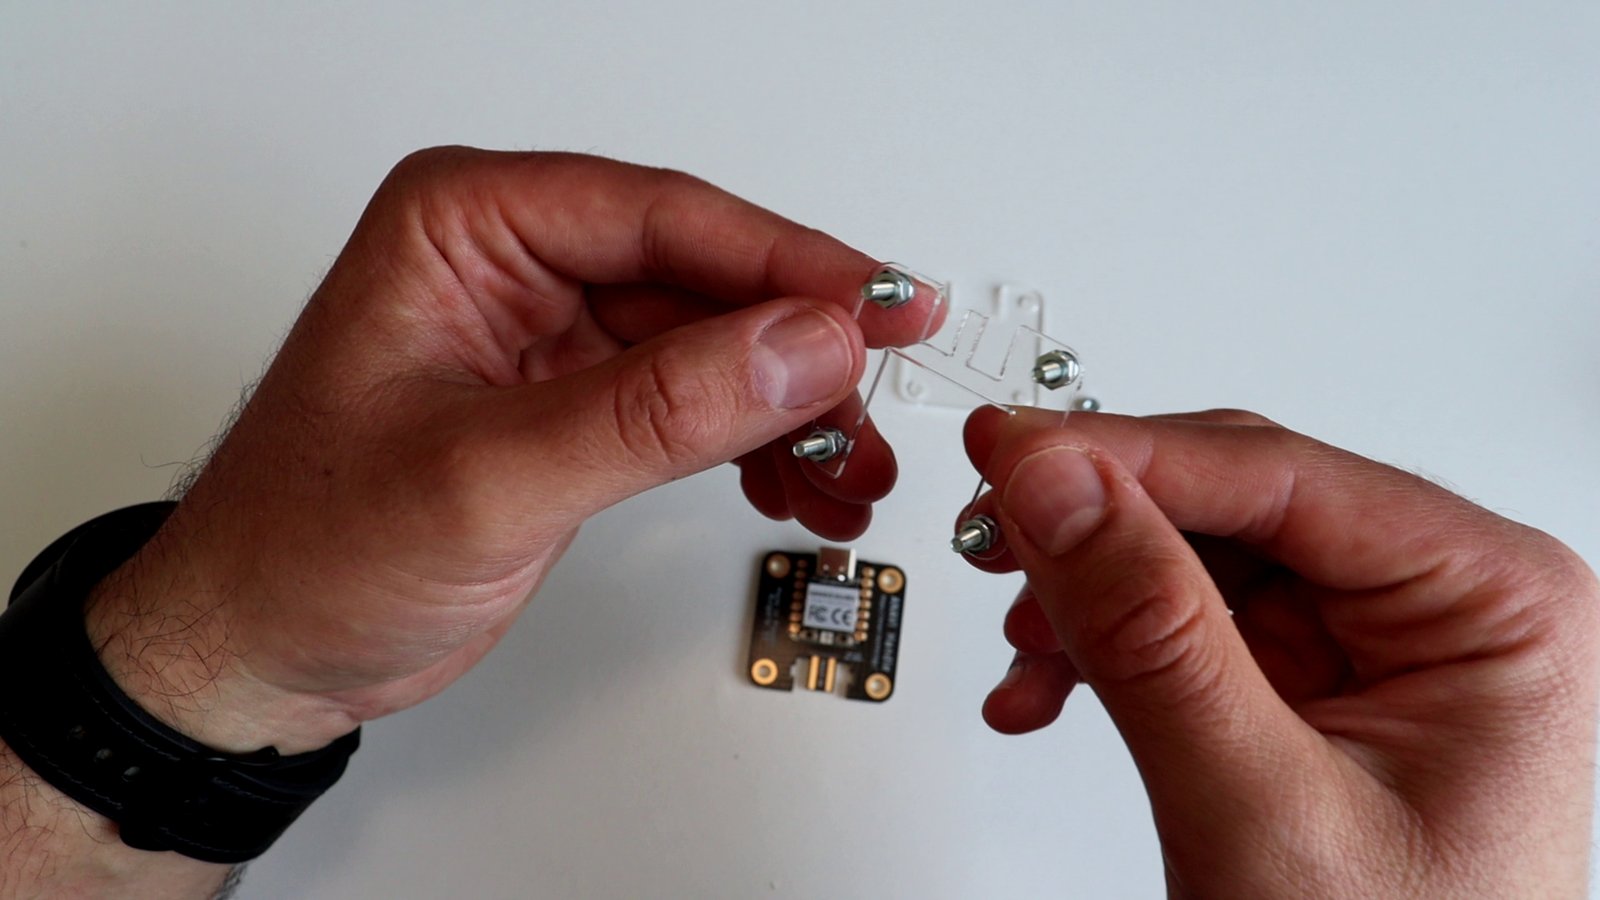
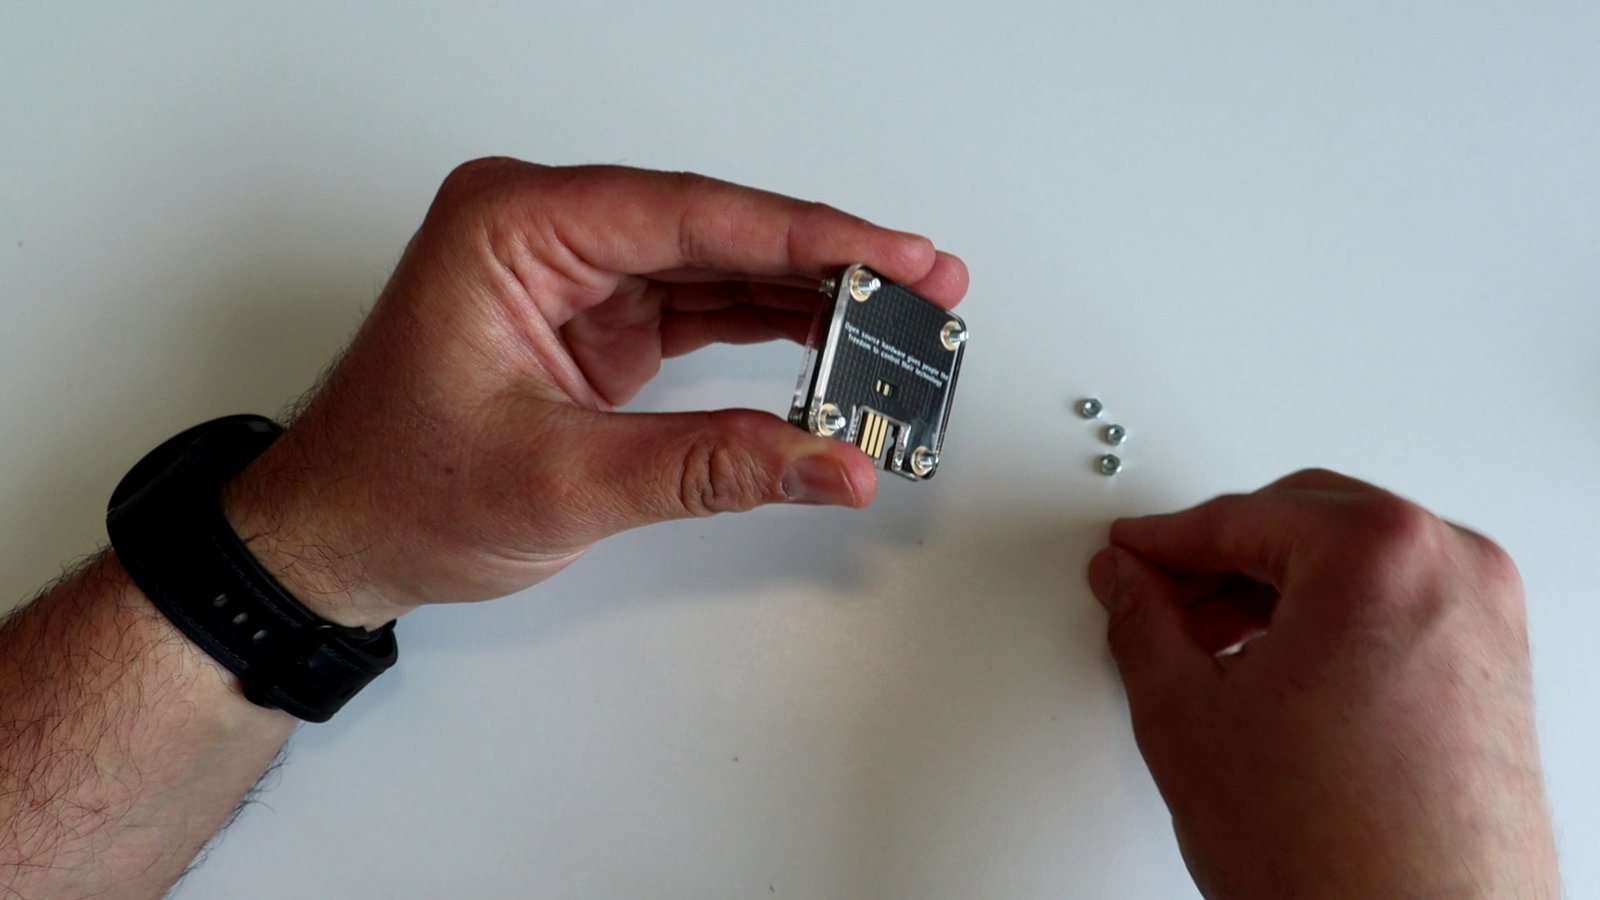
Take the top part of the acrylic enclosure, which features a knob that fits into the notch of the Nunchuk connector. Insert a screw into each of the four mounting holes and secure each one with a nut.
Step 3: Printed Circuit Board
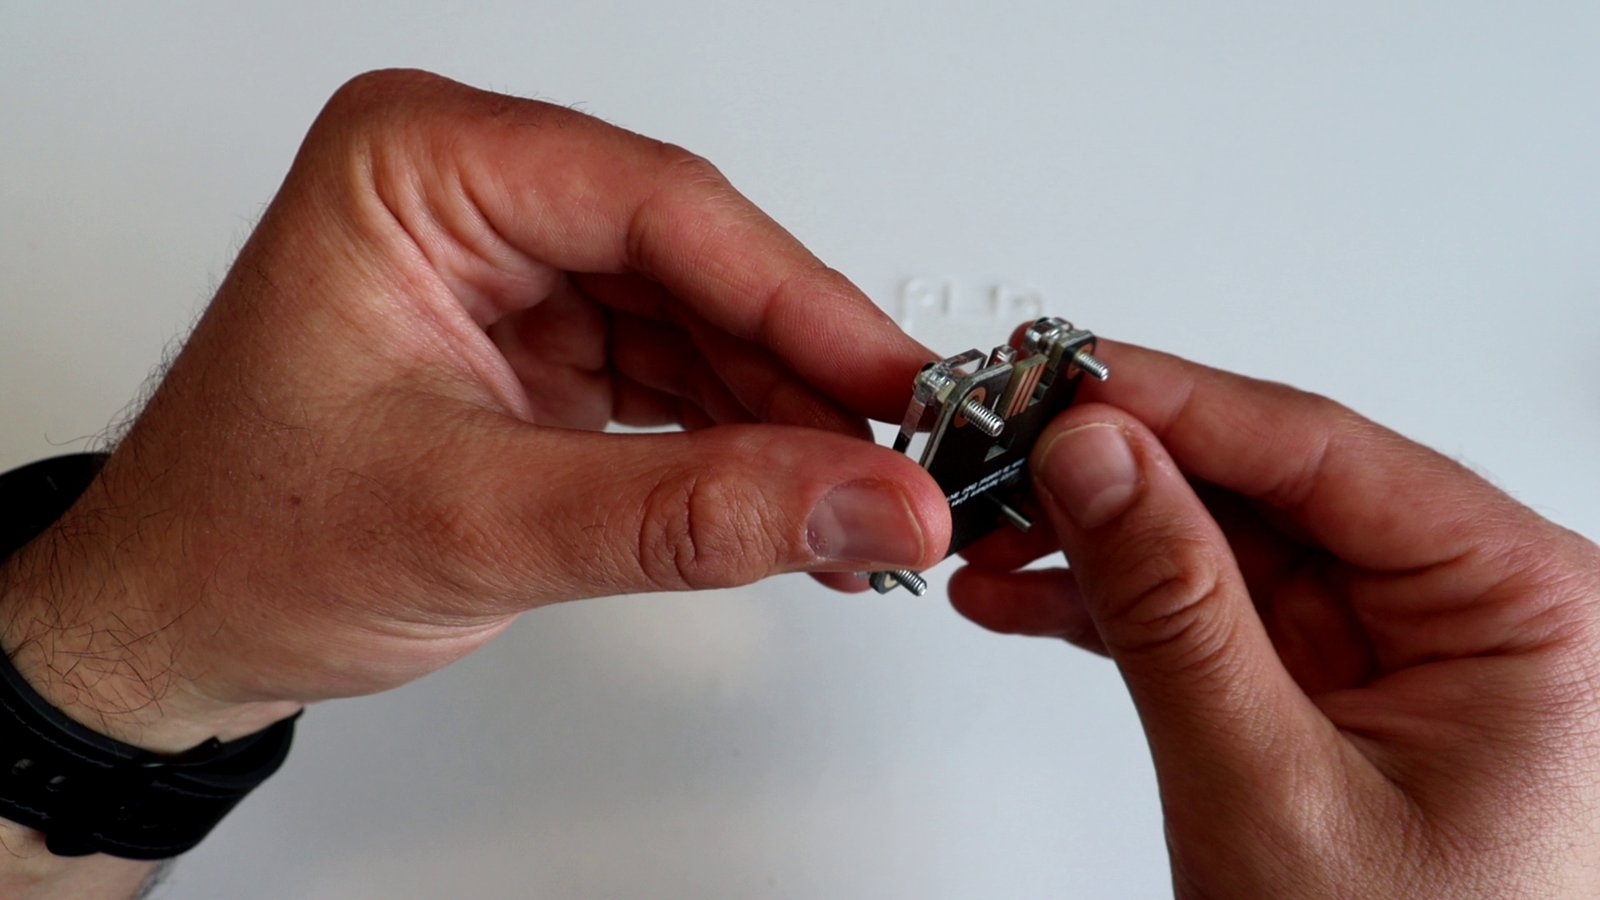
The ANAVI Handle features a gold-plated printed circuit board with a black solder mask. It has four mounting holes, one in each corner. Position the PCB onto the four screws beneath the nuts securing the top part of the acrylic enclosure.
Step 4: Affix the Enclosure
Secure the bottom part of the acrylic enclosure by fastening it tightly with four nuts.
Step 5: Connect
Connect your Wii Nunchuk controller to your computer using the ANAVI Handle, which features firmware written in CircuitPython. Currently, it supports three modes: joystick, keyboard, and mouse. The default open-source firmware uses an RGB LED to indicate the connection status:
Green light: Nunchuk controller is connected correctly.
Blue light: The Nunchuk controller is disconnected from the ANAVI Handle.
Red light: The Nunchuk controller is absent or improperly connected.
As demonstrated in the video, a green LED confirms a successful connection between the Nunchuk, the ANAVI Handle, and your computer.
Experience your old Wii Nunchuk controller in a whole new way with the ANAVI Handle, transforming it into a versatile USB device. Back the ANAVI Handle campaign today and discover the fun for yourself!
