Project update 3 of 11
Customize Your Own Enclosure
by Ali SlimOllie is Fully Funded!
I would like to thank everyone who backed this project and made it possible! We are well beyond our goal, I’ve started preparing for the first production run. I will post more updates on this in the coming weeks.
Giveaway Ended
The Giveaway has already ended, and two early subscribers - O.H from the United States and A.A from Norway - have already received their units. A.A will be using it to do some work on his boat (I got a picture of his boat, and it looks really awesome!).
FR4 Enclosures
FR4 enclosure can be a great way to add extra protection to your electronics without adding a big BOM cost. Ollie comes with a basic enclosure designed to keep the manufacturing and assembly cost as low as possible. Here are some ideas from an old hackaday post. You can also make use of these real cool SMT spacer from wurth WP-SMRA.
How to Customize your Own Enclosure
Ollie comes with a bright RED FR4 enclosure - I’ve shared the design on EasyEDA. If red is not your color and you would like to order your own customized enclosure and add your own image or icon on the silkscreen. This will only cost you a few dollars ordering from JLCPCB or PCBway. You can easily modify the design and order in (Green, Yellow, Blue, White or Black), just make sure to order the 1 mm PCB thickness.
https://easyeda.com/slim_/ollie_enc_copy
If you’ve never used EasyEDA, here’s what you need to do:
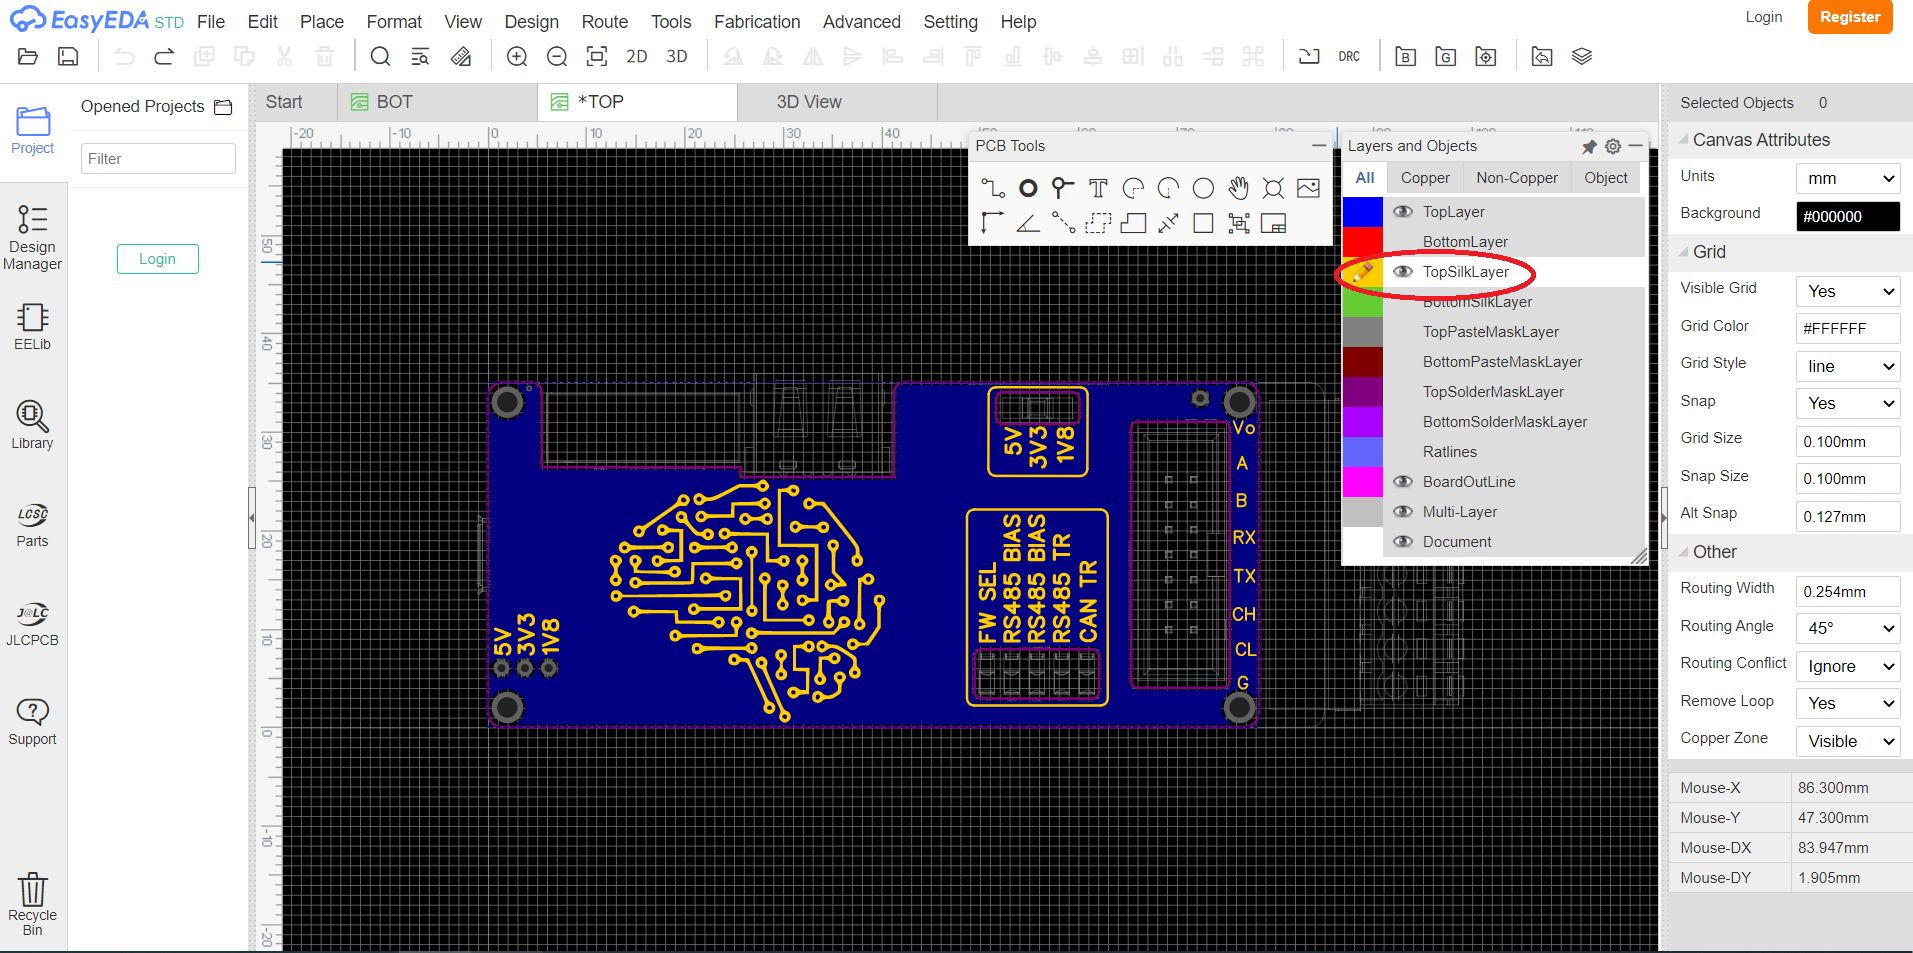
Open the design by clicking on “Open in Editor”, this will open 2 PCBs one for the Top and the other is for the bottom PCB.
If you want to edit the silkscreen click on “TopSilkLayer” in “Layers and Objects”.
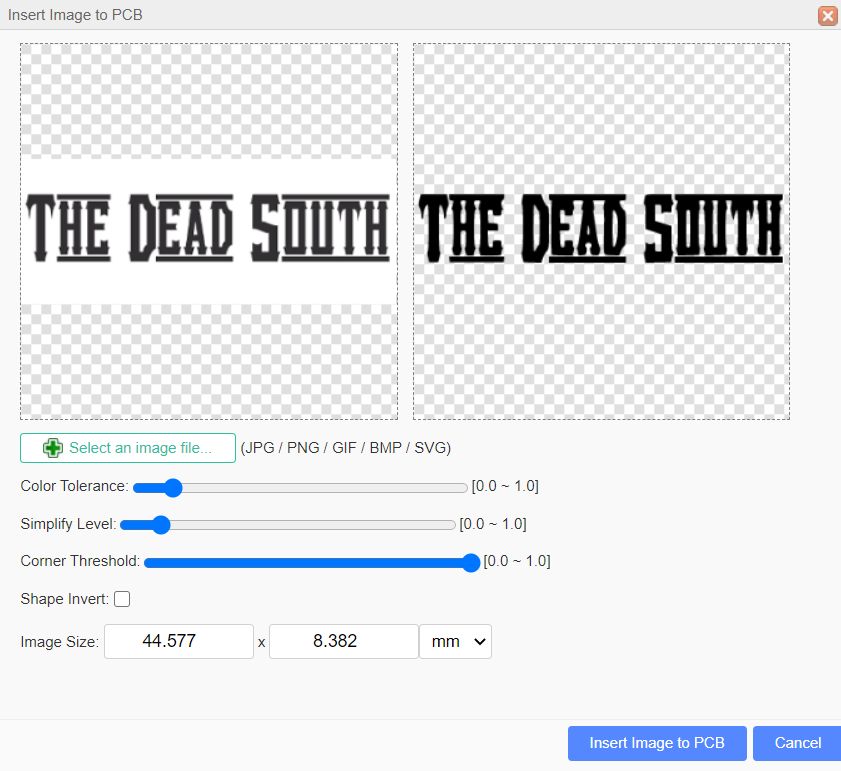
- Now you can click on the image and delete it and import your own from
File->Import->Images. You can change the image size for fit.
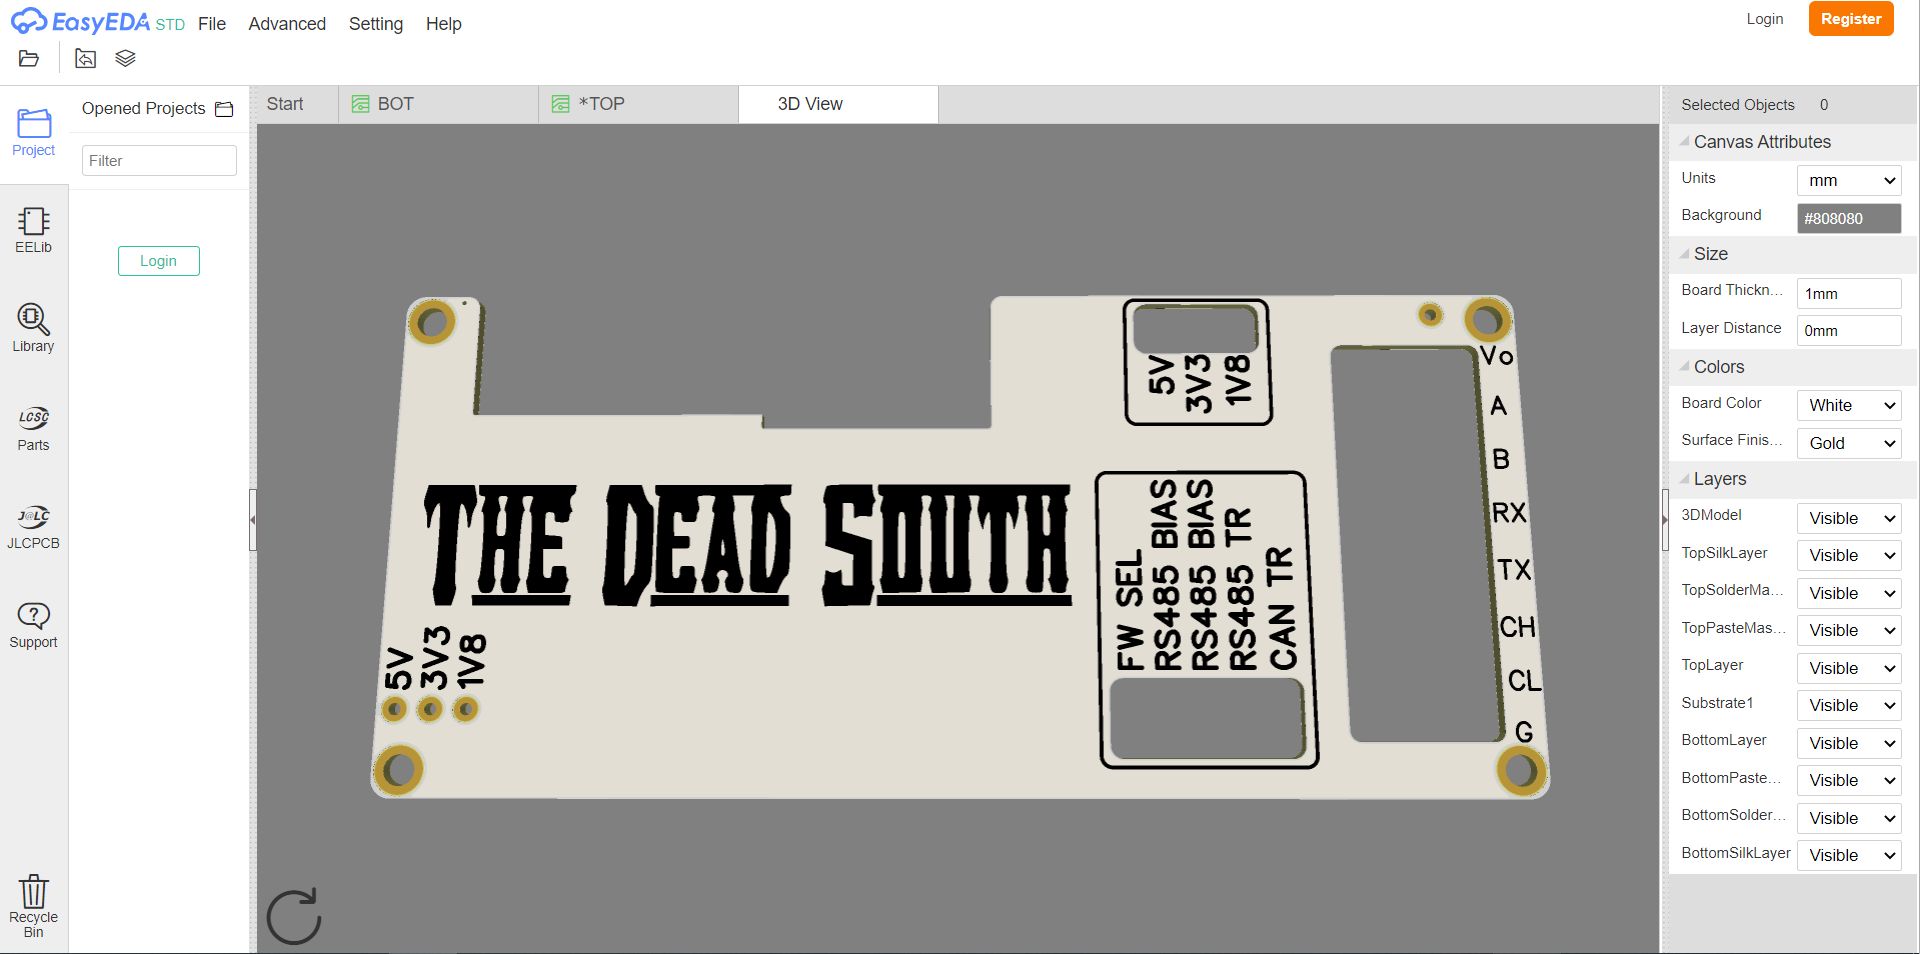
- You can check the 3D view by clicking on
view->3D view. You can also change the PCB view color in the right column.
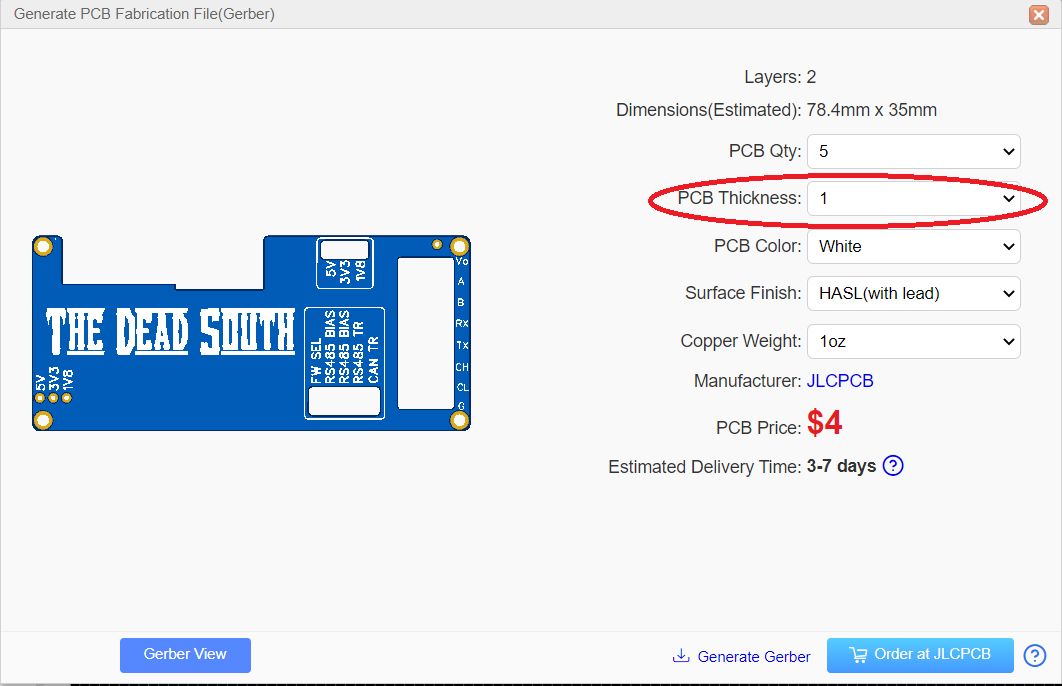
- If you want to place an order on JLCPCB all you have to do is click on
Fabrication->PCB Fabrication File, then click “No, Generate Gerbers”. Choose the qty, color and set thickness to 1 mm. Then click order at JLCPCB (the PCB price will change to $2).
Note: You have to order top and bottom PCBs separately.


