Dearest X1Plus Expander backers and fans,
I’ve recently been informed I have been mistaken about what this project is actually all about. I thought what you were all looking for was a convenient and functional way to expand the capability of your Bambu X1 3D printer with Ethernet, some GPIO, I2C, and USB. But someone recently told me that X1Plus Expander must actually be an excuse to make a custom wiring harness, and I’m sure that’s what you all wanted most to hear about!
Well, maybe not, and if you were looking for X1Plus Expander, there are a little over nine days left to pre-order one now; prices are likely to go up after the pre-order period closes! But for those of you who just wanted an excuse to nerd out about wiring harnesses, let me begin to rectify that in this update.
The Curious Story of X1Plus Expander’s Wiring Harness
If the heart of X1Plus Expander is the "X1P-002" custom circuit board, and the brain is the X1Plus open-source custom firmware running on the AP board, then the unsung hero and backbone is surely the wiring harness that links the X1P-002 to the AP board. This was actually the first thing we designed, and was the biggest question we had about whether this project was going to be viable at all: could we get a wire harness manufactured in our small volumes and at any reasonable price?
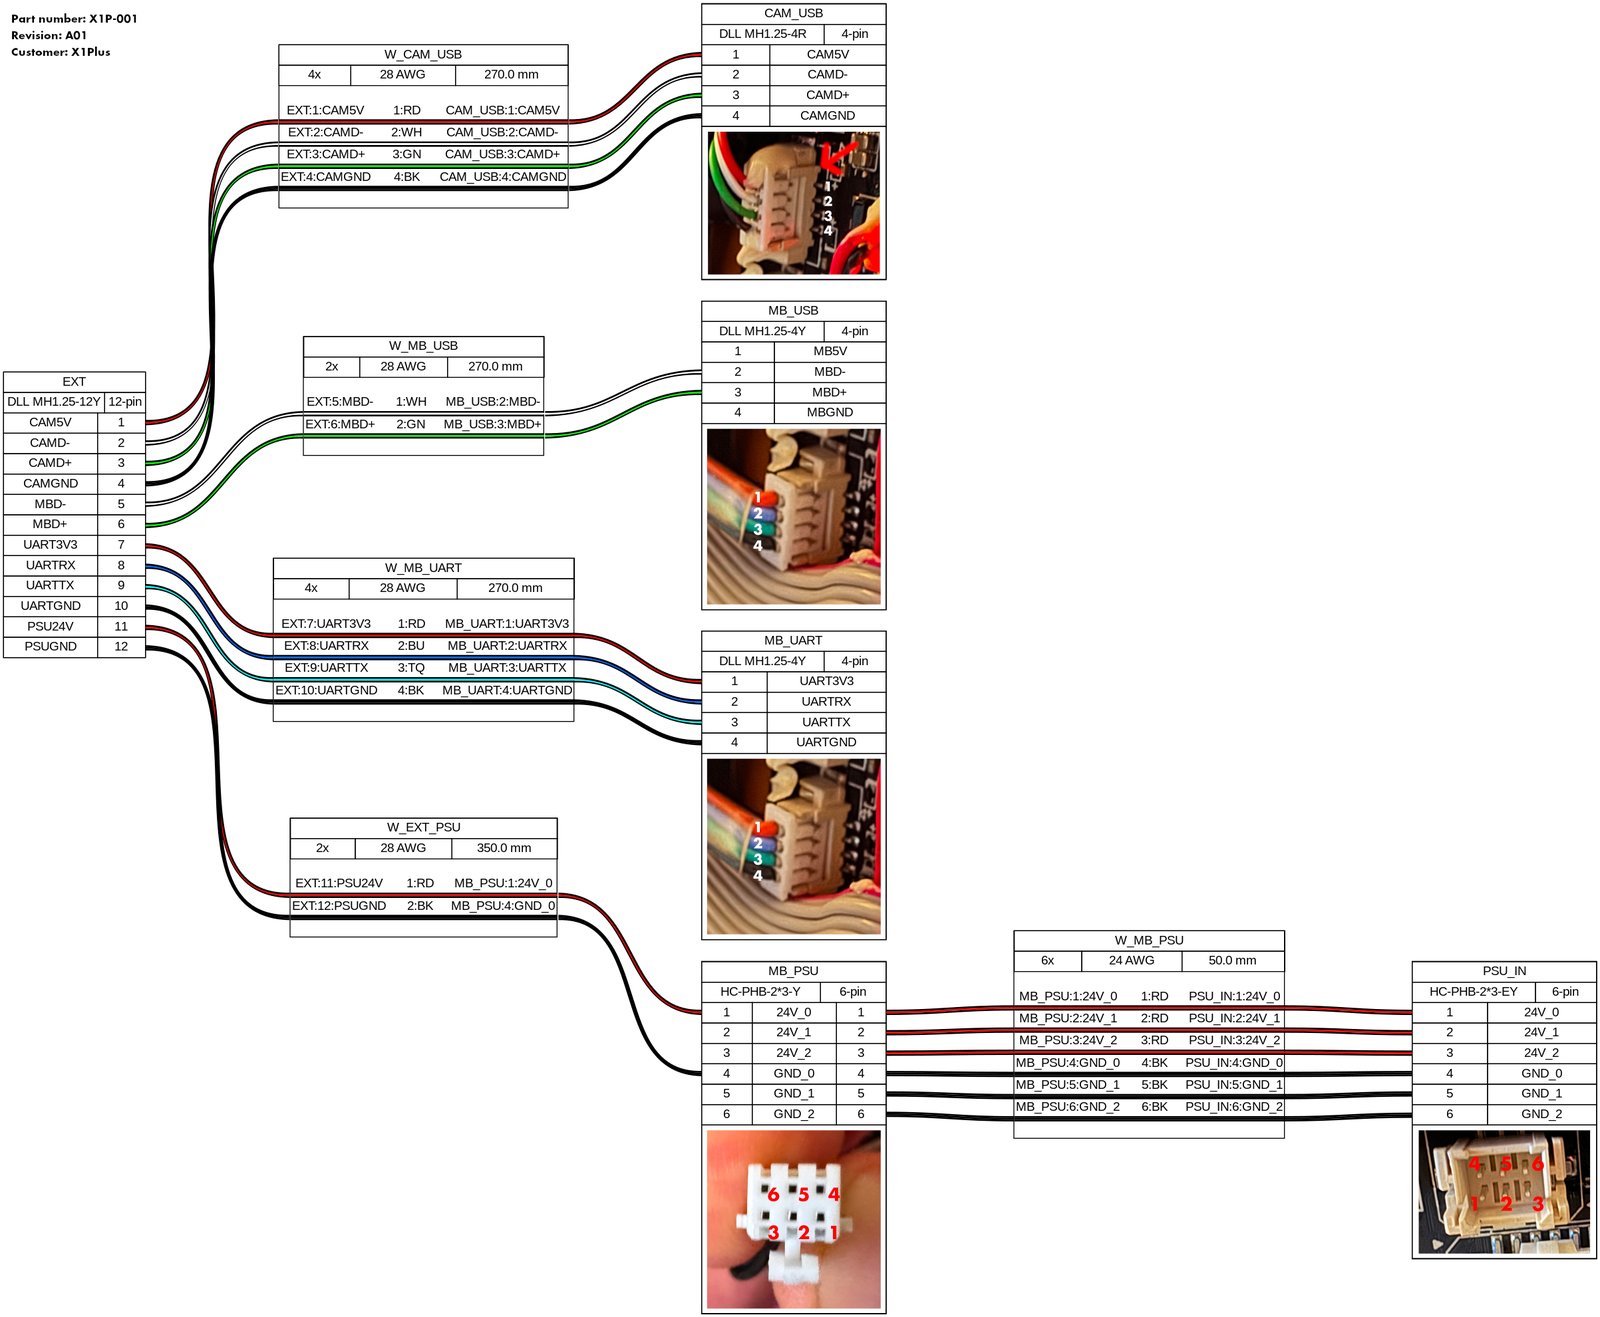
X1P-001-A01
We thought for a while about what we wanted to connect, and how: I originally had thought about using a flexible printed circuit to feed through the LCD slot, and then using board-mounted connectors to interface with the appropriate headers on the AP board, but we were running into quite a bit of trouble finding appropriate connectors and we were really worried about the mechanical stability of attaching connectors. The turning point came when I found the LCSC custom cable service that offered a promisingly low minimum order quantity of "one". Once we found the cable-to-cable version of the Picoblade-style connector that would allow us to plug the camera directly into our harness, we were really in business!
I quickly looked around to see if anyone had ever used this kind of service before and, if so, whether there was a better option than doodling on a napkin and scanning it in. Someone suggested I check out WireViz, which I used to put together the first version of a harness diagram (below). I sent it off to LCSC and crossed my fingers.
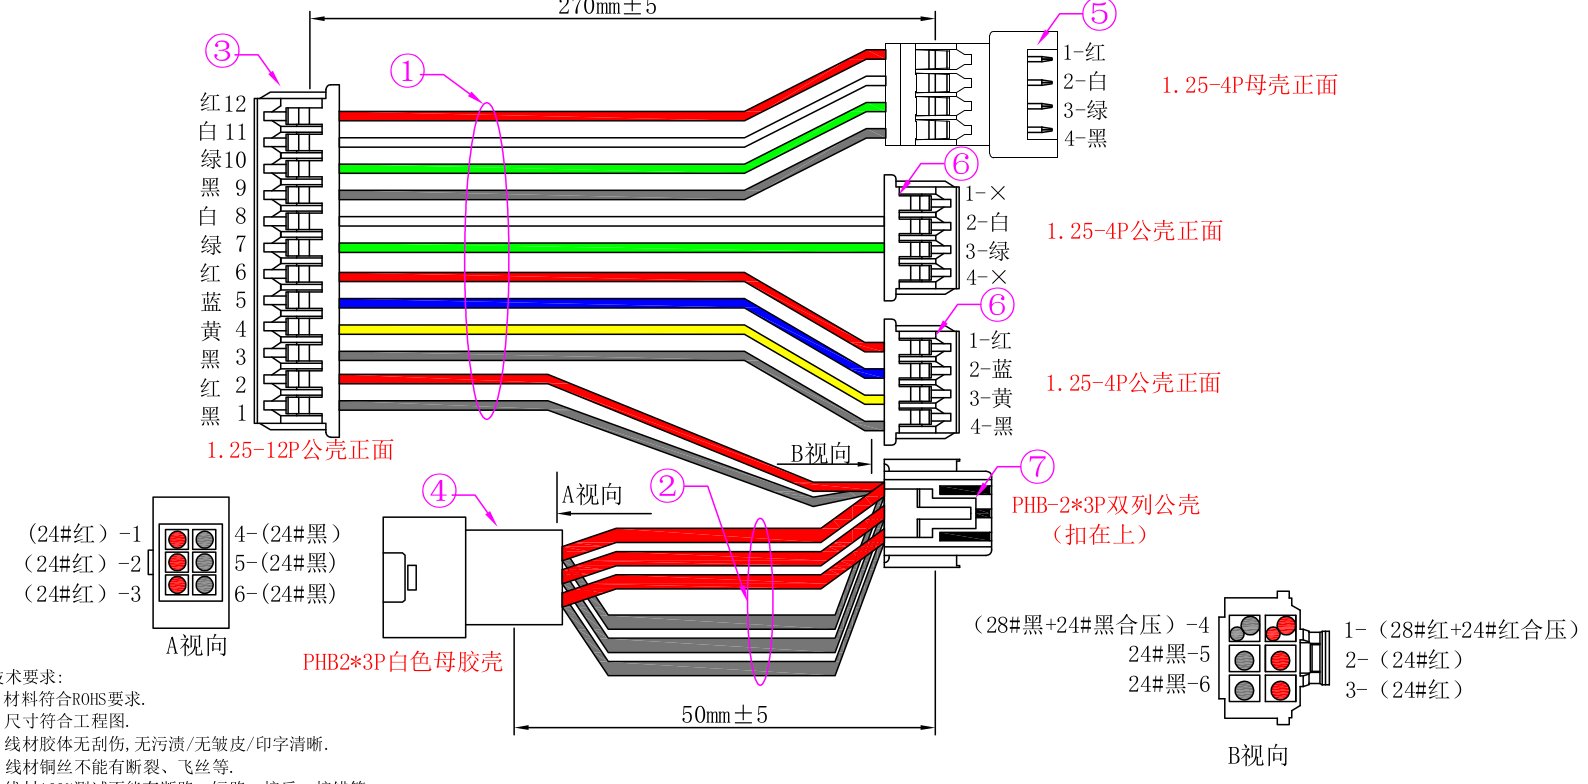
A few days later, LCSC came back with a quote: a few bucks apiece for ten of them. Not bad! I paid up, and they sent me a wiring harness diagram of their own to confirm. I couldn’t read it, but it seemed good enough to me, especially given the risk outlay.
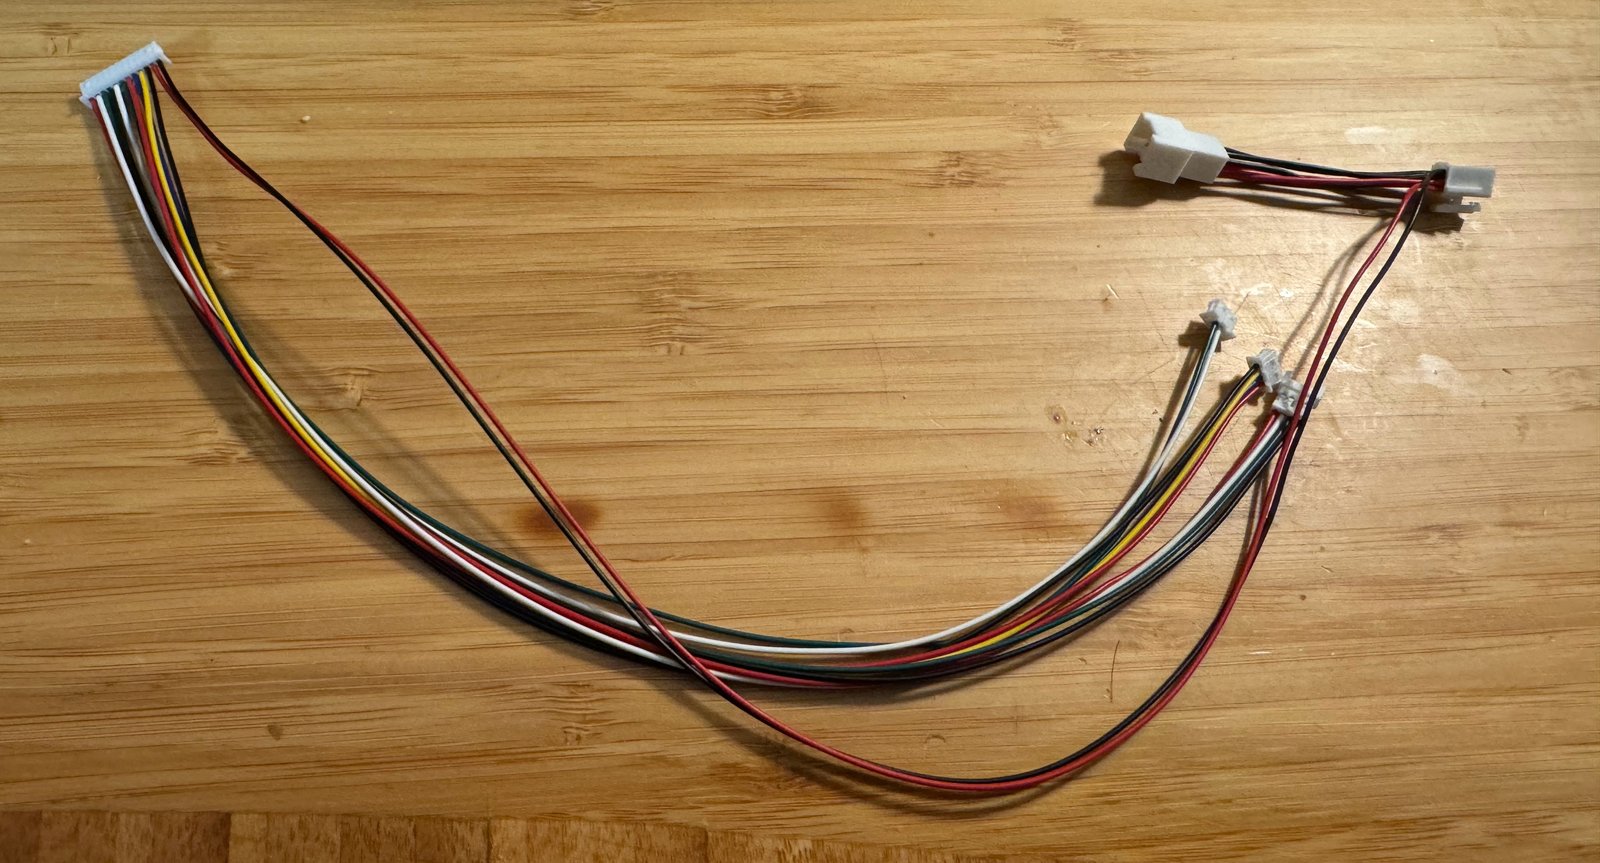
A week later, they shipped, and shortly after that, I had the first harnesses on my desk.
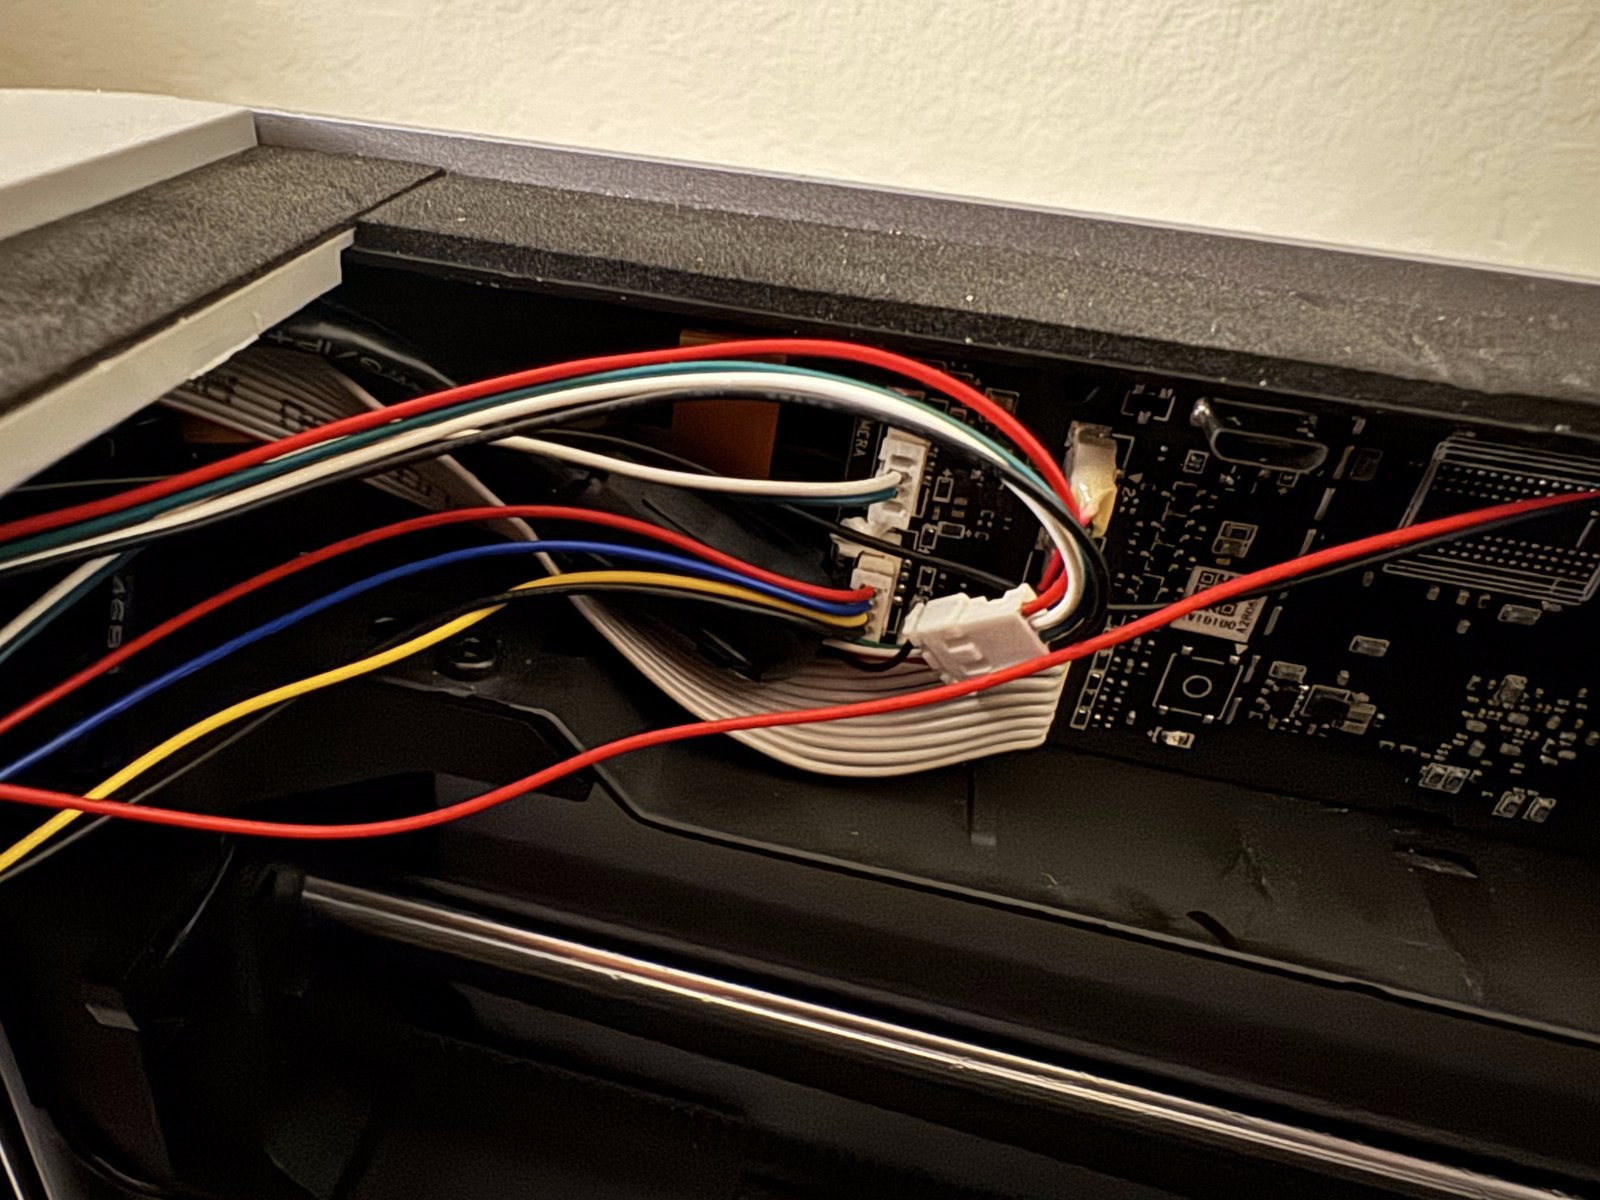
These… almost worked! The eagle-eyed among you may have noticed in the above images that, between my harness diagram and theirs, connector five got flipped around: the pin numbers would have been correct for the plug connector, but not for the receptacle connector. Oops. Luckily, that was short work with a tweezers to fix.
The more pressing trouble with these was that signal integrity on the USB pairs was not good. See, it turns out that real USB cables have their differential pairs twisted together with impedance control, and these… did not. Hand-twisting them together was good enough to get it to work well enough in my printer, but obviously there was going to need to be a change for production.
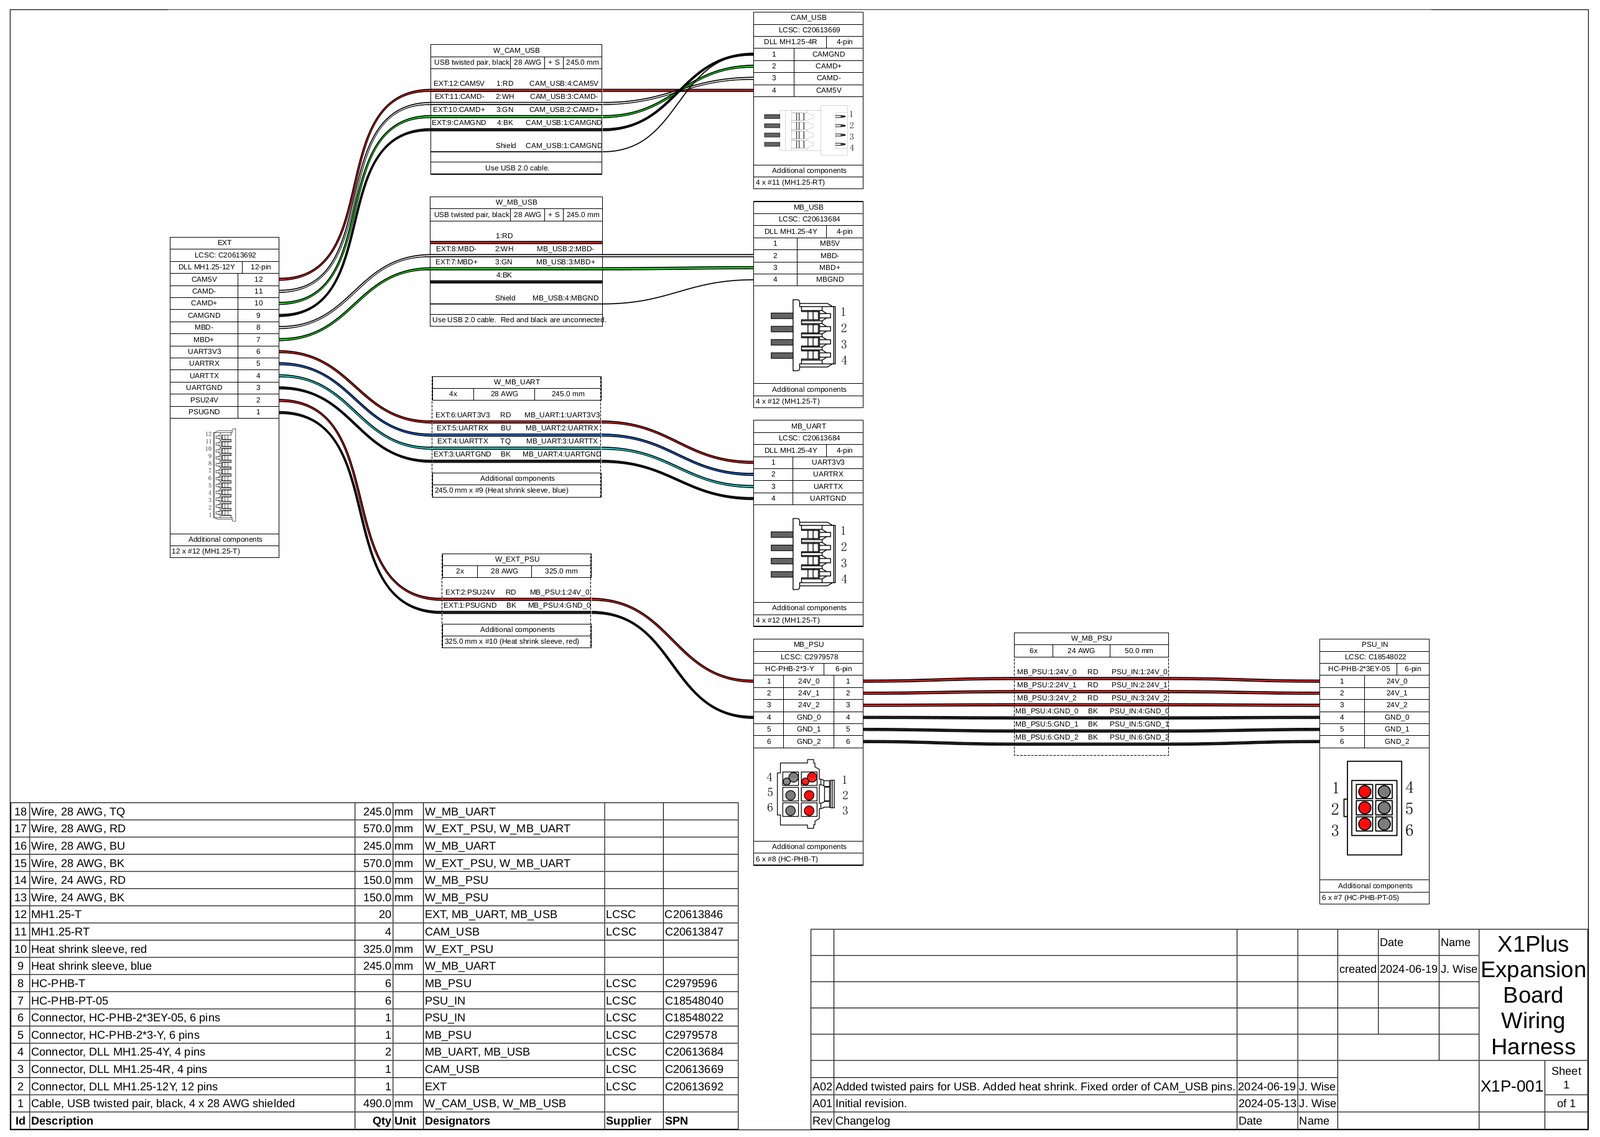
X1P-001-A02
The results from revision A01 were encouraging, though. It seemed to demonstrate that even if this was not going to be trivially easy, it might actually be possible. I drew up a new Wireviz diagram, this time using the graphics that LCSC had sent me, in the hopes that that would avoid the kind of confusion as to which pin went where. And this time, I specified that I wanted USB cable to be used. For good measure, I glued on a drawing block, too. Now this was starting to look like the pro stuff!
LCSC wrote back with some confusion. What, precisely, did I mean by USB cable? I did not have a great answer. Uh… a twisted pair, plus two loose wires inside the harness, all inside a shield? Would that work? They said that they didn’t have that and couldn’t get it, and that it probably didn’t exist, and they asked where I came up with this idea. I cut the nearest USB cable on my desk in half, and sent them a picture.
We puzzled about it some, and they asked if I would be able to tolerate UL2464 wire, which was specified as being four wires twisted together inside a shield. Well, for quantity 50, I could give it a try, plus I found that USB is pretty forgiving, anyway.
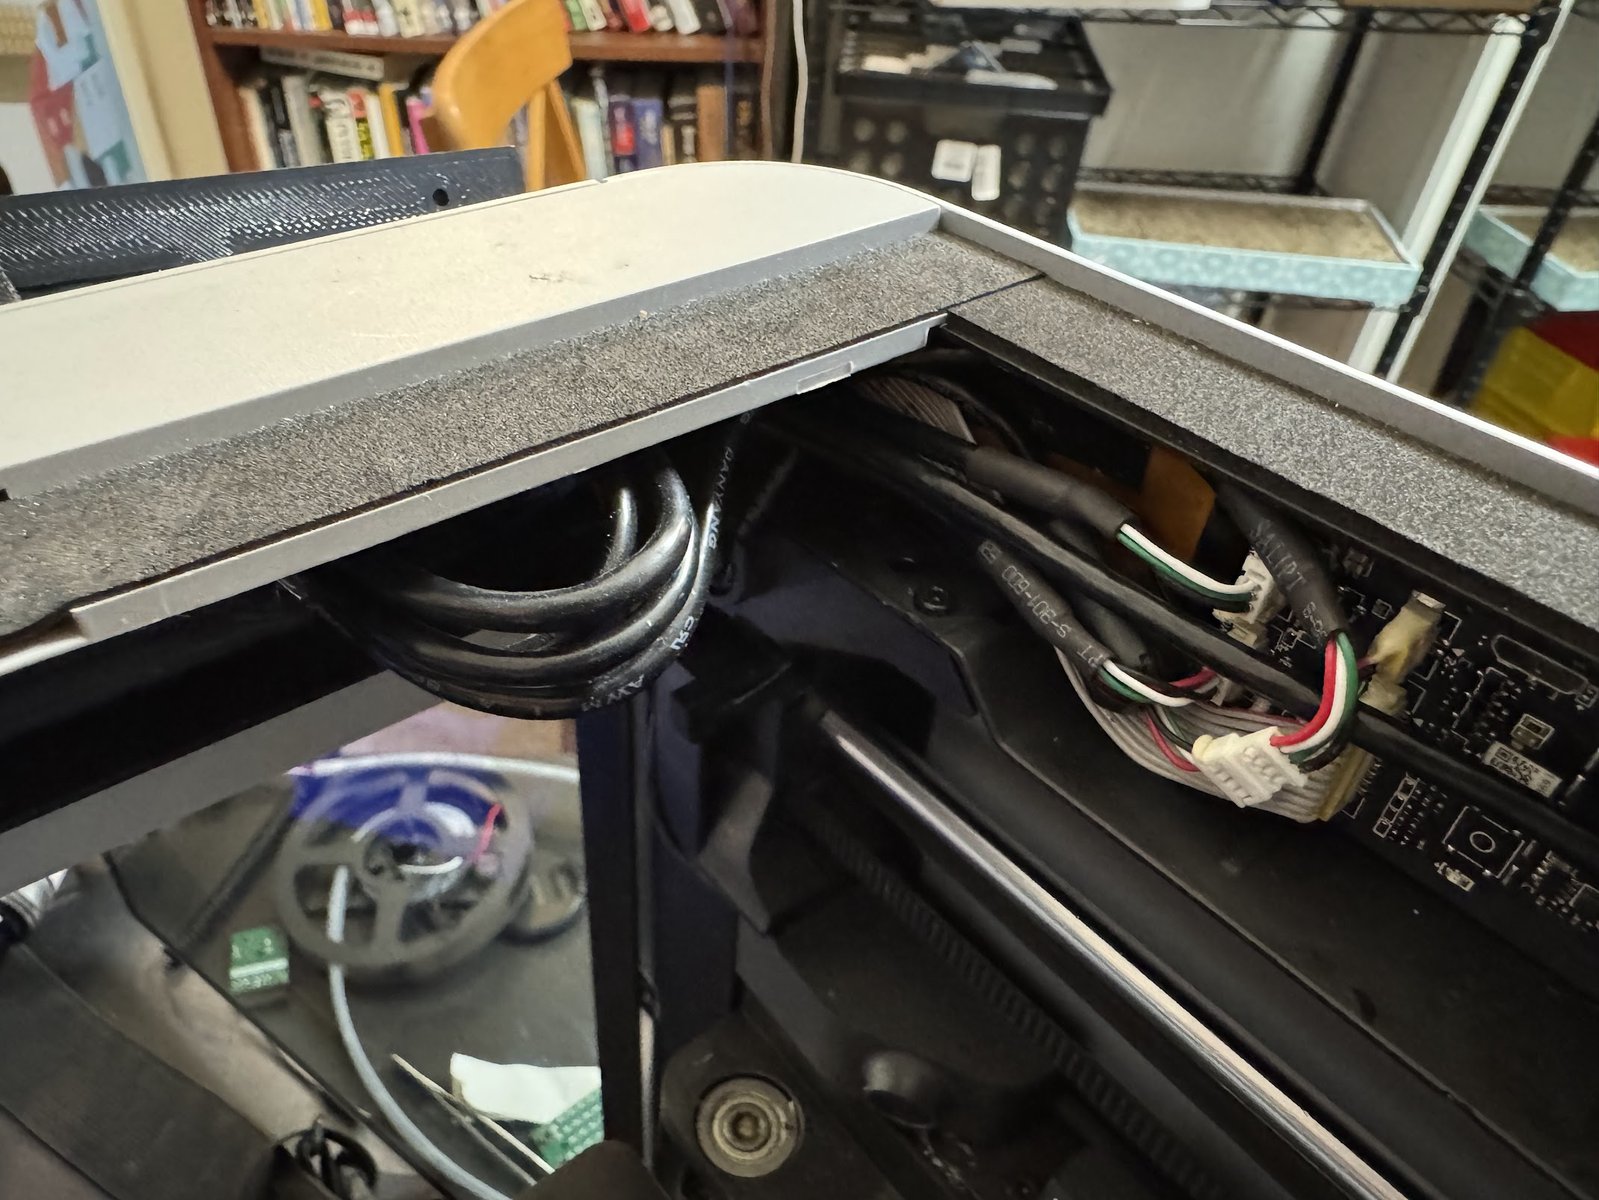
I ordered a handful of them, and they took quite a lot longer this time. Apparently the first time, LCSC had some quality problems with the cables and had to scrap them all and start again (!). But the ones I received seemed to basically work, though the cable jacket was astonishingly thick and inflexible — routing it through the printer really took quite a bit of doing!
Either way, I sent a handful of these to the second round of internal beta testers. One tester managed to fatigue a wire right at a crimp joint into a connector, just by trying to feed the stiff wires through the printer. Probably this process would at least work if nothing else and, if we added some silastic glue to the connectors for strain relief and shortened the cable, we could make them at least tolerable.
But could we do better than that?
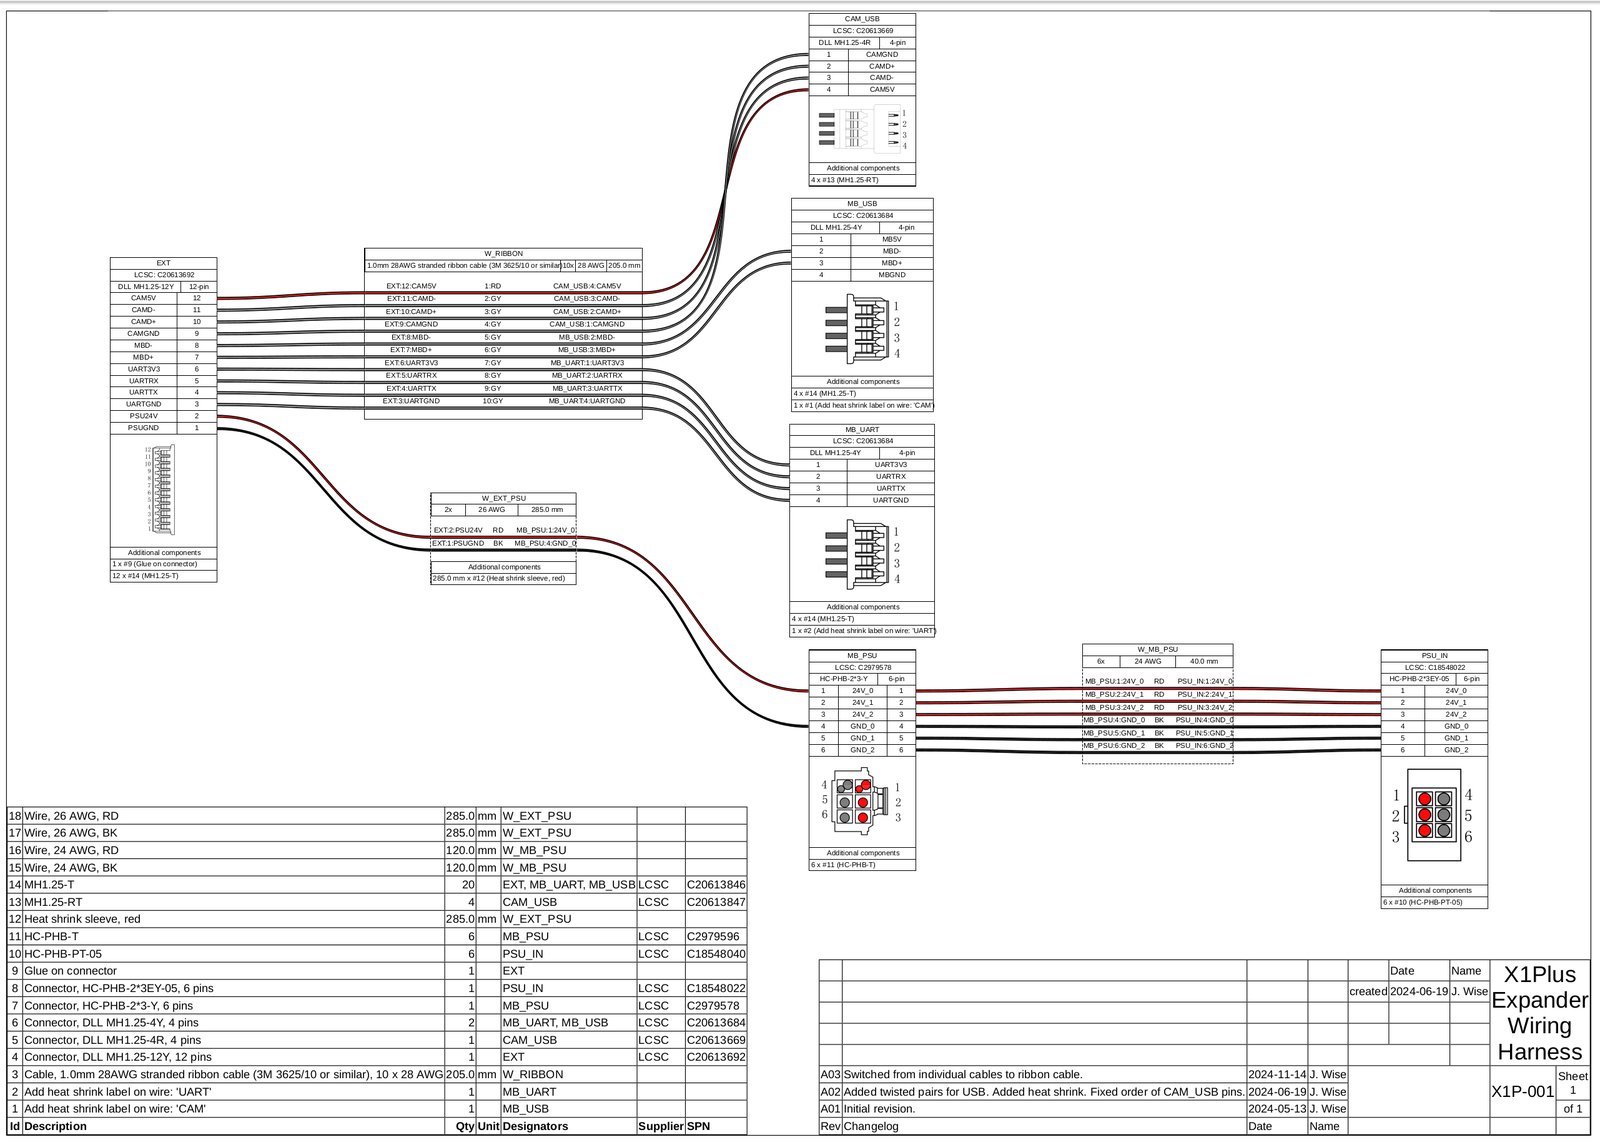
X1P-001-A03
When I launched this campaign, I asked around to a handful of other Crowd Supply creators who they liked for cable vendors. One creator got me connected with the vendor I’m working with right now, Oseisy. I sent them an RFQ through their web site, and, a few minutes later, they added me on WeChat! Now that was promising.
We chatted back and forth about the spec some. I asked some about the USB cable that they had available, and they sent me pictures right away; then, I asked if they had any flatter USB cable. They said that they didn’t have any off the shelf and would have to make it custom, but that I really didn’t want to do that: it has an MOQ of 600 meters, there’s a bunch of tooling cost, and specifying it was an endeavor that I really didn’t want to get into.
I took this as a good sign! One thing I’ve learned from doing business in Shenzhen is that a lot of folks really want to tell you "yes, we can do it", while the much more useful piece of information to get is "no, you shouldn’t do it", or "no, we can’t do it". If someone tells you "yes, we can do it", but they can’t, then they will subcontract until they find someone who can and the results will be, at best, unexpected and at worst, may not meet your specifications. So if a vendor is willing to tell you "no", and if you’re in contact with a knowledgeable enough sales engineer who knows enough about the process to tell you what’s a good idea and what’s a bad idea, then you should do your best to keep that contact!
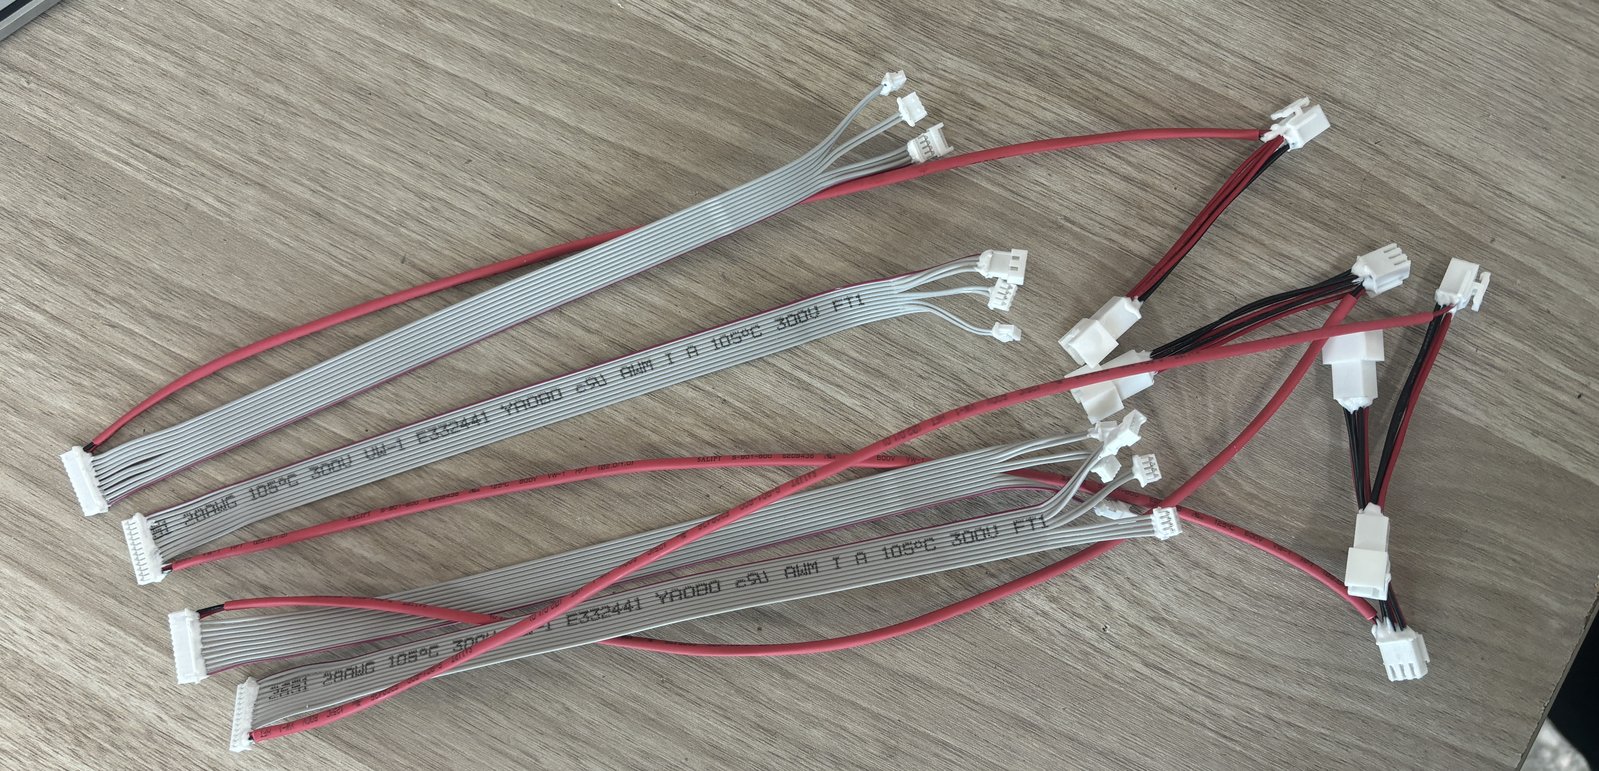
We brainstormed a little bit about alternatives, and, when I asked about glue, my contact sent me a picture of some IDC (ribbon) cable crimped into the Picoblade-style connectors with some glue. I asked if that was possible for this, and I got a "yes" that I felt pretty good about. A bunch of research later, I found some IDC cable that had a "close enough" impedance for USB (and simulated it intensively when I could have just done some simple math…), redrew my harness diagram to match the IDC cable, and the X1P-001-A03 was born!
(Aside: for those of you curious about the version numbering and when I increment the letter vs. when I increment the number, the answer is that letters change with FFF (form, fit, and function) changes, while numbers change with revisions that do not affect FFF. So, any X1P-001-A will plug into any X1Plus Expander, but some of them will just be fidgetier to route.)
I just got photo confirmation that samples are done and they should be on the way to me now. These look pretty good and I’m pretty excited about them. I have a few changes I’m thinking about that I’m definitely not looking forward to trying to express in WireViz but, for now, I’m excited to see how these samples work in the printer, and I’m hoping that we can go to production on this design (or something very close to it).
Notes On the Season
On a personal note, I’ve written this on an airplane on the way back home to Mountain View from a fulfilling — and filling — Thanksgiving dinner with my family. But it wouldn’t be an American Thanksgiving without some shameless commerce, so here is my Black Friday / Cyber Monday offer to you: if you buy an X1Plus Expander now, then you can pay the same price as everyone else before the prices go up after the crowdfunding period! What a bargain, huh?
I’ll have one last thing to say in a week or so about the whole idea behind this Expander program and what my real goals are here. But, for now, know that this has already been a success well beyond what I had even hoped for! Thanks, all, for your support so far. It’s been such a pleasure to get to build this for you.
Talk soon —
joshua
